Grabbing a clip from a YouTube video is pretty simple once you know your options. You can go the quick-and-easy route with YouTube's own 'Clip' button for fast sharing, or you can get more hands-on by screen recording or downloading the footage for a polished, edited final cut. Each method is built for a different job, whether you're just sharing a funny moment with a friend or creating professional content.
Your Guide to Clipping YouTube Videos Instantly
Maybe you're a creator looking to slice up your long-form videos for social media, a marketer hunting for the perfect snippet to drive engagement, or just someone who wants to share a specific scene from a video. Whatever your reason, there's a clipping method that's right for you. This guide will walk you through the best techniques, starting with YouTube’s built-in tools and then digging into the more advanced options for when you need professional-level control.
Choosing the Right Clipping Path
So, how should you approach this? It all comes down to what you're trying to accomplish. Are you aiming for speed and convenience, or do you need a high-quality video file for a bigger editing project? This decision tree lays out the two main paths you can take.

As you can see, the choice is pretty clear: if all you need is a shareable link to a specific segment, the native tools are your best bet. But for custom content that you plan to edit and re-upload, you'll need to go with a download-and-edit workflow.
The explosion of short-form video has made clipping an essential skill. By 2024, YouTube Shorts were pulling in an incredible 70 billion average daily views. On top of that, YouTube reported that the number of channels creating Shorts grew by 50% year-over-year. It's obvious that creators are leaning heavily into these short, digestible formats, and many are using built-in features to do it.
Key Takeaway: There's no single "best" method—it's all about what you need to do. For quick sharing, stick with platform features. For creating new content for other channels, you'll need to take a more hands-on approach.
Which YouTube Clipping Method Is Right for You?
To make the decision even easier, here’s a quick comparison of the different ways you can create a clip, highlighting what each one does best.
| Method | Best For | Ease of Use | Quality Control |
|---|---|---|---|
| YouTube Native "Clip" | Quickly sharing a specific moment (5-60 seconds) with a direct link. | Very Easy | Low (uses original video quality, no editing) |
| YouTube Studio "Trim" | Permanently cutting parts of your own uploaded videos. | Easy | Medium (basic trims, no effects) |
| Download & Edit | Creating high-quality, custom clips for repurposing on other platforms. | Medium | High (full control over resolution, format, and editing) |
| Screen Recording | Capturing clips when downloading is disabled or for commentary videos. | Medium | Varies (depends on your software and screen resolution) |
Ultimately, picking the right tool comes down to balancing speed, quality, and your final goal. If you're just sharing, stick to the built-in options. If you're building a content library, downloading and editing gives you the power you need.
Turning long videos into engaging short-form content is a core skill for any modern creator or marketer. The process can be time-consuming, but the right tools can make all the difference. For those looking to seriously streamline this workflow, checking out an AI video clipping tool can be a game-changer, automating much of the heavy lifting.
Using YouTube's Built-In Clipping and Editing Tools
Sometimes the best tools are the ones you already have. Before you go searching for third-party software, it’s worth knowing that YouTube has its own powerful features built right into the platform. One is designed for quick sharing, and the other is for making permanent edits to your own videos. These are a fantastic—and often overlooked—starting point.
These native tools are so effective because they're woven directly into the viewing experience. With billions of daily views on short-form content like Shorts, YouTube has every reason to make clipping as seamless as possible for everyone.
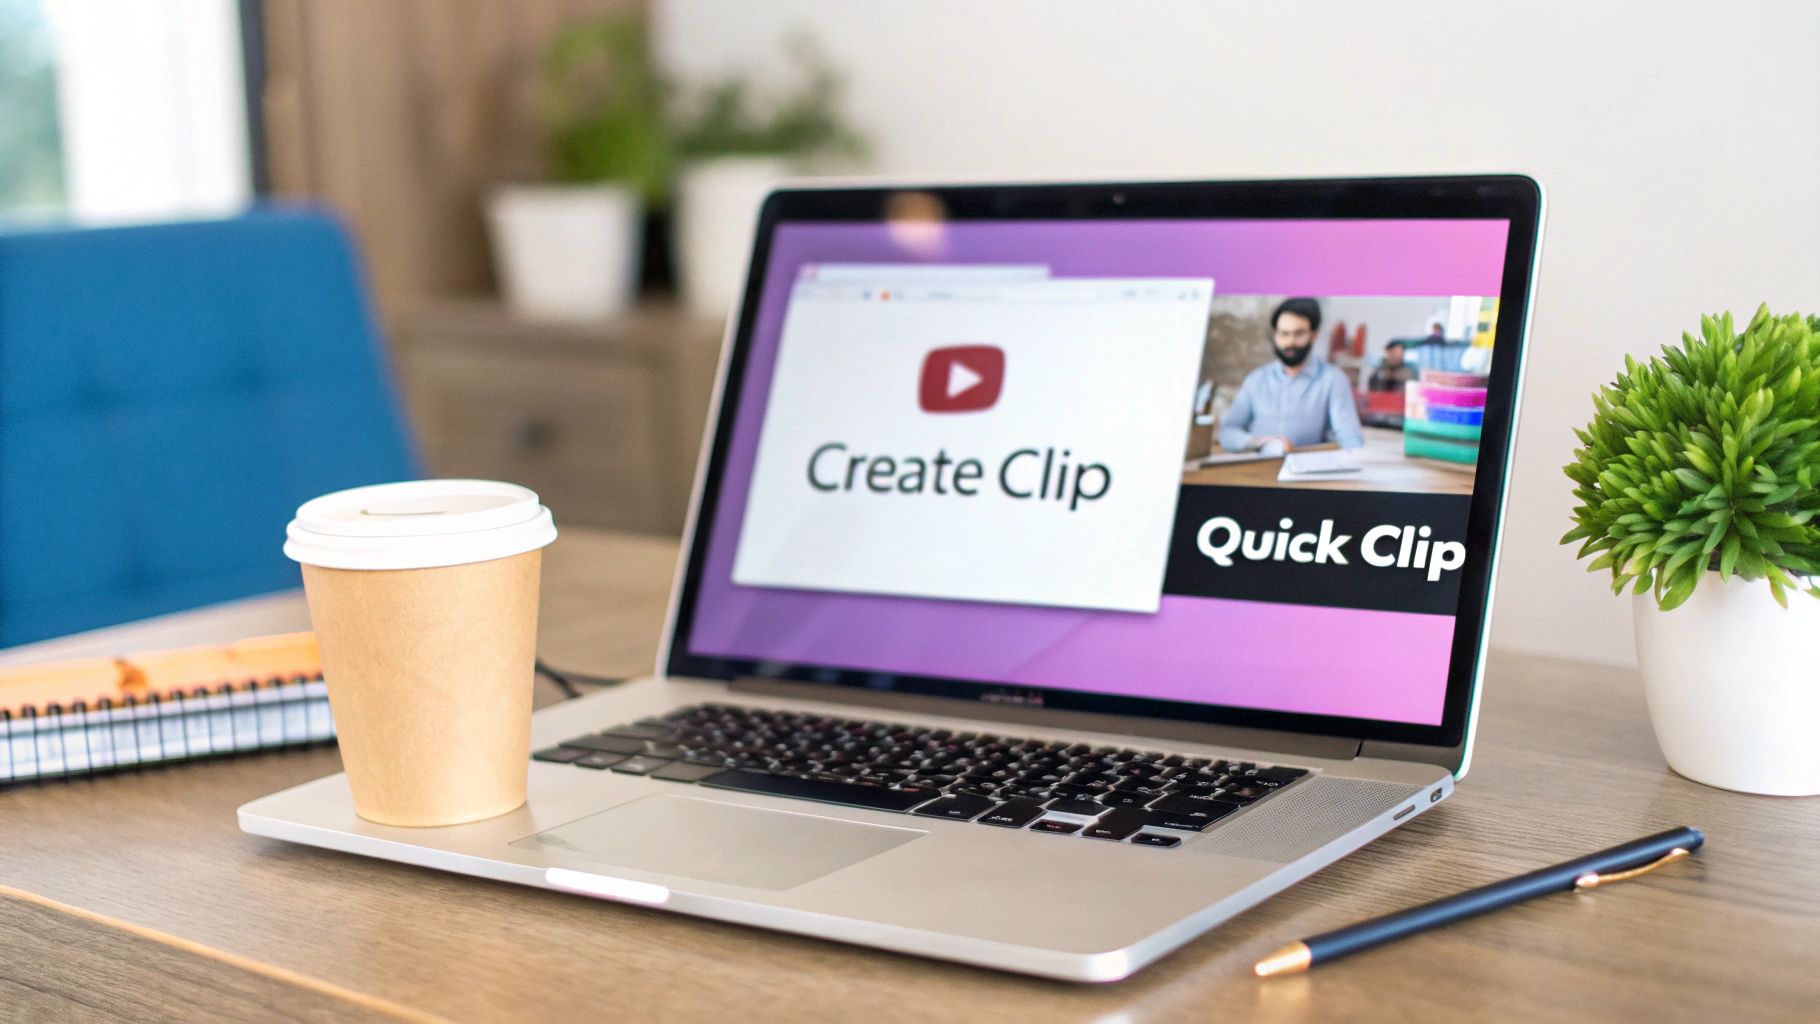
The Create Clip Button for Instant Sharing
The fastest way to grab a quick moment from a video is the ‘Create Clip’ button. You’ll find it right below the video player, nestled next to the 'Share' and 'Download' options. This feature is your go-to for isolating a short, shareable snippet without changing the original video one bit.
Think about it: you're watching a two-hour podcast and hear a single, brilliant 30-second quote. Instead of telling a friend, "you have to watch this whole thing, but skip to 1:23:45," you can just clip that exact moment.
- How it works: When you click it, an editor pops up. Just drag the handles to select a segment between 5 and 60 seconds long.
- What you get: YouTube generates a special URL that links directly to your new clip, ready to be pasted anywhere.
- The biggest plus: It's incredibly fast and respects the original creator by keeping the content on YouTube, which drives traffic straight back to their channel.
This tool is made for viewers who want to highlight and pass along great moments, making it perfect for sparking conversations on social media or in group chats.
Here’s a practical example: A marketing pro is watching a long webinar on industry trends. They hear an expert reveal a key statistic in a 45-second soundbite. They can clip that segment and drop the link directly into their team's Slack channel or post it on LinkedIn. It delivers immediate value without forcing colleagues to scrub through the entire presentation.
Using YouTube Studio for Permanent Edits
Now, if you're a creator looking to manage your own channel, the YouTube Studio Editor is where the real power lies. The ‘Trim & Cut’ feature lets you permanently shorten your own videos—an absolute game-changer for repurposing content.
Let's say you just finished a long livestream. You can use the editor to create a much shorter, polished version for people who couldn't catch it live. It’s perfect for cutting out the dead air at the beginning, mid-stream technical hiccups, or the rambling thank-yous at the end.
With the Studio Editor, you can:
- Permanently trim your existing uploads to make them tighter and more impactful.
- Create new videos from old ones by saving the edited version as a completely new upload.
- Clean up livestreams by removing pre-stream waiting screens or awkward pauses.
While the Studio editor is far more robust than the simple ‘Create Clip’ button, remember that it only works on content you’ve personally uploaded. This makes it the essential tool for channel owners who want to refine their video library. The biggest advantage over external software? It’s all right there. No downloading huge files and no re-uploading, which saves a ton of time and effort.
Downloading and Editing for Professional Quality
Sometimes, YouTube’s built-in tools just don't cut it. When you need absolute creative control, the go-to method is downloading the video for offline editing. This is the standard workflow for anyone who needs to get granular with their final product—think reaction channels layering in their own commentary, documentarians splicing together different sources, or marketers creating slick promotional clips.
Taking clips from YouTube this way unlocks a whole new level of creative freedom. You're no longer just trimming; you can now combine footage, add custom graphics and text, apply professional color grading, and perfect your audio mix. It’s all about crafting something polished and unique.
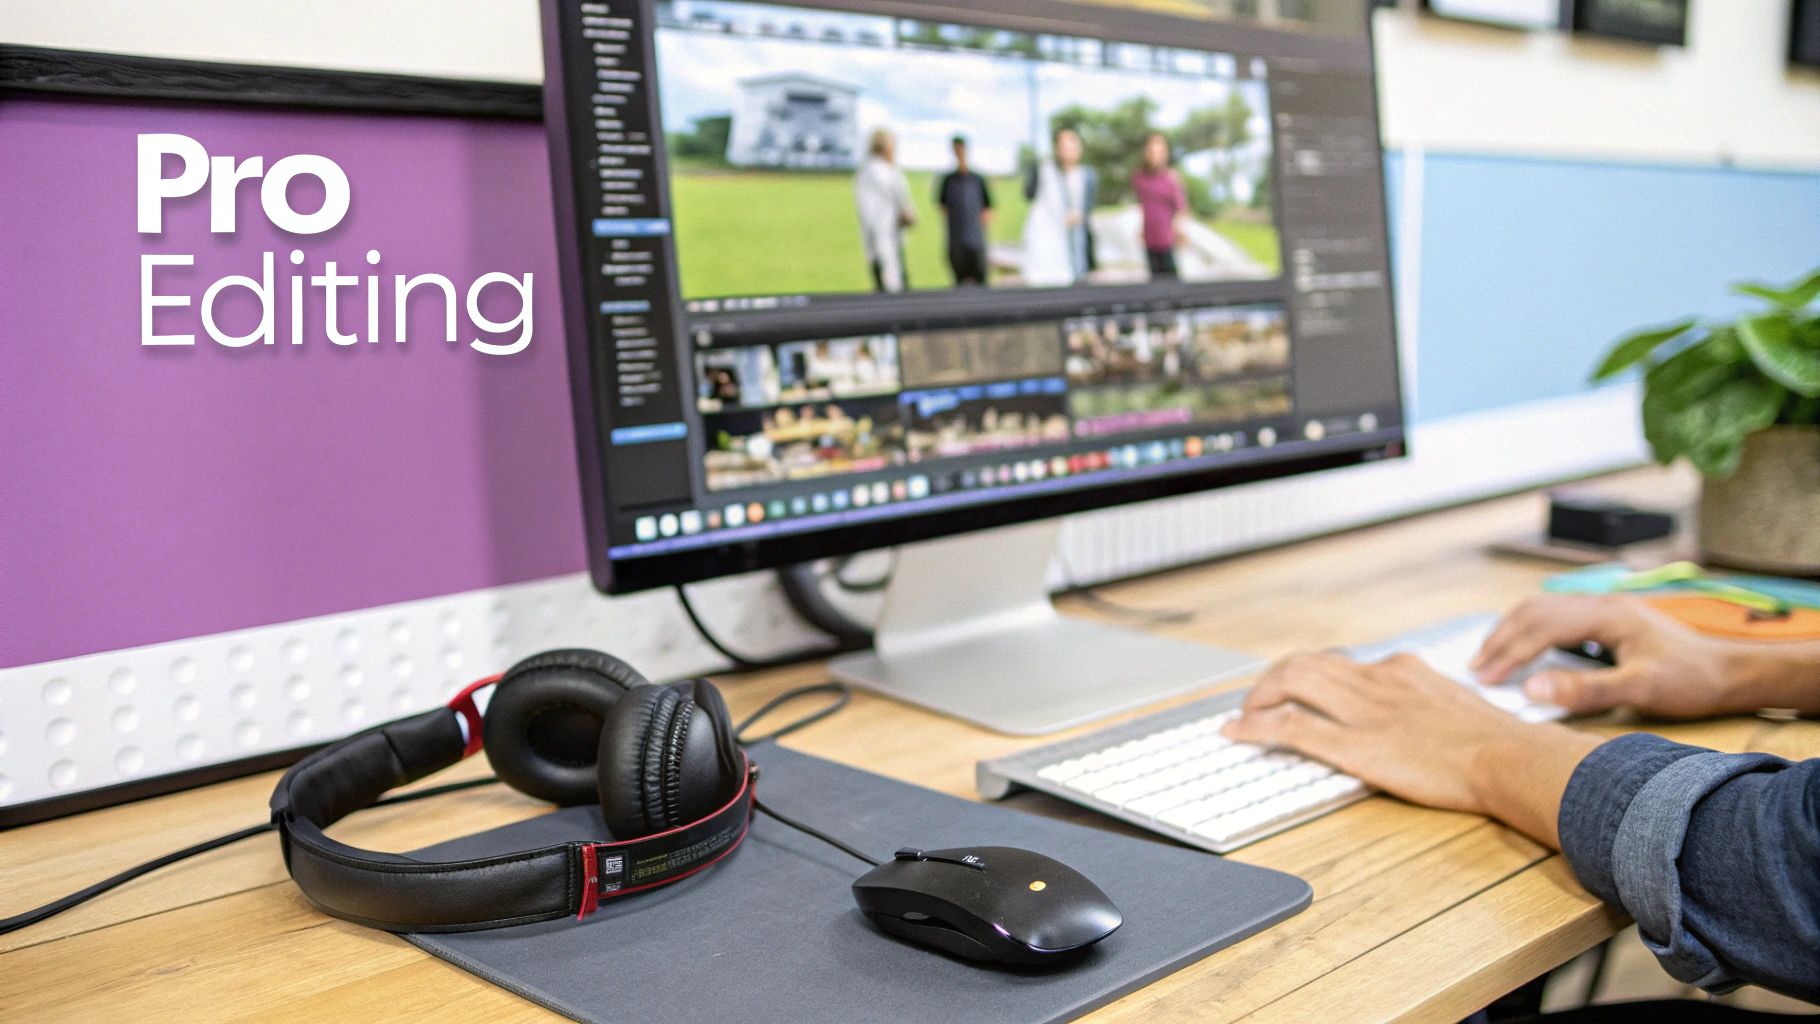
This approach ensures you’re working with the highest possible resolution, which is non-negotiable for a professional look. The trick is picking the right tools for the job. Your options generally boil down to two paths: using third-party downloader apps or relying on screen capture software.
Choosing Your Clipping Workflow
Dedicated video downloaders are built for one thing: grabbing the source file directly from YouTube. Their biggest perk is speed and the ability to choose the exact resolution you want. A word of caution, though: stick to reputable tools. Many free online downloaders are notoriously unreliable and can even pose security risks.
The other option is screen recording with software like OBS Studio or Camtasia. This gives you total control over exactly what you capture on your screen. It’s the perfect method for creating tutorials or commentary where you need to show your own screen alongside the YouTube video. It takes a little more setup but offers incredible flexibility.
Despite YouTube's native options, these third-party tools remain wildly popular. For example, a 2023 survey found that over 30% of internet users had used stream-ripping software to download video or audio content. This highlights the huge demand for offline clipping workflows that native tools don't always satisfy.
Pro Tip: If you're screen recording, always crank the YouTube video quality to its maximum setting (like 1080p or 4K). Then, make sure your recording software is configured to match that resolution. This one simple step prevents any nasty drops in visual quality.
From Capture to Edit: A Practical Example
Let’s walk through a common scenario. Say you’re making a reaction video and need a 30-second snippet from a new movie trailer.
- Grab the Clip: First, fire up a screen recorder like the free and incredibly powerful OBS Studio. Set your capture window to cover just the YouTube video player. Hit record right before your target segment starts.
- Bring It Into Your Editor: Once you have the recording, import that video file into an editor. You could use something robust like DaVinci Resolve for advanced features or a user-friendly option like CapCut. Just drag the clip onto your timeline.
- Refine and Enhance: Now for the fun part. Trim the start and end of the recording to isolate that perfect 30-second moment. From here, you can add your webcam footage in a picture-in-picture layout, overlay text to highlight key moments, and even add a subtle music track to set the mood. For more complex projects, you might even explore how to build a YouTube transcript AI to automatically generate captions from your clips, which boosts both accessibility and polish.
Finally, you export the finished project. This entire process—from capture to final export—transforms a simple clip into a completely new piece of content, ready for any platform you have in mind.
Navigating Copyright and Fair Use When Clipping
Whenever you create a clip from someone else’s content, you’re wading into some important legal waters. It’s not just a video file you’re handling; it’s someone's intellectual property. Getting a handle on the rules of the road is non-negotiable if you want to keep your own channel safe.
The second you upload a clip that isn't entirely yours, you’ll almost certainly encounter YouTube’s Content ID system. Think of it as a massive, automated digital fingerprinting machine that constantly scans new uploads, checking them against a database of copyrighted material. For creators and rights holders, it's a very big deal.
If Content ID flags a match, the original owner gets to decide what happens next. They might block your video entirely, run their own ads on it to collect the revenue, or just silently track its viewership stats. This all happens automatically, so it’s a constant reality for anyone who repurposes content.
Understanding the Key Legal Concepts
So, how do you play by the rules? It really boils down to two big ideas: copyright law and the principle of Fair Use.
Copyright is pretty simple on the surface: the person who made the original work owns the rights to it. If you use it without getting their permission first, you're technically infringing on that copyright.
But that’s where Fair Use comes in. This legal doctrine is a critical exception to the rule, allowing for the limited use of copyrighted material without permission for specific purposes—things like commentary, criticism, news reporting, and education. It’s the very principle that allows reaction channels, parody accounts, and educational creators to do what they do.
Getting this balance right is everything when you're clipping content. And YouTube's enforcement is no joke. In just the first quarter of 2024, the platform reported removing over 9 million videos due to policy violations, which gives you an idea of how active its systems are. You can find more helpful insights on YouTube's content policies over at Recurpost.
Putting Fair Use into Practice
The heart of a strong Fair Use argument is being transformative. What does that mean? It means you have to add something new—a fresh perspective, a different meaning, or a new message. Simply grabbing a funny scene and re-uploading it as-is isn't transformative, and it won't be protected under Fair Use.
A movie review channel is a perfect example of this in action. When a critic shows a brief scene to break down the camera work or analyze the dialogue, they are adding a layer of new, critical commentary. Their use transforms the original clip into a brand-new piece of work—a review.
Key Takeaway: The more of your own unique voice, analysis, or humor you bring to the table, the stronger your Fair Use claim will be. The goal is to create something new with the clip, not just pass the clip along.
Here's a good way to think about it: are you a television, or are you a television critic? One just broadcasts existing content, while the other uses that content to build a new layer of analysis and create value for an audience. When you take clips from YouTube videos, always strive to be the critic.
Getting Your Clips Social-Ready
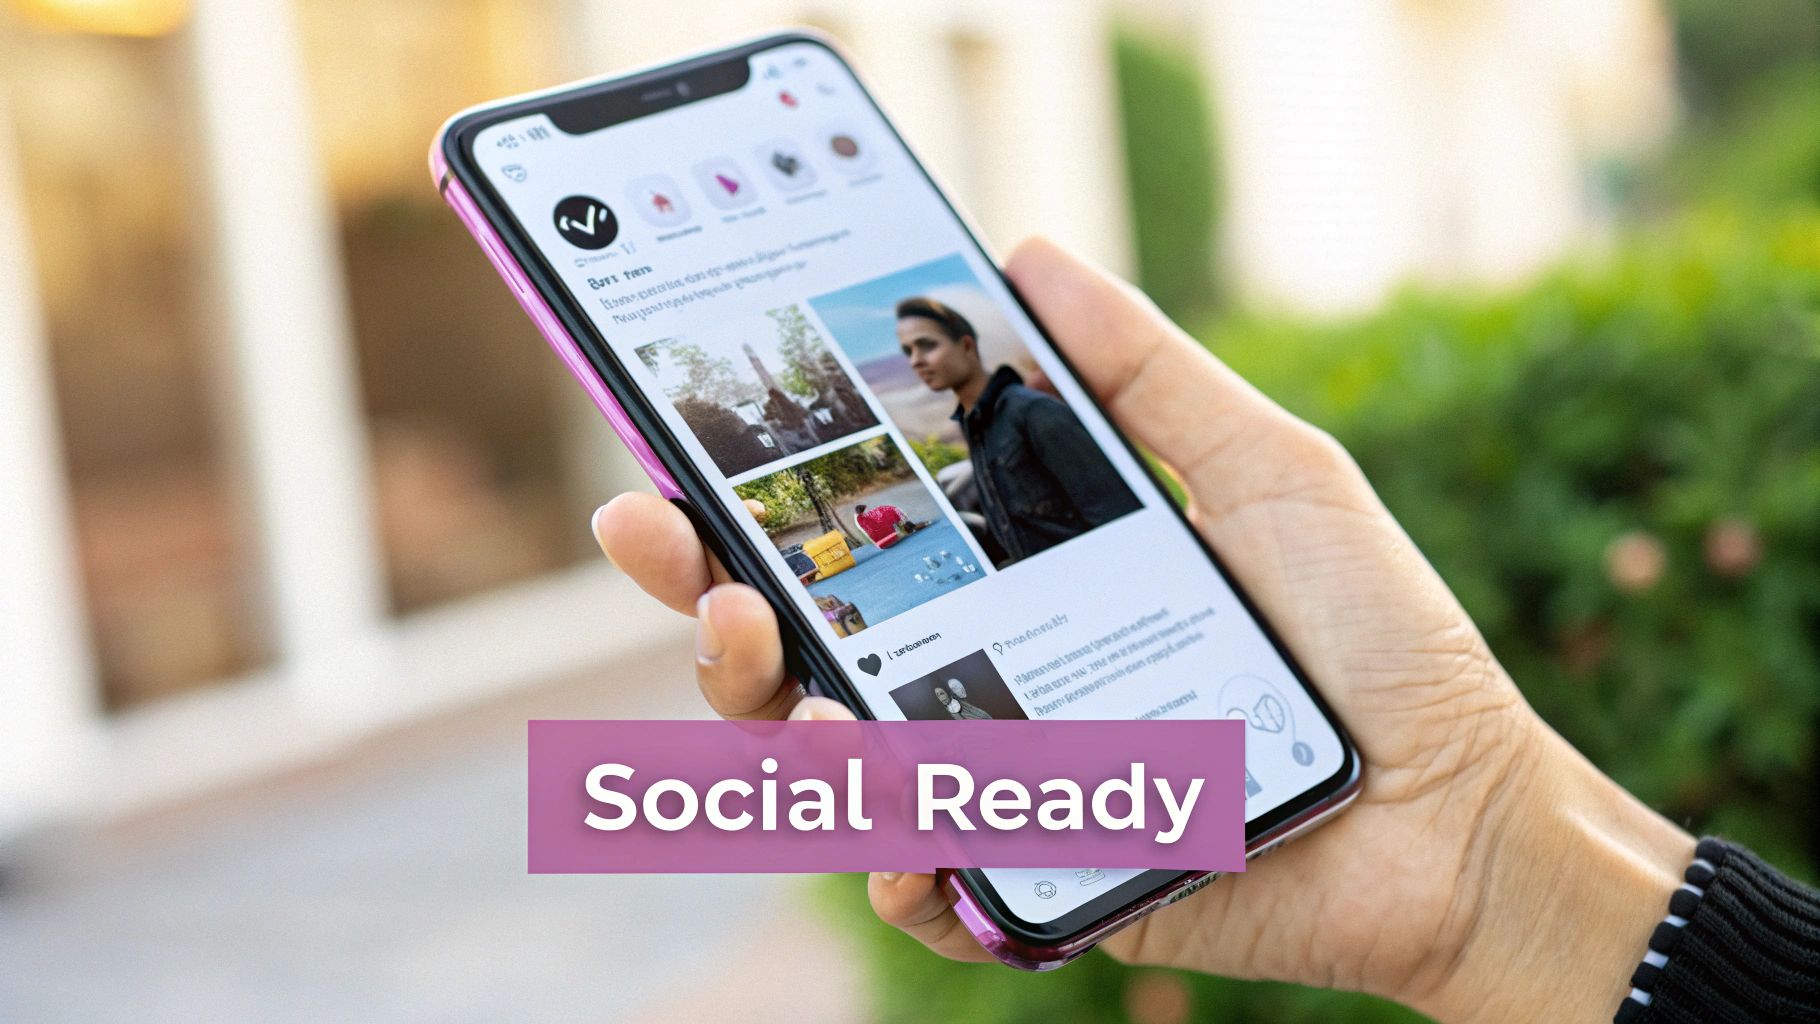
Alright, so you’ve got your clip from a YouTube video. The easy part is done. Now comes the real work: turning that raw segment into something people will actually stop and watch on social media.
Just dropping a landscape-oriented clip onto a vertical feed like Instagram Reels or TikTok is a recipe for getting ignored. It looks out of place and, frankly, lazy. To make your clips work, you have to completely rethink their presentation for an audience that’s scrolling fast and often has their sound off.
A Quick Optimization Checklist
Before you hit "post," run your clip through this checklist. Think of it as a quality control process to give your content the best possible shot at getting noticed.
-
Go Vertical: Your clip needs to fill the screen. That means reformatting from the standard 16:9 YouTube ratio to a vertical 9:16 or at least a square 1:1. This is non-negotiable for mobile-first platforms.
-
Add Bold Subtitles: A huge number of people watch videos on mute. In fact, one study showed that 85% of Facebook videos are watched without sound. If you don't have burned-in captions, your message is lost. Use a clean, easy-to-read font that pops.
-
Nail the First 3 Seconds: You have a tiny window to stop the scroll. Start your clip with the most interesting part—a surprising statement, a sharp question, or a captivating visual. Don't waste time on a slow intro.
-
Tell Them What to Do Next (CTA): What’s the point of the clip? Guide the viewer. End with a clear, simple call-to-action like, "Comment your take below," "Follow for more tips," or "Link in bio to see the full video."
Here’s a practical example: Let's say you've clipped a 30-second gem from a business podcast. To get it ready for Reels, you’d first crop it to a 9:16 format. Then, add dynamic captions that appear as each person speaks. You could add a text overlay at the very beginning that reads, "The #1 Mistake Founders Make." Finally, maybe add some low-volume trending audio and end with a "Visit our site for more" CTA. See the difference?
Different Platforms, Different Vibes
A clip that crushes it on TikTok might need a few tweaks to work on a more professional platform like LinkedIn. Each social network has its own unwritten rules, audience expectations, and technical specs.
Understanding these differences is what separates amateur repurposing from a smart content strategy. A deep dive into various content repurposing strategies can really level up your game, helping you squeeze maximum value from every piece of video you create.
To make things easier, here's a quick cheat sheet for the most popular platforms.
Social Media Video Specifications at a Glance
This table gives you a straightforward guide to the optimal video length, aspect ratio, and resolution for major social media platforms. Use it to prep your YouTube clips and maximize engagement.
| Platform | Ideal Length | Aspect Ratio | Recommended Resolution |
|---|---|---|---|
| TikTok | 15-60 seconds | 9:16 | 1080×1920 |
| Instagram Reels | 15-90 seconds | 9:16 | 1080×1920 |
| YouTube Shorts | Under 60 seconds | 9:16 | 1080×1920 |
| LinkedIn Video | 30 seconds – 2 minutes | 1:1 or 9:16 | 1080×1080 or 1080×1920 |
By keeping these specs in mind, you stop just posting clips and start creating strategic assets designed to perform.
Common Questions About Clipping YouTube Videos
You've got the methods down, but a few key questions probably still come to mind. Let's tackle some of the most common ones that pop up, covering everything from the legal stuff to the nitty-gritty technical details.
Is It Legal to Take Clips From YouTube Videos?
This is the big one, and the honest answer is… it's complicated. The legality hinges entirely on how you plan to use the clip.
Simply downloading someone's video and re-uploading it as your own is a straight-up copyright violation. No gray area there. However, things change if your use is considered "transformative." This is where the concept of Fair Use comes into play.
Fair Use might protect you if you're using short clips for things like:
- Commentary and in-depth analysis
- Reviews and criticism
- Parody or creating a meme
- Educational purposes or news reporting
Here’s a practical example: A gaming channel that uses a 15-second clip to break down a newly discovered glitch is probably covered by Fair Use. On the other hand, a compilation channel that just stitches together "epic gaming moments" without adding any original commentary is almost certainly violating copyright.
If you just want to share a cool moment, your safest bet is always to use YouTube's built-in 'Clip' button. It's designed for sharing and automatically links back to the original creator, keeping everyone happy.
Can I Monetize Videos That Use Clips From Other People?
Trying to monetize videos filled with clips you didn't create is a tough road. YouTube's Content ID system is incredibly sophisticated and will likely flag copyrighted material automatically.
When that happens, the original creator can choose to claim 100% of your ad revenue, block your video entirely, or hit you with a formal takedown notice. It’s their content, so they’re in the driver’s seat.
To even qualify for the YouTube Partner Program, your channel needs to be built on original content. While some commentary and review channels do successfully monetize under Fair Use, it's because they add a massive amount of their own perspective, analysis, and editing. A video that’s just a lazy collection of other people's clips will almost certainly be demonetized. It's a risky game that's rarely worth playing.
What's the Best Software for Clipping YouTube Videos?
There's no single "best" tool—it really depends on what you're trying to accomplish. Let's break it down by what you need.
| Your Goal | The Right Tool(s) | Why It Works |
|---|---|---|
| Quick & Easy Sharing | YouTube's "Create Clip" feature | It's built right into the platform, takes seconds to use, and is completely above board. Perfect for sharing a quick moment with friends. |
| High-Quality, Custom Edits | Screen Recorder (OBS) + Video Editor (DaVinci Resolve or CapCut) | This workflow gives you total control. You can capture pristine footage and add your own text, graphics, and creative flair. |
| Clipping at Scale | AI-powered clipping tools | These are a game-changer for creators who need to churn out a high volume of social clips from podcasts or long videos. They automate the tedious process of finding and formatting the best moments. |
A word of caution: be wary of those generic "YouTube downloader" websites. From my experience, they're often unreliable, can serve up heavily compressed files, and sometimes come with security risks you'd rather avoid.
How Can I Make Sure My Clip Is High-Quality?
Nothing ruins a great clip like blurry, pixelated footage. Preserving quality is all about your process.
First, before you do anything, crank the YouTube video's playback quality up to the highest setting available, whether that's 1080p or 4K.
Next, opt for a good screen recording software instead of a sketchy online downloader. Go into your recorder’s settings and match the capture resolution to the source video. You'll also want to set a high bitrate—something like 50,000 kbps is a solid starting point for 1080p footage. This ensures you're capturing the video exactly as it’s displayed on your screen, with minimal data loss.
Finally, pay attention to your export settings in your video editor. To avoid degrading the footage, make sure your final export settings match or exceed the quality of the clip you recorded.
Turning long-form videos into dozens of engaging, shareable clips is a must for growing an audience today, but the manual effort can be a real grind. Swiftia uses AI to handle the heavy lifting for you, helping you generate high-impact shorts for TikTok, Reels, and YouTube up to 10x faster. With smart features like animated captions, filler word removal, and multi-language support, you can scale your content output without burning out.
Ready to get your time back? See how Swiftia can change your content workflow at https://swiftia.io.