Changing your video's dimensions is technically simple. You just open your project, pick a new sequence preset like 9:16 for TikTok, and then move your footage around to fit. But the real skill isn't in the how—it's in understanding why this is one of the most important things you can do to keep your audience watching.
Why Aspect Ratio Is a Game Changer for Video Engagement
Before we jump into specific tools and techniques, let’s be clear: aspect ratio isn't just a technical setting. It's the canvas for your story. Imagine trying to cram a widescreen landscape painting into a tall, skinny portrait frame. You'd either have to chop off the sides or live with a bunch of weird, empty space at the top and bottom. That’s exactly what happens when you put the wrong video on the wrong platform.
Get this wrong, and the consequences are immediate and obvious. A horizontal video squeezed into a vertical player gets those ugly black bars on the top and bottom. It’s a dead giveaway that the content wasn't made for that platform, and it instantly makes your video feel out of place. Even worse, if the platform tries to automatically crop it for you, it might cut off the most important parts of your shot, leaving your video looking confusing and unprofessional.
The Real Cost of Mismatched Ratios
This goes way deeper than just looking bad. Platforms like TikTok and Instagram are built for immersive, full-screen vertical video. When your content doesn't fill that screen, it breaks the user's hypnotic scrolling flow, making it incredibly easy for them to just swipe on by.
This isn't just about viewer habits, either; it can impact your reach on an algorithmic level. Social platforms are designed to push content that looks and feels native. A poorly formatted video can get flagged by the algorithm as low-quality, throttling its visibility before it ever has a chance to take off.
Mastering aspect ratio isn’t just about making videos look good. It's a strategic move to hold audience attention, maximize visibility, and strengthen your brand in a visually-driven world.
Meeting Modern Viewer Expectations
Viewers today, especially on their phones, expect a seamless experience. They want content that feels like it belongs in the app they’re using. A mismatched aspect ratio shatters that illusion and can make your brand look careless.
This is more critical than ever, especially with the video streaming market's explosive growth. The industry, valued at USD 246.9 billion in 2025, is on track to hit a staggering USD 787 billion by 2035, and a huge part of that is driven by short-form vertical content. With 89% of consumers saying video quality impacts how they see a brand, you simply can't afford to get this wrong. You can dive deeper into the video streaming market's growth trends here.
Let’s look at a real-world scenario. Say you filmed a great cooking tutorial in 16:9 for YouTube. If you just dump that same video onto Instagram Reels, the wide shot of your kitchen counter gets cropped awkwardly. Suddenly, the ingredients on the left and the bowl on the right are completely gone. The viewer misses crucial steps, gets frustrated, and leaves.
The fix? Re-edit for 9:16. By reframing the shot to focus tightly on the chef's hands and the mixing bowl, the video becomes a clear, engaging, and perfectly native tutorial that actually works on the platform.
Decoding Aspect Ratios for Top Social Media Platforms
Figuring out the specific video requirements for each social media platform can feel like trying to hit a moving target. What looks amazing on YouTube can end up awkwardly cropped and unwatchable on TikTok. The real secret is understanding why each platform has its own preferred format—once you get that, you can create content that feels native and professional everywhere you post it.
Think about it from the user's perspective. Each platform’s layout is intentionally designed to keep people engaged. For instance, a vertical 9:16 aspect ratio is a non-negotiable for Instagram Reels or TikTok. Why? Because it creates an immersive, full-screen experience on a phone, which is exactly how those apps are meant to be used. The moment a horizontal video shows up, it shatters that seamless flow.
The Most Common Ratios You'll Actually Use
Let's cut through the noise and focus on the formats you absolutely need to know:
- Vertical (9:16): This is the undisputed king of short-form video. It's the standard for TikTok, Instagram Reels, and YouTube Shorts. When you shoot or edit in this format, you're using every single pixel of the mobile screen to your advantage.
- Portrait (4:5): A slightly wider vertical format, 4:5 is a fantastic choice for in-feed posts on Instagram and Facebook. It commands more real estate in the feed than a square or landscape video, grabbing more attention without demanding a full-screen commitment from the viewer.
- Square (1:1): The classic Instagram format still packs a punch. It's a versatile and balanced option for feed posts on both Instagram and Facebook and consistently performs well.
- Landscape (16:9): This is the traditional widescreen format we all know from TV and movies. It’s perfect for standard YouTube videos, especially long-form content meant for larger screens like desktops, laptops, and smart TVs.
This is what happens when you ignore these platform-specific needs.

As you can see, forcing the wrong size leads to those ugly black bars, your subject's head getting chopped off, and ultimately, a nosedive in your audience reach.
This whole adaptation game is driven by how people watch videos today. While the traditional 1920×1010 (16:9) format still has its place, it's now competing with a massive surge in mobile-first viewing. Research shows that vertical videos on mobile platforms can achieve up to 90% higher completion rates compared to horizontal ones. If you don't adjust for formats like 9:16, your videos get cropped or boxed in, which I've seen slash engagement by up to 50%.
Here's a real-world example: Imagine you just filmed a great podcast interview in 16:9. For YouTube, that full wide shot is perfect. But for TikTok, you'd want to reframe it to 9:16, cropping in tightly on the speaker's face to create a much more personal and engaging clip.
To really squeeze the most value out of your footage, solid content repurposing strategies are a must, and that always starts with getting the aspect ratio right.
Social Media Platform Aspect Ratio Cheat Sheet
To make things even easier, here's a quick cheat sheet with the most up-to-date specs for the major platforms. Keep this handy, and you'll never have to guess again.
| Platform | Placement | Recommended Aspect Ratio | Resolution (Pixels) |
|---|---|---|---|
| Reels, Stories, IGTV | 9:16 | 1080 x 1920 | |
| Feed Post (Portrait) | 4:5 | 1080 x 1350 | |
| Feed Post (Square) | 1:1 | 1080 x 1080 | |
| TikTok | In-Feed Video | 9:16 | 1080 x 1920 |
| YouTube | Standard Video | 16:9 | 1920 x 1080 (or higher) |
| Shorts | 9:16 | 1080 x 1920 | |
| Feed Video (Portrait) | 4:5 | 1080 x 1350 | |
| Stories | 9:16 | 1080 x 1920 | |
| X (Twitter) | In-Feed Video (Portrait) | 9:16 | 1080 x 1920 |
| In-Feed Video (Square) | 1:1 | 1920 x 1920 |
Ultimately, mastering these formats means your content looks polished and professional, which directly translates to better engagement and a wider reach.
Tackling Aspect Ratios in Pro Editing Software
When you absolutely need pixel-perfect control over how your video looks, professional editing software is the only way to go. Tools like Adobe Premiere Pro, Final Cut Pro, and DaVinci Resolve are built for this kind of detailed work, letting you manually reframe every single shot to fit its new aspect ratio. For high-stakes projects where quality is everything, this hands-on approach is non-negotiable.
Let's imagine a classic scenario. You’ve got a beautifully shot interview filmed in standard widescreen 16:9, but now you need to chop it up into a punchy 9:16 clip for Instagram Reels. If you just drop that wide footage into a vertical timeline, you’ll either get huge, ugly black bars or a clumsy auto-crop that cuts your subject clean in half. Not a good look.
The first move in any of these programs is to set up a new sequence or timeline with the right dimensions—usually 1080×1920 pixels for vertical video. As soon as you bring your 16:9 footage in, it will look out of place. This is where the real craft comes in, as you have to decide how to make it fit.
Choosing Your Reframing Method
You've really got three main ways to tackle this, and the one you pick will completely change the final vibe of your video. Each technique has its place, depending on your source footage and what you're trying to achieve.
Here’s a glimpse of what this reframing process actually looks like inside a pro editor.

As you can see, it's all about manually tweaking the scale and position to keep the important parts of the shot perfectly framed for that new vertical view.
Here's a rundown of the three go-to methods for changing an aspect ratio.
Choosing the right method is crucial for maintaining the quality and narrative of your video. The table below breaks down the pros and cons of each approach to help you decide.
Comparing Aspect Ratio Change Methods
| Method | Best For | Pros | Cons |
|---|---|---|---|
| Cropping to Fill | High-resolution footage (4K+) where the subject is relatively centered. | Creates a native, immersive vertical video with no black bars. | You lose the sides of your original shot; can result in quality loss if scaling up too much from HD footage. |
| Padding (Pillarboxing) | When cropping would cut out vital information or multiple subjects. | Preserves the entire original frame and composition. | Can feel less native on vertical platforms; black bars can be distracting if not styled. |
| Strategic Scaling & Keyframing | Dynamic shots with a moving subject that needs to be tracked. | Keeps the focus on the action, creating a professional, re-edited feel. | Very time-consuming and requires more editing skill to get right. |
Each technique serves a different purpose, so always consider your content and platform before you start editing. Cropping is often the fastest way to get a native look, but padding is safer for preserving important context.
Pro Tip: When you crop, fight the urge to just park your subject in the dead center. Use the "rule of thirds" to position them slightly to one side. This creates a much more balanced and professional-looking composition, even in a tight vertical frame.
A Quick Look at the Tools
While the concepts are universal, the specific controls vary a bit between programs.
In Premiere Pro, you'll live in the Effect Controls panel, adjusting Scale and Position properties for each clip. DaVinci Resolve offers very similar controls in its Inspector tab. If you're serious about editing, mastering Final Cut Pro offers another powerful path with its own unique workflow for these kinds of advanced reframing jobs.
At the end of the day, using professional software gives you unparalleled control. The trade-off? It takes time and patience, especially if you're working with a lot of clips.
Automating Aspect Ratio Changes with AI Tools
While getting your hands dirty in professional software gives you ultimate control, it’s also a massive time sink. This is especially true when you're trying to repurpose a lot of content. I've seen teams spend an entire day chopping up a single hour-long podcast into a dozen social media clips. It’s just not sustainable.
This is where AI-powered automation really changes the game.
Instead of meticulously creating new sequences, keyframing every little movement, and reframing shots one by one, you can now feed a single long video into an intelligent system and let it do the grunt work. This modern approach is all about speed and efficiency. What used to be a multi-hour editing slog can now be done in minutes.
The Power of Intelligent Reframing
The real magic of these AI tools is their ability to actually understand what's happening in your video. A traditional editor just sees a grid of pixels. An AI, on the other hand, can identify the important stuff in a shot and make sure it stays in the frame, no matter how you crop it.
One of the most useful features I've seen is Active Speaker Detection. Let's say you have a two-person interview shot in a standard 16:9 widescreen format. If you want to turn that into a vertical 9:16 clip for TikTok, an AI tool can automatically figure out who's talking and keep them perfectly centered. It even cuts between the speakers just like a human editor would. This alone saves you the incredibly tedious task of manually tracking your subjects.
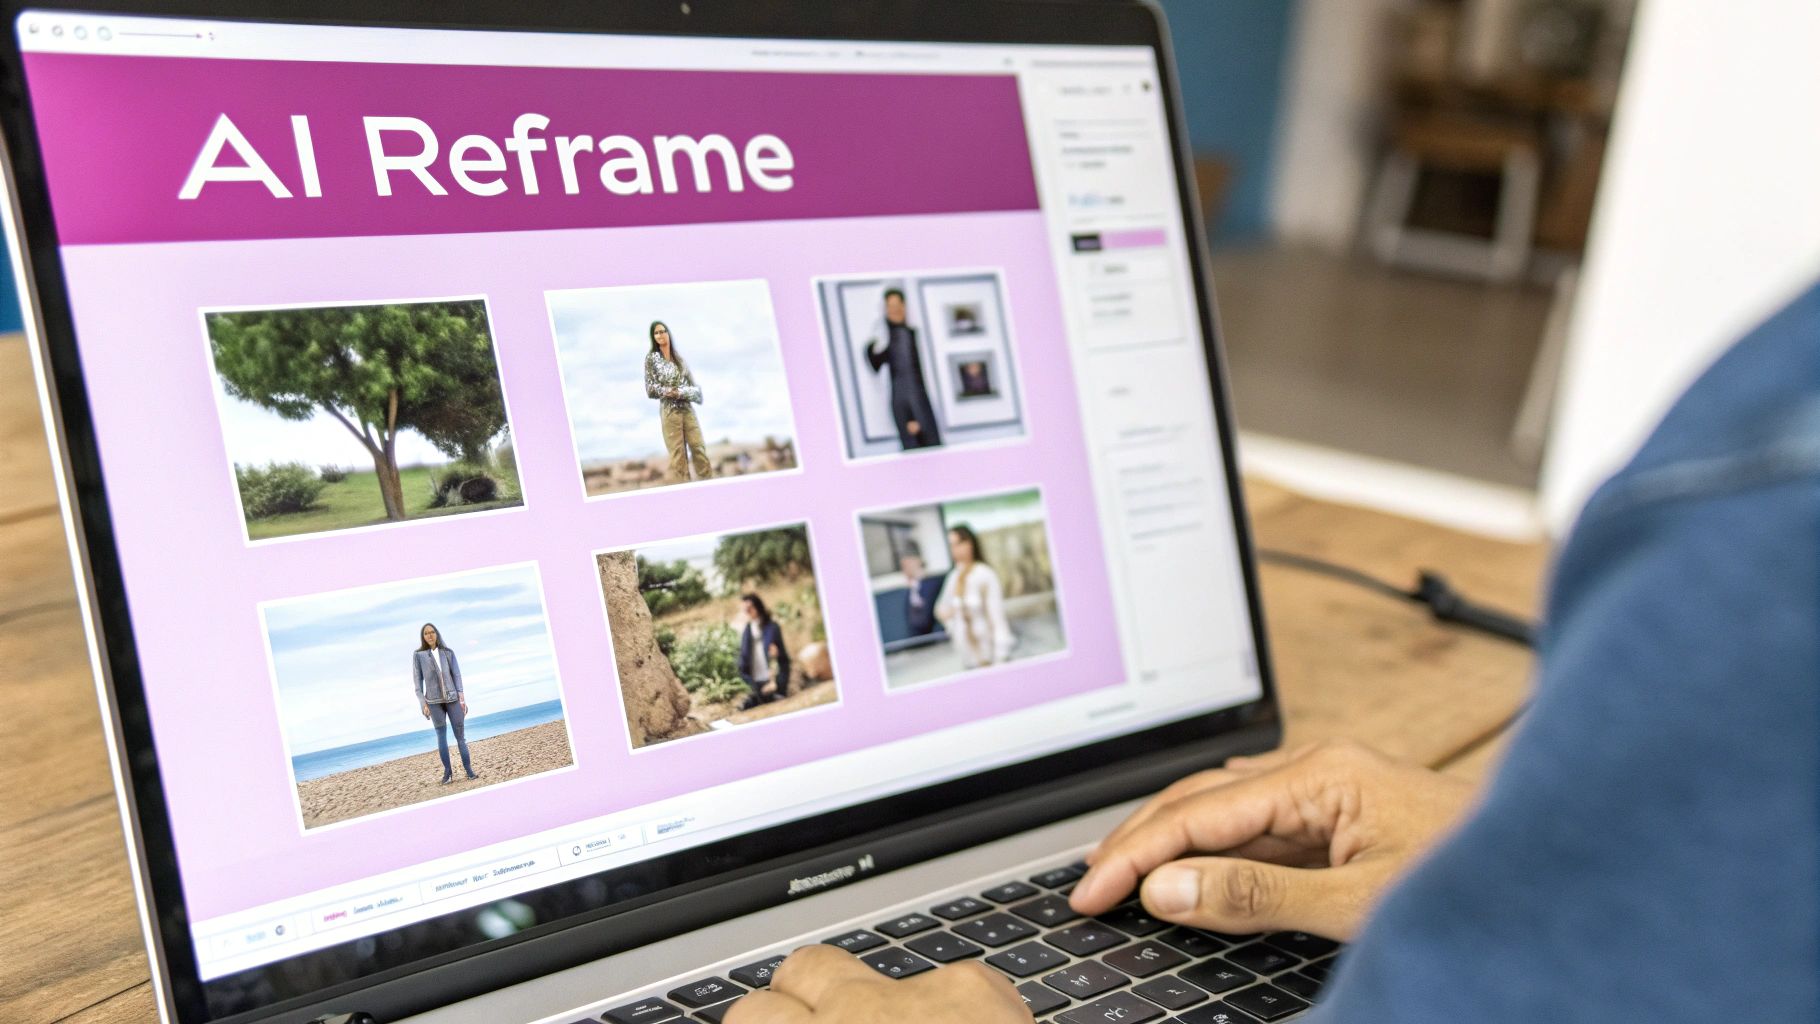
Here’s a glimpse of what this looks like in practice—an AI tool processing a source video and getting multiple clips ready for different platforms, all at once.
This kind of workflow is built from the ground up to handle high volumes of content by taking the most mind-numbing parts of editing, like reframing and captioning, off your plate.
From Hours to Minutes with Automated Workflows
AI-driven platforms truly shine by rolling multiple steps into one smooth operation. The difference in speed and effort is staggering. With old-school software, you’re managing each task—cutting, reframing, captioning, exporting—separately. An AI tool just handles it all together.
For creators trying to scale up, it's a no-brainer. If you're looking around at the different options, our breakdown of the best AI video editors is a great place to start your comparison.
Here's generally how it works:
- Intelligent Clip Creation: The AI scans your long video and pinpoints the most interesting segments to turn into short, shareable clips.
- Automatic Reframing: It then uses features like speaker detection to reframe each of those clips for the new aspect ratio you need.
- Preset Application: You can apply templates for platforms like Reels or Shorts that not only set the correct dimensions but can also add branded elements or captions automatically.
This shift from manual labor to smart automation is about more than just convenience. It's about reclaiming your time so you can focus on creative ideas and strategy instead of getting lost in repetitive technical tasks.
The Clear Edge: Speed and Scale
When you put the two approaches side-by-side, the difference in efficiency becomes crystal clear. Let's walk through a real-world scenario that content teams face every single day.
A Real-World Scenario: The Podcast Repurposing Test
Imagine you have a one-hour podcast episode and your goal is to create ten 60-second vertical clips for Instagram Reels.
The Manual Method: In a pro editor, you’d have to find ten segments, create ten separate 9:16 projects, drag the footage into each one, manually reframe every single shot to keep the speaker in view, add captions, and then export each clip individually. Being realistic, this would take at least 4-6 hours of dedicated work.
The AI Method: You upload that same one-hour video, pick a 9:16 preset, and let the AI generate clips with active speaker detection. After a quick review and maybe a few minor tweaks, all ten clips are ready to go. The whole thing takes about 15-20 minutes.
That's a time saving of over 90%. It’s an efficiency gain that traditional workflows simply can't compete with. For agencies, marketing teams, or anyone managing multiple social accounts, this speed unlocks the ability to produce content at a volume that was previously unthinkable. It’s the smarter, faster way to change aspect ratios and actually keep up with the demands of social media.
Best Practices for High-Quality Video Conversion
Just knowing how to change an aspect ratio isn't enough. The real art is in doing it without wrecking your video's quality or ruining the original shot composition. Anyone can punch a "crop" button, but it takes a bit more finesse to make the final cut look intentional and polished.
This is where you move from just following technical steps to thinking like a pro. These details are what separate a quick, sloppy resize from a high-quality conversion that actually looks good and performs well on its new platform.
Respect the Safe Zones
Every social media platform has its own interface elements—likes, comments, usernames, and those pesky progress bars—that sit right on top of your video. If you place important stuff like text, logos, or even critical parts of the action too close to the edges, they'll get covered up. It's a rookie mistake.
This is where safe zones save the day. Think of them as invisible margins around the edges of your video frame. By keeping all your key visual information inside these boundaries, you guarantee that nothing important gets hidden. Trust me, ignoring this step can make your content look unprofessional and, in some cases, completely unreadable.
A study on viewer behavior found that videos with obstructed text see a significant drop in watch time. People get frustrated when they can't read captions or see key details, and they'll just swipe away.
Take a 9:16 TikTok video, for example. The UI is heavily concentrated at the bottom and along the right side. When you're editing, make sure any on-screen text or even a person's face is positioned more centrally so it doesn't get lost behind the like button or the caption.
Optimize Your Export Settings
Your export settings are the final quality check before your video goes out into the world. The wrong settings can compress all your hard work into a pixelated mess. The single most important setting to get right here is the bitrate.
Bitrate essentially controls how much data is packed into each second of video. A higher bitrate usually means better quality, but it also creates a much larger file. For social media, it's all about finding the sweet spot.
- For Instagram Reels (1080p): A bitrate of 8-10 Mbps is a great starting point.
- For YouTube Shorts (1080p): Aim a little higher, around 10-12 Mbps, to better handle its compression.
If you export with a bitrate that’s too low, you'll see ugly compression artifacts and graininess. On the flip side, an unnecessarily high bitrate won't actually look any better once the platform applies its own compression, and you'll be stuck with a painfully slow upload.
Getting these practices right ensures every clip you create feels like it was made specifically for its new home. When you pay attention to the details like safe zones and export settings, you preserve the quality and professionalism of your content, no matter what shape it ends up in.
Common Questions About Changing Aspect Ratios
Even with the right tools in hand, resizing a video can throw a few curveballs your way. Let's tackle some of the most common questions I hear from creators and marketers trying to get their content just right for every platform.
Getting these details right is what separates a professional-looking video from a sloppy repost.
Can I Change an Aspect Ratio Without Losing Quality?
Yes, you absolutely can—but how you do it is everything.
Imagine you have a high-resolution 4K video. If you crop it from 16:9 to 9:16, you're essentially just zooming in on a smaller section. Because you started with so much pixel data, the result still looks sharp and clean. But try that same crop on a standard HD (1080p) video, and you'll likely see a noticeable drop in quality. You're stretching fewer pixels, which can lead to a soft or even blurry image.
Another option is adding black bars, which perfectly preserves the original video's quality. The trade-off? It's not a great look for vertical platforms and can feel out of place.
Honestly, the most reliable way to maintain quality is to lean on a good AI tool. These systems are smart enough to analyze and reframe high-res footage, ensuring the final vertical cut stays crisp without you having to second-guess every adjustment.
What Is the Fastest Way to Convert to a 9:16 Ratio?
If you're just resizing a single, quick video, a standard desktop editor like Premiere Pro or Final Cut Pro will get the job done. No problem there.
But what if you're turning a 60-minute podcast into 15 different short-form clips? That manual process quickly turns into a massive time sink. This is where automated platforms really shine.
With an AI-powered system, you can upload one long video and let it generate dozens of platform-ready 9:16 clips automatically. These tools do the heavy lifting—reframing, adding captions, and exporting—in just a few minutes. It's a game-changer for anyone working at scale.
Should I Crop My Video or Add Black Bars?
For vertical platforms like TikTok, Instagram Reels, and YouTube Shorts, cropping is almost always the way to go.
You want your video to fill the entire mobile screen. It creates a much more immersive experience that feels native to the app people are scrolling through. Anything less breaks that flow and can make your content feel like an afterthought.
Black bars are a dead giveaway that the video wasn't made for the platform, which can tank your engagement. If cropping isn't an option because it cuts out crucial information, try a more polished alternative: use a blurred, scaled-up version of your video as the background instead of plain black bars. It looks much more intentional.
Stop wasting hours on manual reframing. With AI, you can transform long videos into dozens of perfectly formatted social clips in minutes. Try Swiftia for free and see how much time you can save.