Before you even think about opening your editing software, let's talk about the real work. The most impactful highlight videos aren't just a random collection of cool moments; they're built on a solid foundation. Get this part right, and the rest of the process becomes infinitely easier.
Breaking it down, there are really four big-picture phases to this whole thing: planning what you want to achieve, finding the absolute best clips, editing them into a story that flows, and finally, publishing it where people will actually see it.
Laying the Groundwork for a Powerful Highlight Video
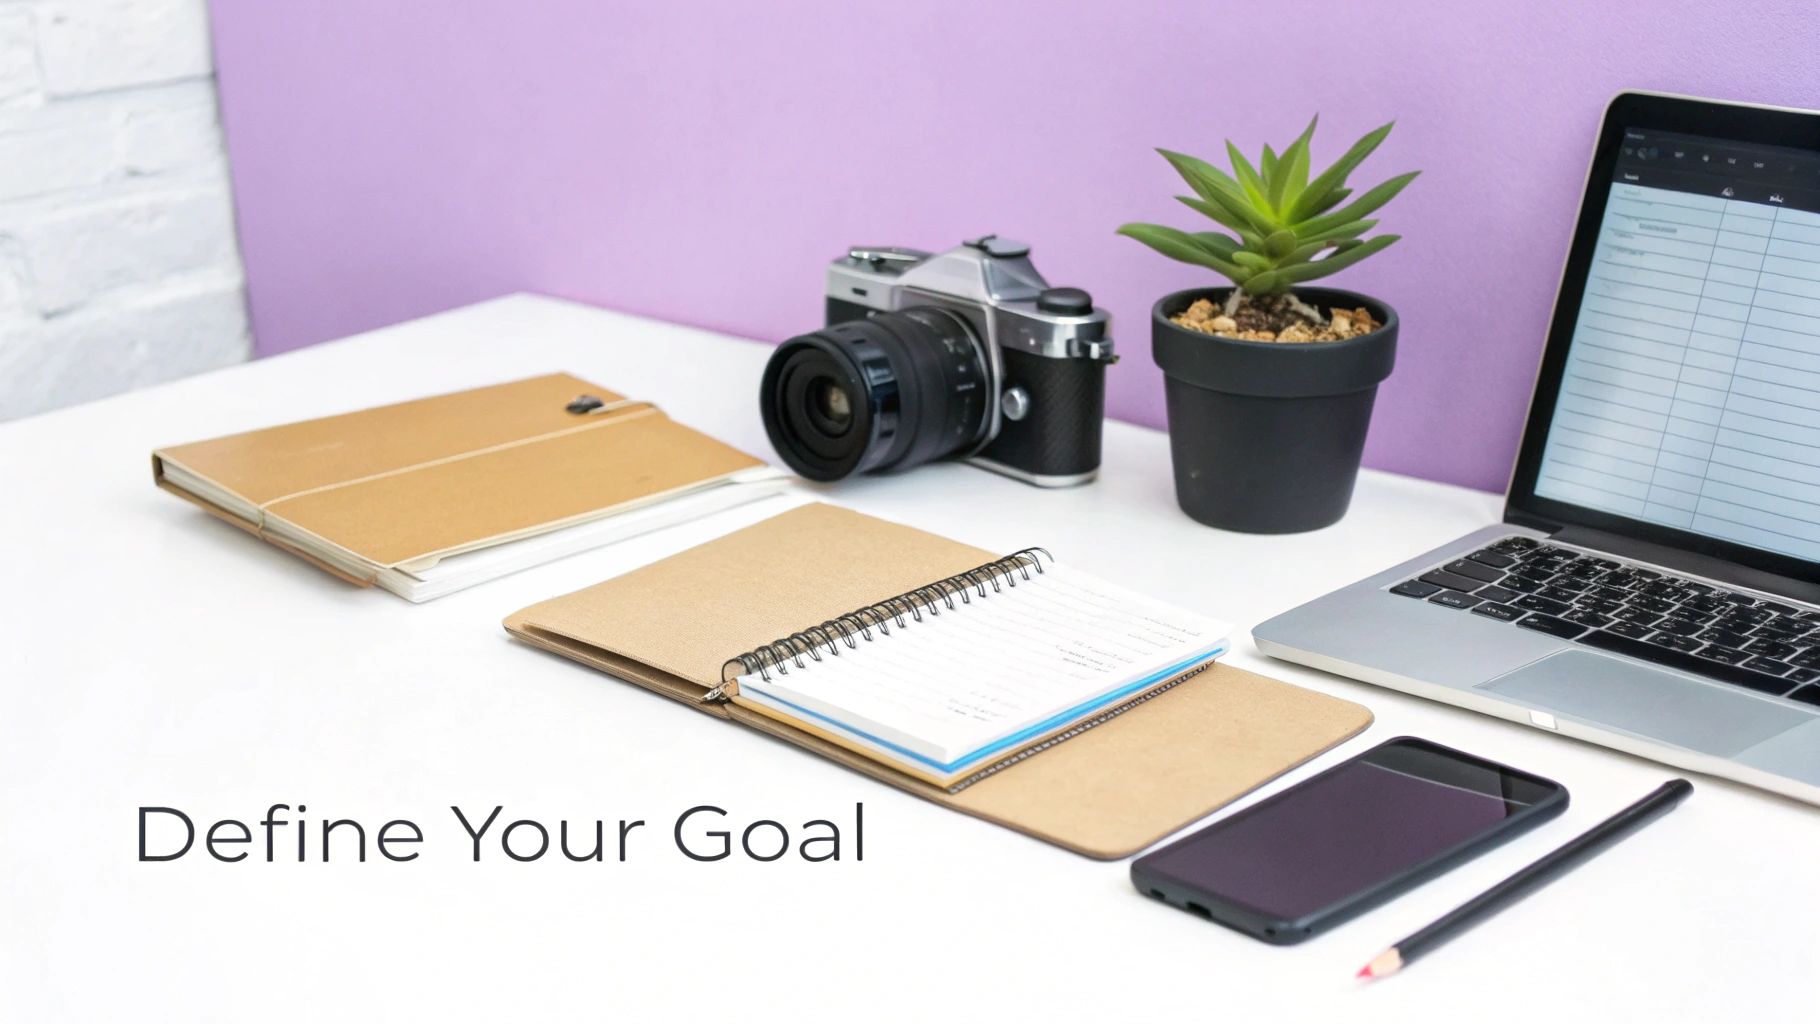
Seriously, the planning you do upfront will save you hours of headaches later. A great highlight reel doesn't just happen by accident. You have to start by asking one simple, crucial question: why am I making this video?
The answer to that question becomes your North Star. It guides every single decision you make from here on out, from the clips you choose to the song you pick.
Pinpoint Your Core Objective
First things first, you need to define what a "win" looks like for this video. Are you trying to build brand awareness, or are you trying to get someone to click "buy"? It's no surprise that 91% of businesses now use video as a marketing tool—the key is making sure every video has a clear job to do.
Think about what you're trying to accomplish. Most goals fall into a few common buckets:
- Showcasing Talent: This is your classic sports recruiting reel or a gamer's montage for their Twitch stream. The entire point is to show off raw skill and peak performance. For example, a basketball player's reel would feature their best dunks, three-pointers, and defensive plays to impress college scouts.
- Promoting an Event: Creating a recap for a conference or a music festival? Your goal is to bottle up the energy and excitement to convince people to come to the next one. For example, a highlight video for a tech conference might show clips of keynote speakers, attendees networking, and reactions to product demos.
- Driving Sales: If you're launching a product, the video needs to zero in on its best features and solve a problem for the viewer, all leading to a strong call-to-action. For example, a video for a new blender would highlight it crushing ice, making smooth soups, and being easy to clean.
- Building a Personal Brand: This is your sizzle reel. It’s a quick, punchy way to communicate your unique style, vibe, and expertise to potential clients or collaborators. For example, a freelance graphic designer might create a reel showing their best logo designs, animations, and branding projects.
Your video's purpose dictates its entire creative direction. A sports reel for college recruitment demands a different tone, pace, and clip selection than a product launch video targeting new customers.
Identify Your Target Audience
Okay, you know your why. Now, who are you talking to? Knowing your audience is everything. A highlight video made for teenage gamers on TikTok is going to feel completely different from one aimed at B2B executives on LinkedIn.
Put yourself in their shoes. What makes them stop scrolling? What kind of music connects with them? What visual style will grab their attention and feel authentic? Answering these questions helps you tailor everything to their world, making your video feel like it was made just for them. For instance, a recent study found that 68% of Gen Z use ad-blockers, meaning your content has to feel organic and entertaining, not like a traditional ad.
Gather and Organize Your Footage
Time to round up the raw materials. The first step is to pull every possible clip you might use into a single, dedicated folder. This could be hours of gameplay, recordings from an event, or a dozen product demos. The goal here is to get all your assets in one place before you start sorting.
Let’s use a real-world example. Say you have five hours of raw gameplay footage for a montage. The thought of scrubbing through all of that is exhausting. Instead, be strategic. Open a simple spreadsheet and create a log. As you watch, note the timestamp for every potential highlight—that insane multi-kill at 01:15:32 or the clutch win at 03:45:10.
This logging process might take an hour upfront, but it will save you from pulling your hair out later. You’re turning a mountain of footage into a manageable, organized library of gold-tier moments.
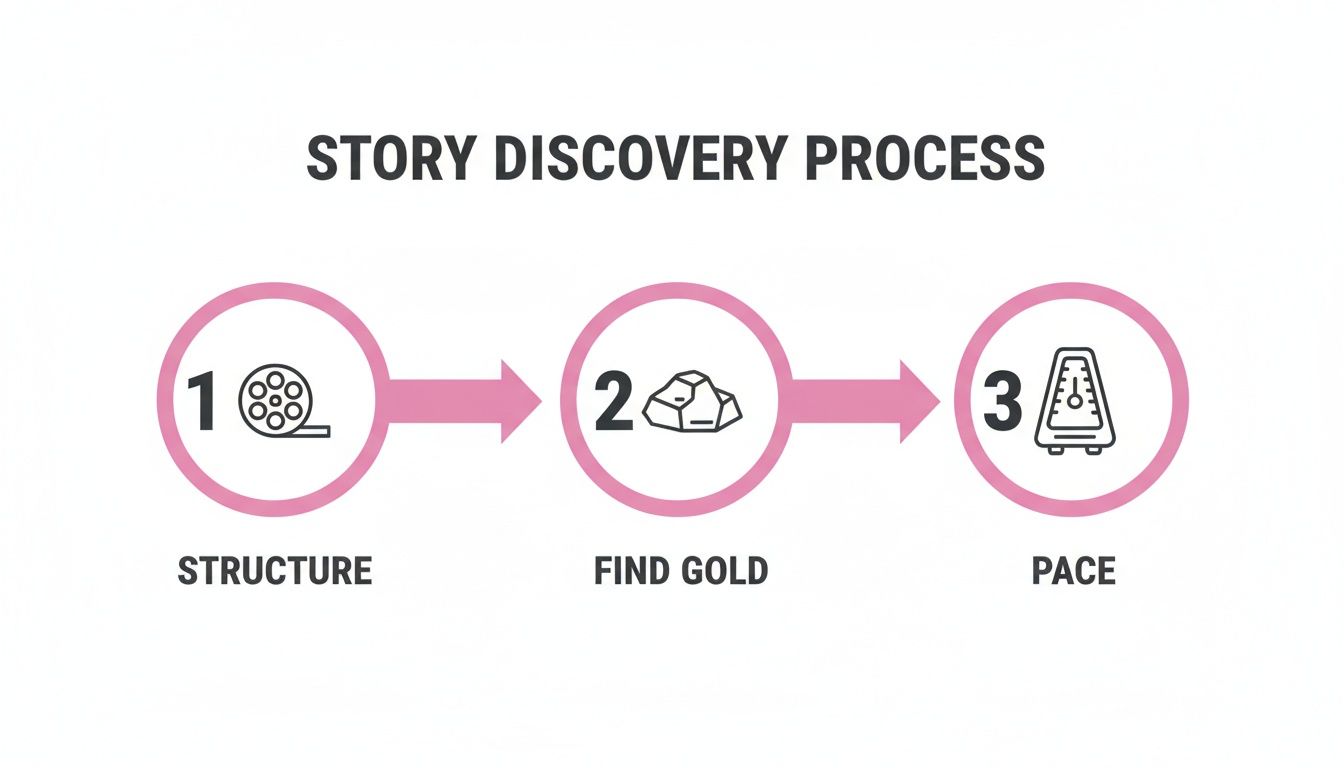
Uncovering the Story in Your Footage
A great highlight video isn't just a jumble of cool clips—it's a story. Once you have all your raw footage collected, the real work begins: finding the narrative thread that ties your best moments together. Thinking like a storyteller is what separates a forgettable montage from a reel that grabs a viewer and doesn't let go.
Every story that's ever captivated an audience has a clear structure: a beginning, a middle, and an end. Your highlight video is no different. The opening needs to hook them instantly, the middle should build on that initial promise, and the ending has to deliver a memorable punch. This simple arc is what makes the whole thing feel satisfying to watch.
Building Your Narrative Arc
Think of your pile of clips as puzzle pieces. Your job is to assemble them in an order that builds excitement and emotion. For a sports reel, that might mean starting with a solid, impressive play, then building through a series of increasingly skillful moments, and finally, hitting them with the absolute showstopper—the game-winning shot, the unbelievable goal.
This works for any kind of highlight reel. Say you're cutting together a travel vlog highlight:
- The Hook (Beginning): Kick things off with the sheer excitement of arriving at your destination or a jaw-dropping landscape shot.
- The Journey (Middle): Weave together a mix of experiences—local culture, exciting activities, maybe a few quiet, reflective moments—to give a sense of adventure.
- The Payoff (End): Leave them with the most emotional or visually stunning shot you have, something that sticks in their memory long after the video is over.
Following this kind of structure gives your video a clear sense of purpose. In a world where video marketing leads to a 49% faster revenue growth for brands, having an efficient, repeatable workflow is a massive advantage. If you want to dive deeper, you can learn more about the state of video marketing and see how teams are using data to sharpen their content strategy.
Sifting for Gold
Okay, let's be real: sifting through hours of raw footage to find those golden nuggets can feel like a grind. But this is where the magic happens. You're hunting for the peak moments—the height of the action, the rawest emotion, the most insightful comment. These are the clips that don't just look good, they make the viewer feel something.
The best clips often capture more than just skill; they capture emotion. A shot of your team celebrating after a big play can be just as powerful as the play itself.
Don't get fixated on finding only technically perfect shots. Keep an eye out for genuine reactions, funny outtakes, and moments that reveal true personality. Those are the clips that create a connection and make your story feel authentic.
Getting the Pace and Rhythm Right
Pacing is the heartbeat of your video. It's the rhythm that dictates the viewer's energy and keeps them locked in. If the pace is flat—either too slow or relentlessly fast—you'll lose them. The secret is to create a dynamic rhythm by constantly changing the tempo.
Try mixing quick, high-energy sequences with slower, more deliberate moments. Picture a gaming montage: you could string together a rapid-fire series of kills, then suddenly drop into a dramatic slow-motion shot of the final, clutch move that won the match. This contrast builds tension and gives the viewer a moment to breathe, which makes the next high-impact moment feel even more powerful. This intentional control over the video's flow is what makes a highlight reel feel truly professional.
Bringing Your Highlight Reel to Life in the Edit
Alright, this is where the magic happens. All that time spent planning and sifting through footage is about to pay off. With your best clips selected and a clear story in mind, you can finally jump into the edit and start piecing together a highlight video that truly grabs attention.
The first order of business is a ruthless trim. Every single clip you chose needs to be cut down to its absolute essence—the core action, the key reaction, the peak moment. Get rid of the dead air, the awkward pauses, and anything that feels repetitive. You’re aiming for a tight sequence of powerful moments that flow together, building energy as the story progresses.
Mastering Your Editing Workflow
Once your clips are trimmed, arranging them on the timeline is how you start to sculpt the narrative. Think about how one moment leads to the next. While a fancy transition might seem cool, a simple, clean cut is often far more effective and less distracting. You want people to remember the content, not the flashy wipe effect between scenes.
It's a simple fact: viewers value clarity. Research shows that 80% of people can recall a video they've seen in the past month, so your job is to make sure your message is what sticks.
This process really boils down to having a solid structure first. That's the foundation that allows you to find the "gold" in your clips and then pace them perfectly for the biggest emotional punch.
Next up, let's talk about making it all look consistent. Even if your clips were shot on different days with different cameras, a little color correction goes a long way. Tweaking the brightness, contrast, and saturation will help everything feel like it belongs in the same video. From there, you can move on to color grading to give your project a specific mood or a professional, cinematic style.
Enhancing Your Video with Audio
Never underestimate the power of sound. It’s at least half the viewing experience. Bad audio can absolutely tank an otherwise amazing highlight reel, so start by cleaning it up. Remove distracting background noise and make sure any dialogue or key sounds are crystal clear.
Then comes the fun part: music. The right soundtrack is a game-changer. It can dial up the emotion, drive the story forward, and set the entire vibe of the video. Spend time finding a track that genuinely matches the energy you’re trying to create.
The perfect music choice doesn't just complement your video; it elevates it. Think of it as the emotional engine that drives your story and connects with the viewer on a deeper level.
For anyone who's ever stared down hours upon hours of raw footage—think sports games or full-day event recordings—modern tools are a lifesaver. AI-powered platforms can now scan long videos and automatically pinpoint the most exciting moments, saving you from an eternity of manual scrubbing.
For example, a youth sports coach could use an AI tool to automatically pull every goal from a season's worth of game recordings. Instead of spending a whole weekend glued to their screen, they get a curated selection of highlights in just a few minutes. That’s a massive advantage over the old-school, manual approach.
To help keep everything on track, I rely on a checklist to ensure nothing gets missed during the editing process. It’s a simple way to maintain quality and consistency, especially when you're working on multiple projects.
Essential Editing Checklist for Highlight Videos
This checklist breaks down the editing workflow into manageable phases, ensuring a high-quality, professional finish for every highlight video you create.
| Phase | Key Task | Why It Matters |
|---|---|---|
| 1. Assembly | Import and organize all approved clips into bins. | A clean project file saves time and prevents confusion later on. |
| 1. Assembly | Create a rough cut by placing trimmed clips on the timeline. | Establishes the basic story structure and flow before any fine-tuning. |
| 2. Refinement | Fine-tune edits, adjust pacing, and add transitions. | Creates a seamless viewing experience and controls the video's energy. |
| 2. Refinement | Apply color correction for consistency across all clips. | Ensures a professional, cohesive look, even with varied footage sources. |
| 3. Audio & Graphics | Clean up audio, remove noise, and balance levels. | Poor audio can ruin a great video; clarity is crucial for engagement. |
| 3. Audio & Graphics | Add and mix music, sound effects, and voiceover. | Audio drives emotion and enhances the impact of the visuals. |
| 3. Audio & Graphics | Add titles, captions, and any necessary animations. | Improves accessibility and reinforces key messages for the viewer. |
| 4. Final Polish | Apply final color grade for a specific mood or style. | This is the final artistic touch that gives the video its signature look. |
| 4. Final Polish | Watch the entire video on multiple devices for a final review. | Catches any last-minute errors in visuals, audio, or captions. |
| 4. Final Polish | Export the video in required formats (e.g., 9:16 for Reels). | Delivers the final product in the correct specifications for each platform. |
By following a structured process like this, you ensure every technical and creative box is ticked, leading to a much stronger final product.
Ultimately, by combining a strong story, clean edits, and powerful audio, you can create a highlight video that not only looks professional but actually leaves a lasting impression. If you’re just getting your feet wet with all this, it’s a good idea to nail the fundamentals. You can check out some essential video editing tips for beginners to help build a solid foundation.
Getting Your Video Ready for Every Social Platform
You've poured your energy into creating an amazing highlight video, but your work isn't quite done. Getting it in front of the right audience is the final, crucial step, and just uploading the same file everywhere won't get you there.
Think of each social media platform as its own ecosystem. It has different rules, different formats, and, most importantly, different audience expectations. To truly connect, you have to speak their language.
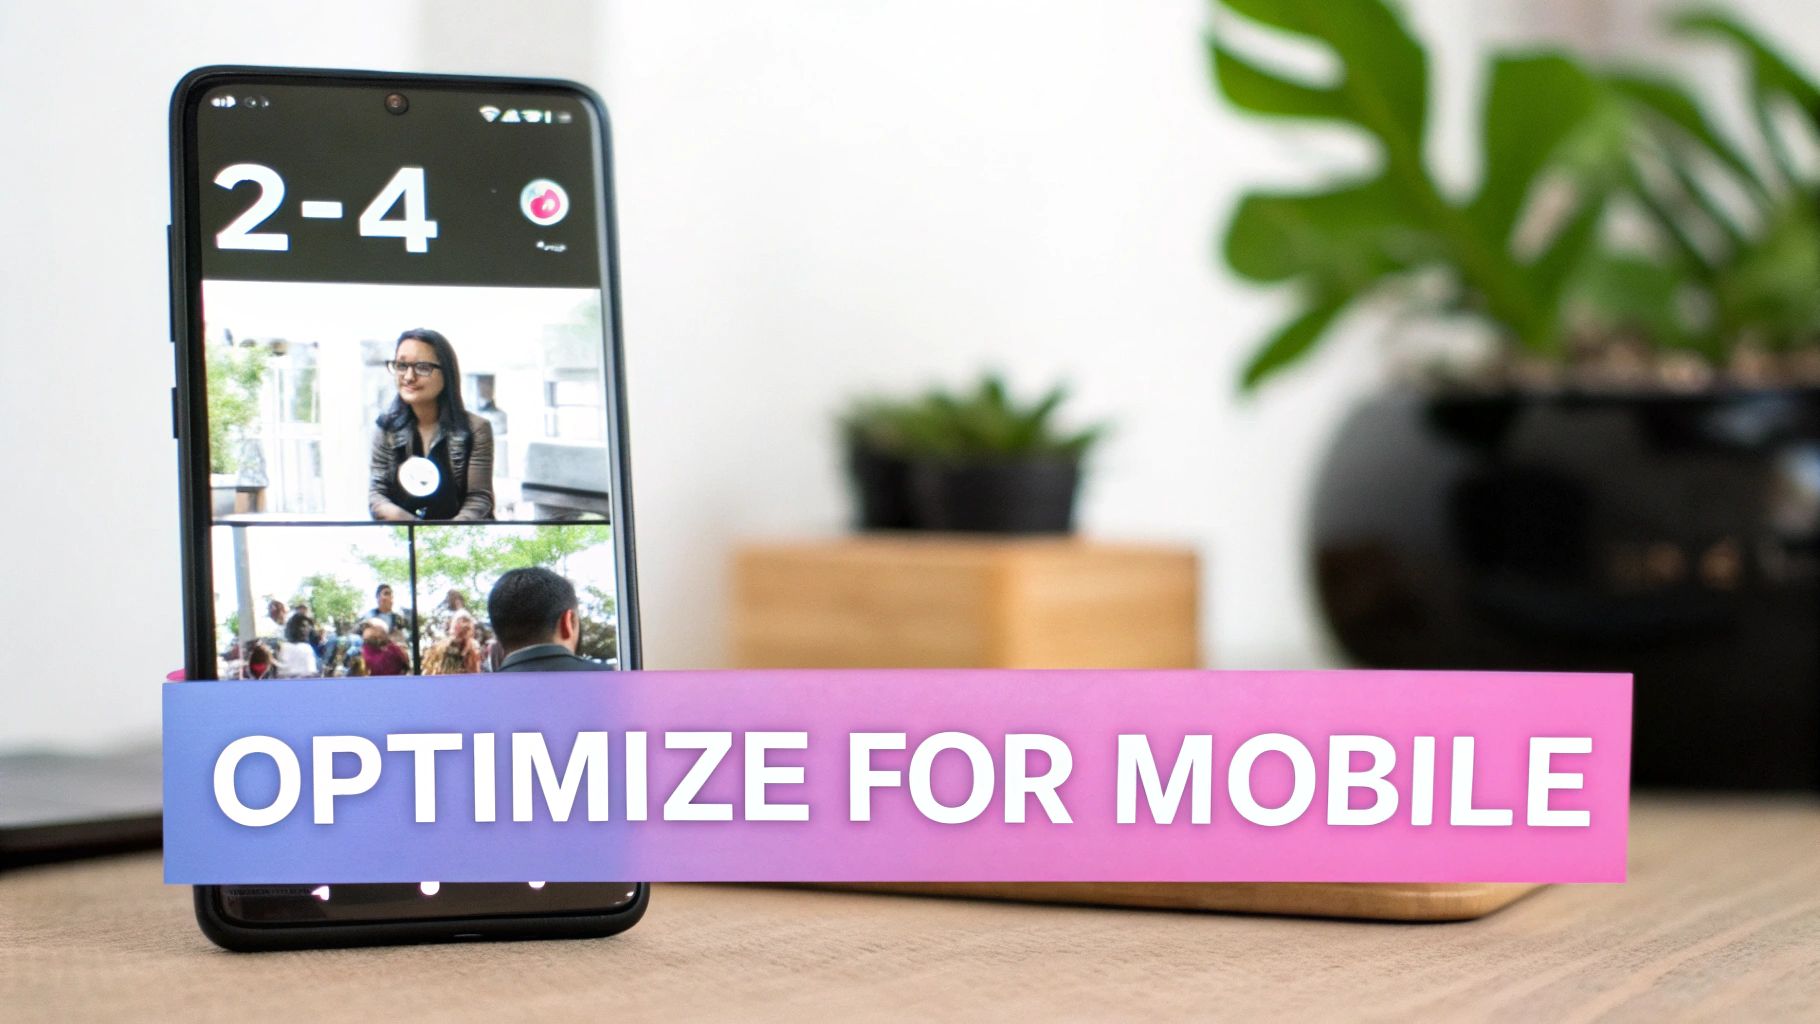
The first and most important rule? Format for mobile. When was the last time you actually turned your phone sideways to watch a TikTok or an Instagram Reel? Almost never, right? The vertical 9:16 aspect ratio is king, and failing to use it is an instant giveaway that your content wasn’t made for the platform. Your video gets shrunk down with ugly black bars, and viewers scroll right past.
Master the Vertical Frame
Switching to a vertical screen isn't just about cropping your video. It’s about completely reframing your story. A shot that looked epic in a widescreen 16:9 format can lose all its punch when crammed into a tall, skinny frame.
This often means you need to get back into the edit. You might have to reposition shots, zoom in on the action, or even use a split-screen to keep the most important visual information front and center. For a sports highlight, that means making sure the game-winning goal or the crucial tackle is always the focal point, not lost off to the side.
Design for Silent Watching
Here’s a fact many creators overlook: a huge slice of your audience will watch your video with the sound off. In fact, some reports show that as many as 85% of videos on Facebook are viewed without sound. They might be scrolling at work, on a quiet train, or just prefer to browse without audio.
This makes captions and on-screen text non-negotiable. They aren't just an accessibility feature anymore; they are absolutely essential for keeping people engaged. If you want your message to land, adding captions to videos is a skill you need to have.
Good on-screen text should be:
- Bold and readable: Use a clean font with strong color contrast so it pops against your video.
- Short and punchy: The text should complement the visuals, not cover them up. Keep it brief.
- Placed in the "safe zones": Be mindful of where platforms place their own UI elements, like usernames and share buttons. Don't let your text get hidden.
Tailor Your Content for Each Platform
Beyond formatting and captions, every platform has its own vibe and unwritten rules. A "one-size-fits-all" strategy means you're missing out on what makes each channel unique.
For TikTok: This platform lives and breathes on trends. Find a trending audio clip that fits your highlight video, and you could see a massive boost in visibility. The algorithm loves it.
For Instagram Reels: Aesthetics are a big deal here. Reels often feel a bit more polished and curated. Focus on high-quality footage, smooth transitions, and a solid call-to-action in your caption to get people commenting and saving.
For YouTube Shorts: Think of Shorts as the appetizer for your main course. A strong, clickable thumbnail is everything. Use your Short to tease a longer video and drive viewers back to your main channel for the full story.
Respecting the unique culture of each platform is how you win. Short-form video is dominating right now—YouTube Shorts alone flew past 70 billion daily views last year. And with businesses increasing their use of captions by 254% year-over-year, it’s clear they have a direct impact on how long people watch. Mastering the world of short-form content isn't just a good idea; it's how you meet your audience where they already are.
Finalizing and Publishing for Maximum Impact
You've done the hard work of cutting, pacing, and polishing your highlight video. Now it's time for the final push—getting it ready for the world and making sure it actually gets seen. This last leg of the journey is what separates a video that just exists from one that truly performs.
Nailing the Export Settings
Before you even think about uploading, you need to export your video correctly. Getting these settings wrong can mean a beautiful edit looks pixelated or takes ages to load, which is a viewer's worst nightmare.
For the big platforms like Instagram, TikTok, and YouTube, these are my go-to settings for a perfect balance of quality and performance:
- Resolution: Stick with 1080p. For vertical video, that means 1080×1920. It’s the sweet spot for crisp visuals without creating a massive file.
- Frame Rate: Keep it consistent with your original footage. Most of the time, this will be 24 or 30 frames per second (fps).
- Bitrate: I've found a variable bitrate between 8-12 Mbps for 1080p video is a solid choice. It prevents the platform's own compression from ruining your hard work.
Writing Titles and Descriptions That Grab Attention
Your video is exported and ready to go, but it's not going to find an audience on its own. The title, description, and hashtags are your video's sales pitch.
First, craft a title that's both intriguing and packed with keywords people are actually searching for. Then, in the description, give a quick, compelling summary of what viewers are about to see. This is also the perfect spot to drop in any relevant links or a clear call to action.
And don't sleep on hashtags! I always use a mix of broad tags like #GamingHighlights to cast a wide net and more specific, niche ones like #ApexLegendsClips to attract the die-hard fans.
Here's a pro tip: your job doesn't end when you click "Publish." You have to dive into the analytics. Keep a close eye on metrics like watch time, audience retention, and engagement. This is the only way to figure out what your audience loves so you can make your next video even better.
Smart Scheduling and Strategic Publishing
Timing is everything in the world of social media. You want to post your video right when your target audience is scrolling. Dive into your platform’s analytics to pinpoint these peak times for maximum initial traction.
Once your highlight reel is set to go, you need to think about how you’re publishing it on each platform. For instance, knowing how to effectively publish your highlight video on LinkedIn is a completely different game than posting on TikTok.
The payoff for getting this right is huge. Global digital video ad spending has soared past $176 billion, and for good reason. Reports consistently show that watching a product demo or highlight video makes 84% of people more likely to make a purchase. It’s not just about views; it’s about impact.
Mastering these final steps is often the secret sauce for creators who want to know how to make videos go viral.
Got Questions About Highlight Videos? We’ve Got Answers.
As you start piecing together highlight videos, you'll inevitably run into a few common questions. I see them come up all the time. Getting these sorted out early will save you a ton of headaches and make your final video that much better. Let's tackle the big ones.
How Long Should My Highlight Video Be?
Honestly, it all comes down to where you're posting it. The "perfect" length is a moving target that depends entirely on the platform and what your viewers expect.
On fast-paced platforms like TikTok, Instagram Reels, and YouTube Shorts, you're fighting for every second of attention. Keep it short and sweet—aim for 15 to 60 seconds. This is the sweet spot for grabbing attention and even getting people to watch it again.
But if you’re building a portfolio for your website or a sizzle reel for your LinkedIn profile, you can let it breathe a little. Viewers on these platforms are already invested and willing to watch longer. Here, a video that's 60 to 180 seconds works great for showing off a wider range of skills or project milestones.
How Much Raw Footage Do I Really Need?
I always tell people to follow the 10:1 ratio. It's a simple rule of thumb: for every one minute of your final, polished highlight video, you should start with at least ten minutes of solid raw footage.
Sticking to this ratio forces you to be ruthless in your selection process. You end up using only the absolute best, most impactful moments, which is what makes a highlight reel shine. It keeps you from tossing in weaker clips just to fill space.
So, if you're putting together a killer 30-second gaming montage, you’ll want to have at least five minutes of your best gameplay to pull from. This gives you the creative freedom to find the perfect shots and build a truly compelling story.
Can I Just Use a Popular Song in My Video?
This is a big one. Using copyrighted music from famous artists without getting a license is playing with fire. Platforms like YouTube and Instagram have sharp automated systems that sniff out unauthorized audio, and they won't hesitate to mute your video or take it down completely. It's a shame, because a good soundtrack can make all the difference—videos with music have an 80% higher completion rate. You just have to do it right.
To keep your content safe and sound, you have two great options:
- Royalty-free music libraries: Services like Epidemic Sound or Artlist are fantastic. You pay a subscription and get access to huge catalogs of high-quality music you can use without worry.
- In-app audio libraries: This is the easiest route. TikTok, Instagram, and YouTube have built-in libraries full of licensed music that you can add directly to your videos, completely free and clear.
What's the Best Editing Software If I'm Just Starting Out?
When you're new to editing, you want a tool that’s easy to pick up but won't hold you back as you get better.
For quick, social-media-focused edits, you can't go wrong with a mobile editor like CapCut. It’s free, super intuitive, and packed with features perfect for creating clips on the go.
If you're ready for a more powerful desktop setup, the free version of DaVinci Resolve is an absolute powerhouse. It gives you professional-level tools without the professional-level price tag.
Ready to create stunning highlight videos without all the manual searching and cutting? Our platform uses AI to instantly find the best moments in your long videos and turn them into share-worthy social clips. Start your free trial today and see how much faster you can create.