Slicing a long video into smaller, more focused pieces is one of the most effective ways to grab your audience's attention and make your content easy to share. At its core, it's about using a video editor to make precise cuts at specific timestamps, turning one source file into multiple, high-impact clips. It's a simple technique, but it can make a world of difference in your shares and viewer retention.
Why Splitting Videos Is a Game-Changer for Engagement
Ever notice how short, punchy clips absolutely dominate social media feeds? The strategy behind it is powerful because it's so simple: breaking down longer videos into bite-sized segments perfectly matches how people watch content today. Let's be honest, attention spans are short. A series of focused, high-value clips will almost always outperform a single, long-form video.
Think about it this way: a one-hour webinar recording can feel like a huge commitment. But what if you sliced that same webinar into ten distinct 3-minute clips, each highlighting a key takeaway? Suddenly, you have a wealth of content that's perfect for sharing on LinkedIn, Instagram, or TikTok. This is how you make your content work smarter, not harder.
Maximize Your Reach and Keep Viewers Hooked
Splitting videos is more than just shortening them; it’s about making them more strategic. Each new clip is a chance to craft a unique hook and call-to-action, letting you target different segments of your audience. It's also a fantastic way to A/B test which topics and moments truly resonate with your viewers.
This isn't just a trend; it's a fundamental shift in content consumption. The global video editing software market ballooned from $2.39 billion in 2018 to $3.09 billion by 2023, and a huge driver for that growth is the demand for tools that make it simple to chop up videos for social media. You can find more insights about the video editing market's growth and what it means for creators like us.
This is what the heart of the process looks like—a standard video editing timeline where all the magic happens.
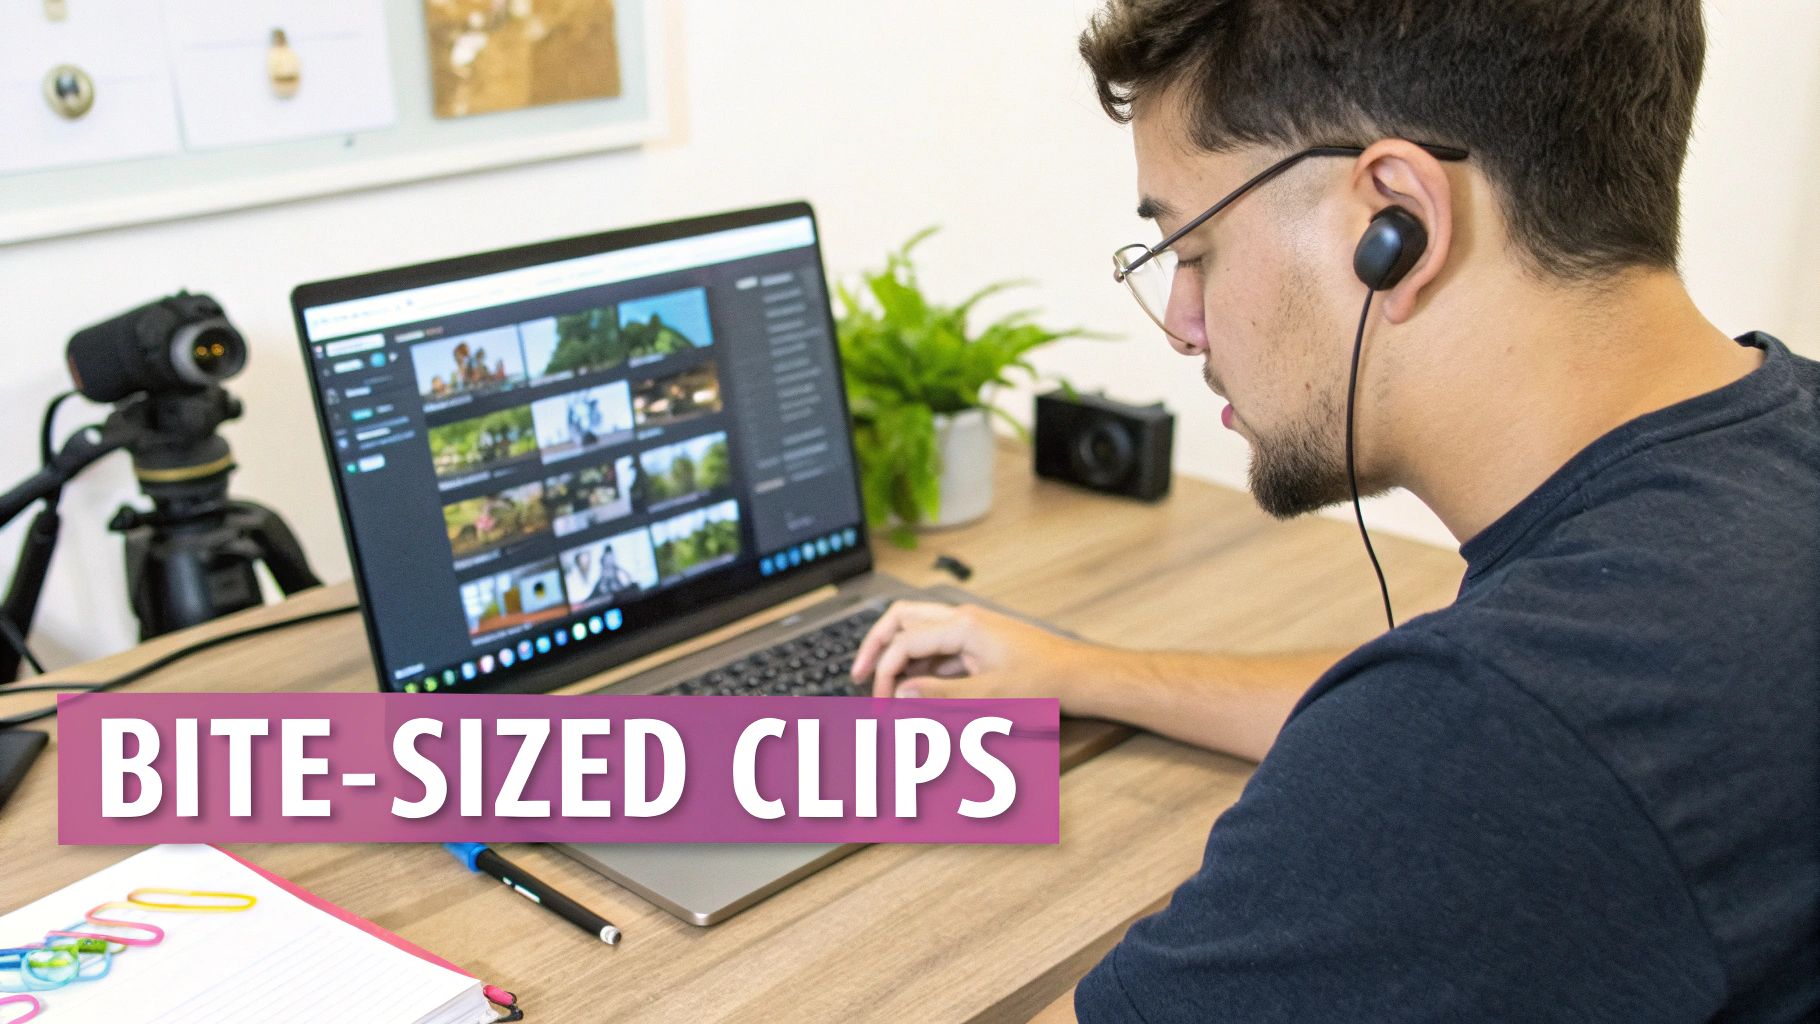
The image really shows how different video and audio tracks are layered and cut. This is the basic concept behind turning one long video into a series of engaging, shareable moments.
By breaking down complex information into smaller pieces, you improve learning and information retention. A training video split into easy-to-follow modules is far more effective than a monolithic one-hour session.
When you get right down to it, splitting your videos gives you some serious advantages:
- Sky-High Shareability: People are far more likely to share a short, punchy clip on their social networks.
- Better Audience Engagement: It’s much easier to get someone to watch a 60-second video to the very end.
- Serious Content Versatility: One long-form video can easily become a whole month's worth of social media posts.
Finding the Right Tool for the Job: Manual Video Splitting
Before you can slice up a video, you need to pick your weapon. The software you choose is the single biggest factor in how fast, easy, and precise your edits will be. Your decision really comes down to what you're trying to accomplish. Are you cranking out a quick clip for TikTok on your phone, or are you crafting a high-end marketing video on a powerful desktop?
For a lot of people just starting out or focusing on social media, a mobile app like CapCut is a fantastic choice. It's built for the get-it-done-now pace of Reels and TikTok. You can drop a video in, make a few quick snips, slap on some trending audio, and have it uploaded in minutes. The whole experience is designed to be as frictionless as possible.
But when you need granular control and the highest possible quality for bigger projects, nothing beats a dedicated desktop editor.
Desktop Powerhouses for Precision Edits
When your project demands pixel-perfect cuts and a polished final product, it's time to turn to the pros. Each of these desktop applications brings something different to the table, suiting various workflows and creative needs. It's also helpful to know exactly what you're doing—are you just clipping, or are you truly splitting? For a deeper dive, check out our guide on the differences between clipping, cutting, and splitting in video editing.
To help you decide, here’s a look at the most popular choices and what they do best.
Comparison of Manual Video Splitting Tools
This table breaks down the top video editing software, highlighting what makes each one a solid choice for cutting and splitting video content.
| Tool | Best For | Platform | Price Model | Key Feature for Splitting |
|---|---|---|---|---|
| DaVinci Resolve | Color grading and audio post-production alongside precise cutting. | Windows, macOS, Linux | Freemium | The "Cut" page is designed for rapid, timeline-based slicing. |
| Adobe Premiere Pro | Professional editors needing a full suite of integrated creative tools. | Windows, macOS | Subscription | The "Razor" tool allows for frame-accurate cuts anywhere on the timeline. |
| Final Cut Pro | Apple users looking for an optimized and powerful editing experience. | macOS | One-Time Purchase | The "Blade" tool and magnetic timeline make splitting and rearranging clips seamless. |
| Clipchamp | Beginners and casual users who want a simple, browser-based solution. | Web, Windows | Freemium | A straightforward "Split" button (scissors icon) for easy one-click cuts. |
Ultimately, the "best" tool is the one that fits your budget, operating system, and the complexity of your projects.
A Real-World Example: Making Your First Cut in Premiere Pro
Let's put this into practice. Say you’ve just recorded a 10-minute product demo, but you only need a punchy 30-second highlight of a killer feature for an ad.
Inside Adobe Premiere Pro, you’d start by importing your video file and dragging it onto the timeline. Next, you scrub through the footage until you find the exact frame where the feature demonstration begins. This is your "in" point.
Now, grab the Razor tool (the "C" key is a handy shortcut) and click on the clip right at that starting point. Snip! You've made your first cut.
Then, you just find the spot 30 seconds later where the highlight ends and use the Razor tool again. Snip! You now have a neat little 30-second clip isolated on your timeline. All that's left is to delete the unwanted footage before and after it, and you're ready to export your highlight. This same core concept—find a point, cut, find another point, cut—applies to virtually all editing software, even if the tool is called something different, like the "Blade" in Final Cut Pro.
Here's the key takeaway: Almost every video editor is built around a timeline and a playhead. Once you master the simple act of moving the playhead to a specific time and using the cut tool, you can jump into almost any editing program and know exactly what to do.
Using FFmpeg for Fast and Precise Edits
When you need to slice up videos with surgical precision and speed, graphical editors can really start to feel clunky. For developers, content managers, or really anyone who's comfortable in a terminal, FFmpeg is the ultimate power tool. It’s a free, open-source command-line utility that handles video files with an efficiency that graphical interfaces just can't match.
Instead of hunting for the right spot on a timeline with your mouse, you just tell FFmpeg what to do with a simple command. This is ridiculously fast because, in most cases, it splits video without re-encoding it. That re-encoding step is what eats up all the time in traditional editors. By skipping it, a 2-hour video can be clipped in seconds, all while keeping the original quality perfectly intact.
This approach really shines when you're dealing with repetitive tasks or batch processing. In those scenarios, a GUI becomes a serious bottleneck. Workflows built around FFmpeg can process video assets up to 90% faster than manual editing, a game-changing efficiency boost for teams handling a ton of content.
Practical Examples for Common Tasks
So, how does this actually work? The core of FFmpeg’s magic lies in specifying a start time (-ss) and either an end time (-to) or a duration (-t). The secret sauce is the -c copy command, which tells FFmpeg to skip re-encoding and just copy the existing data.
Example 1: Extract a Specific Clip
Let's say you have a long podcast recording called podcast_full.mp4. You've found a great soundbite that starts at 1 minute and 15 seconds (00:01:15) and runs until the 2-minute, 30-second mark (00:02:30).
This is the command you'd use:
ffmpeg -i podcast_full.mp4 -ss 00:01:15 -to 00:02:30 -c copy highlight_clip.mp4
That single line of code does everything: opens the file, finds the exact in and out points, and exports the new clip. It's done in a fraction of the time it would take to even launch a full-blown video editor.
Using FFmpeg is like being a surgeon with a scalpel versus a butcher with a cleaver. You get frame-accurate control without the overhead, making it perfect for automated and high-volume workflows.
Automating Video Splitting
The true power of FFmpeg becomes obvious when you start automating things. Imagine you have a long lecture that needs to be broken down into neat, 10-minute segments for an online course. Doing that by hand is not only tedious but also a recipe for mistakes.
Example 2: Split a Video into 10-Minute Chunks
With FFmpeg, you can automatically chop a video named lecture_long.mp4 into multiple parts, each exactly 10 minutes (600 seconds) long.
Here’s the command:
ffmpeg -i lecture_long.mp4 -c copy -map 0 -segment_time 600 -f segment -reset_timestamps 1 output%03d.mp4
Let’s quickly break down what this command is doing:
- It takes
lecture_long.mp4as the input. - It copies the audio and video streams without re-encoding (
-c copy). - It splits the video into segments of 600 seconds.
- It names the output files sequentially, like
output001.mp4,output002.mp4, and so on.
This one command can save you hours of manual labor. It's easy to see why FFmpeg is the go-to for anyone who needs to process video efficiently and at scale.
Automating Video Clipping with Smart Platforms
Manual tools give you incredible precision, but let's be honest—they hit a wall when you need to create content at scale. Imagine trying to turn a two-hour podcast into twenty perfect social media clips. The manual approach just doesn't work. This is where intelligent, cloud-based workflows completely change the game.
Modern platforms use AI to do the heavy lifting for you. They can analyze transcripts, detect who is speaking and when, and even pinpoint the most engaging moments automatically. Instead of spending hours scrubbing through a timeline, you get a curated list of potential highlights served up and ready to go. While some platforms offer basic clipping, more advanced AI-driven systems provide superior accuracy in identifying impactful moments by analyzing nuances like tone and sentiment, ensuring you get higher-quality clips with less manual review.
For businesses and creators who feel like they're drowning in their own content, this isn't just about saving time. It’s a genuine production multiplier. It frees you and your team from the tedious, repetitive parts of editing so you can focus on what really matters: strategy, creativity, and growing your audience.
The Power of AI in Finding the Best Moments
So, how does a machine know what makes a clip "good"? The technology has gotten surprisingly sophisticated, usually by layering different types of analysis to find those shareable, high-impact segments.
It’s not magic; it’s just smart processing. These platforms typically work by:
- Analyzing Transcripts: They read the spoken content to identify key topics, questions, and powerful statements.
- Detecting Speaker Changes: In an interview or podcast, the system can automatically create clips based on when a new person starts talking.
- Identifying High-Energy Moments: AI can even pick up on shifts in vocal tone, laughter, or audience reactions to find the most emotionally resonant parts of your video.
This infographic gives a simple look at the command-line logic for splitting a video, which is the foundational concept many automated systems are built on.

What you're seeing is how a single command can turn a large input file into a targeted output. AI platforms essentially run this kind of process for you, but across thousands of potential clips at once.
Cloud-Based Workflows and Scalability
This whole shift to smart automation is happening in the cloud, and for good reason. The move to cloud-based video editing platforms has made it so much easier for users to cut videos into parts with way more flexibility. While the global video editing market is expected to grow at a 6.19% CAGR from 2025 to 2030, cloud-based workflows are predicted to grow even faster at an 8.5% CAGR during that same time. You can check out more about these video editing market trends and what they mean for creators to see where the industry is heading.
The real beauty of automation isn’t just speed—it’s consistency. You can apply your brand templates, caption styles, and export settings to hundreds of clips at once. Every single piece of content comes out perfectly on-brand without you having to check it manually.
For developers or any large-scale content operation, the final frontier is the Application Programming Interface (API). An API lets you plug this intelligent clipping technology directly into your own apps or content management systems. This creates a completely automated pipeline for video repurposing, from the moment a video is uploaded to when the final clips are generated. To dig deeper, you can explore the benefits of using an API for video repurposing.
By moving past manual tools, you unlock the ability to manage and multiply your video content at a scale that was pretty much unimaginable just a few years ago.
Creating Social Media Clips That Get Noticed
Knowing how to split a video is one thing, but getting people to actually stop scrolling and watch is where the real magic happens. A great clip isn't just a random snippet; it’s a thoughtfully crafted piece of content optimized for the platform it’s living on.
Honestly, the first three seconds are everything. This is your hook, and its only job is to stop the doomscroll. You have to open with a bold claim, a surprising question, or a visually arresting shot. Ditch the slow, branded intros and get straight to the point.
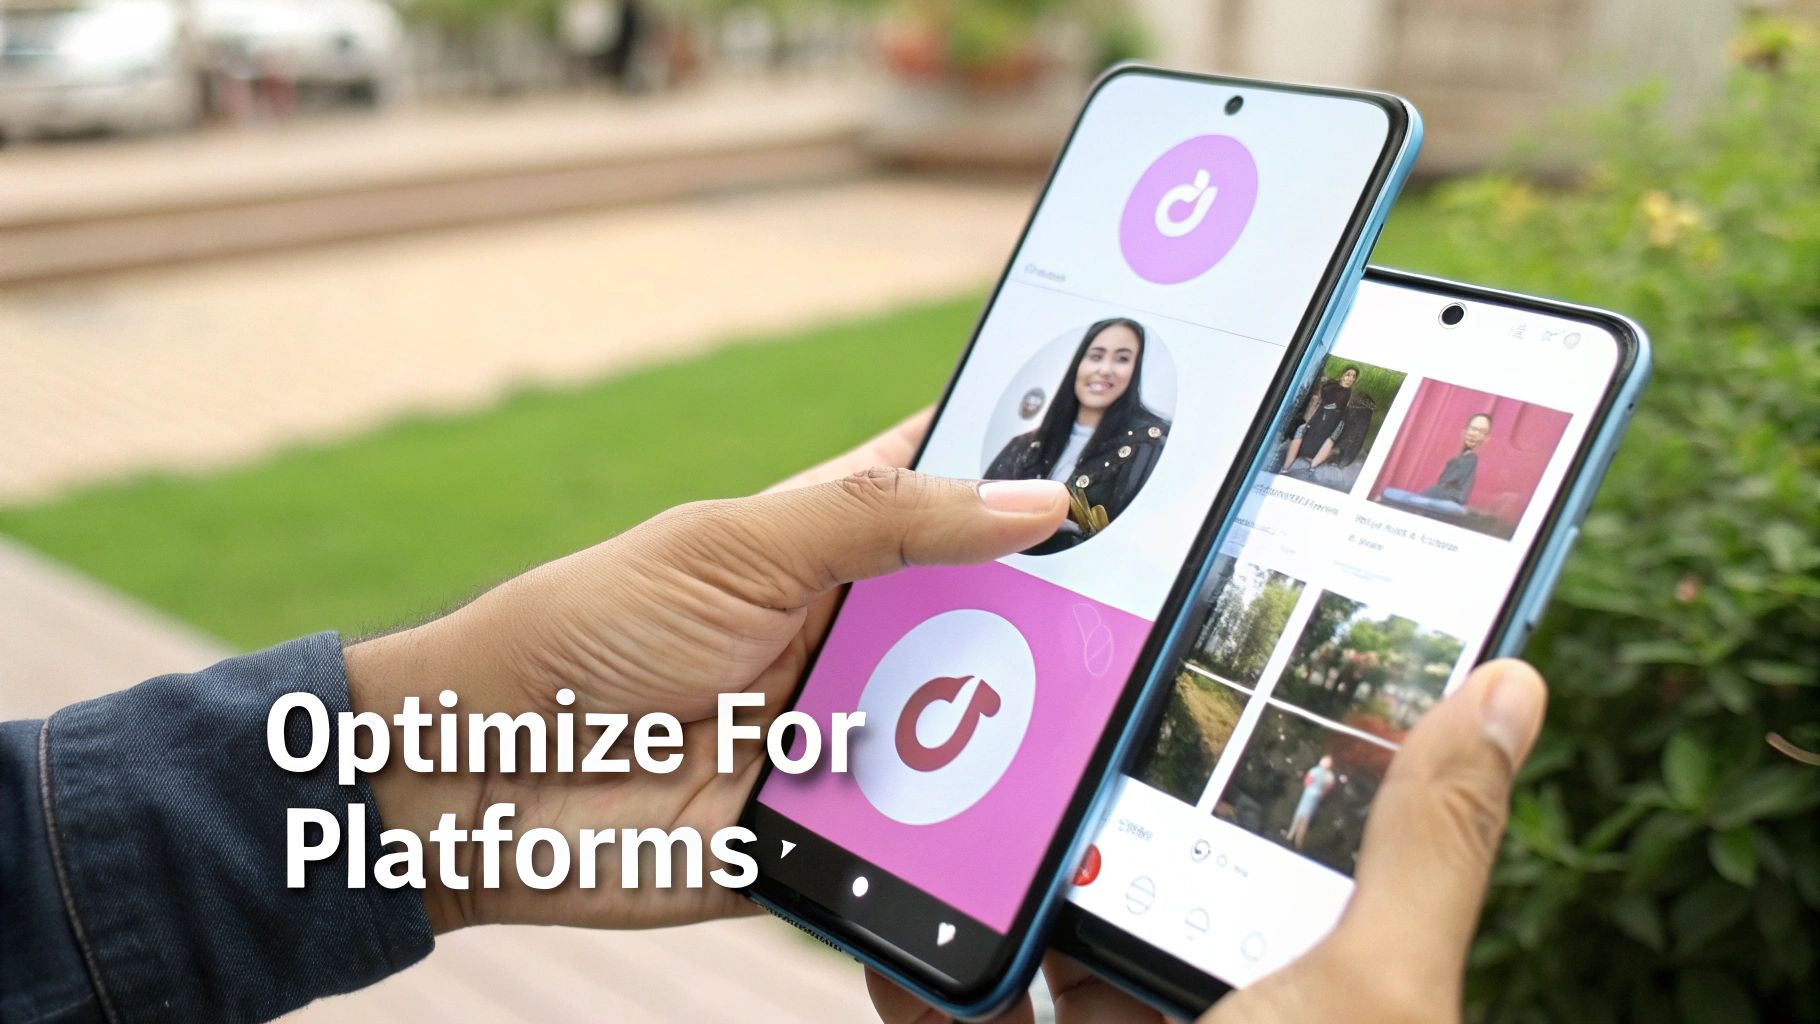
And please, optimize for the format. Vertical video isn't just a nice-to-have anymore; it's the standard on platforms like TikTok and Instagram Reels. When you're cutting your clips, double-check that your main subject is framed properly for a 9:16 aspect ratio. You don't want the best part of your shot getting awkwardly cropped out.
From One Demo to Three Social Assets
Let's make this practical. Say you've got a five-minute product demo. Instead of just dumping the whole thing online and hoping for the best, you can be much smarter about it. Let's slice it up into multiple assets, each with a specific job.
- For LinkedIn (60 seconds): Pull a one-minute segment that shows off a key professional feature. The tone here should be informative. Add clean, easy-to-read captions. This clip is all about demonstrating expertise.
- For Instagram Reels (30 seconds): Create a fast-paced, high-energy tutorial. Think quick cuts, trending audio, and bold, animated text that shows how your product solves a real problem.
- For Stories (15 seconds): Go for a quick, punchy teaser. This could be the single most exciting moment from the demo, ending with a question or a poll sticker to get people engaging.
This simple strategy lets you get way more mileage out of a single piece of content by speaking the native language of each platform.
Don't Forget the Silent Viewers
This is a big one: a massive chunk of social media video is watched with the sound off. If your message is buried in the audio, most of your audience will completely miss it. That's why burned-in captions—subtitles that are actually part of the video file—are absolutely essential.
By tweaking your clips with the right pacing, format, and captions, you turn a simple video cut into a high-performing social asset. It’s not just about what you show, but how you show it.
The data backs this up. Around 85% of businesses now rely on video for marketing, and for good reason: it works. The video editing software market is even expected to reach $5.13 billion by 2032, a clear sign that creators and businesses are serious about making great clips. If you want to dive deeper into creating killer short-form content, check out our complete guide to creating short-form videos for TikTok and Reels.
Got Questions About Splitting Videos? We've Got Answers.
Even with the best tools in your arsenal, you're bound to run into a few questions when you start chopping up videos. Getting the right answers can be the difference between a headache-inducing editing session and a workflow that just clicks. Let's tackle some of the most common questions that pop up.
How Do I Cut a Video Without Losing Quality?
This is probably the biggest concern, and for good reason. Will splitting your beautiful high-res video make it look blurry or pixelated? The short answer: not if you use the right method.
When you use a tool that performs a "lossless cut," you're essentially just copying and pasting the data without re-compressing it. Think of the -c copy command in FFmpeg; it directly lifts the exact video and audio data, meaning the quality is 100% identical to the original. No re-encoding, no quality loss. Simple as that.
However, if you're using a traditional video editor and exporting your clips, your export settings are everything.
To maintain the best possible quality, you need to mirror your export settings to your source footage. If you shot in 4K at 30 frames per second (FPS), your export needs to match. The number one culprit for quality degradation is a low bitrate, which essentially starves the video of data and introduces those ugly compression artifacts.
For instance, a 10-minute 1080p video might have a healthy bitrate of 10 Mbps. If you slice out a 30-second clip and export it at just 2 Mbps, you’ll definitely see a drop in sharpness.
My Go-To Tip: Always look for export presets like "High Quality" or "Match Source." This is the easiest way to tell the software you want your new clips to look just as crisp as the original video you put so much work into.
What's the Best File Format for My Clips?
The "best" format really comes down to one thing: where is this video going to live? While the options seem endless, you'll likely only ever need to worry about a few key players.
- .MP4 (H.264/AAC): This is the undisputed king of the web. It delivers a fantastic balance of high quality and manageable file size, and it plays nicely with just about every social platform, browser, and device out there. If you're ever unsure, MP4 is your safest bet.
- .MOV (ProRes): Need to pass your clips to a colorist or another editor for more work? ProRes is the professional industry standard. It holds onto way more visual information, but be warned—the file sizes are massive.
- .WebM: A great choice if you're embedding videos directly onto a website. It's built for quick load times and is supported by all modern browsers, helping keep your site snappy.
Can I Chop a Video into Multiple Parts at the Same Time?
Of course! Manually, this means loading your video into an editor, making all your cuts on the timeline, and then exporting each little segment one by one. It works, but it’s a real grind.
For a more efficient approach, automation is your friend.
Command-line tools like FFmpeg can slice a long video into perfectly equal chunks with just one line of code. But if you want to get smarter about it, modern AI platforms can analyze the content itself. They can identify the most compelling moments—like when a new person starts talking, a key topic is mentioned, or something visually exciting happens—and automatically generate dozens of ready-to-use clips for you. This completely changes the game from tedious busywork to high-level content strategy.
Ready to stop spending hours on manual edits? Swiftia uses AI to find the best moments in your long videos and turns them into dozens of shareable, captioned clips in minutes. Discover a faster way to create content at https://swiftia.io.