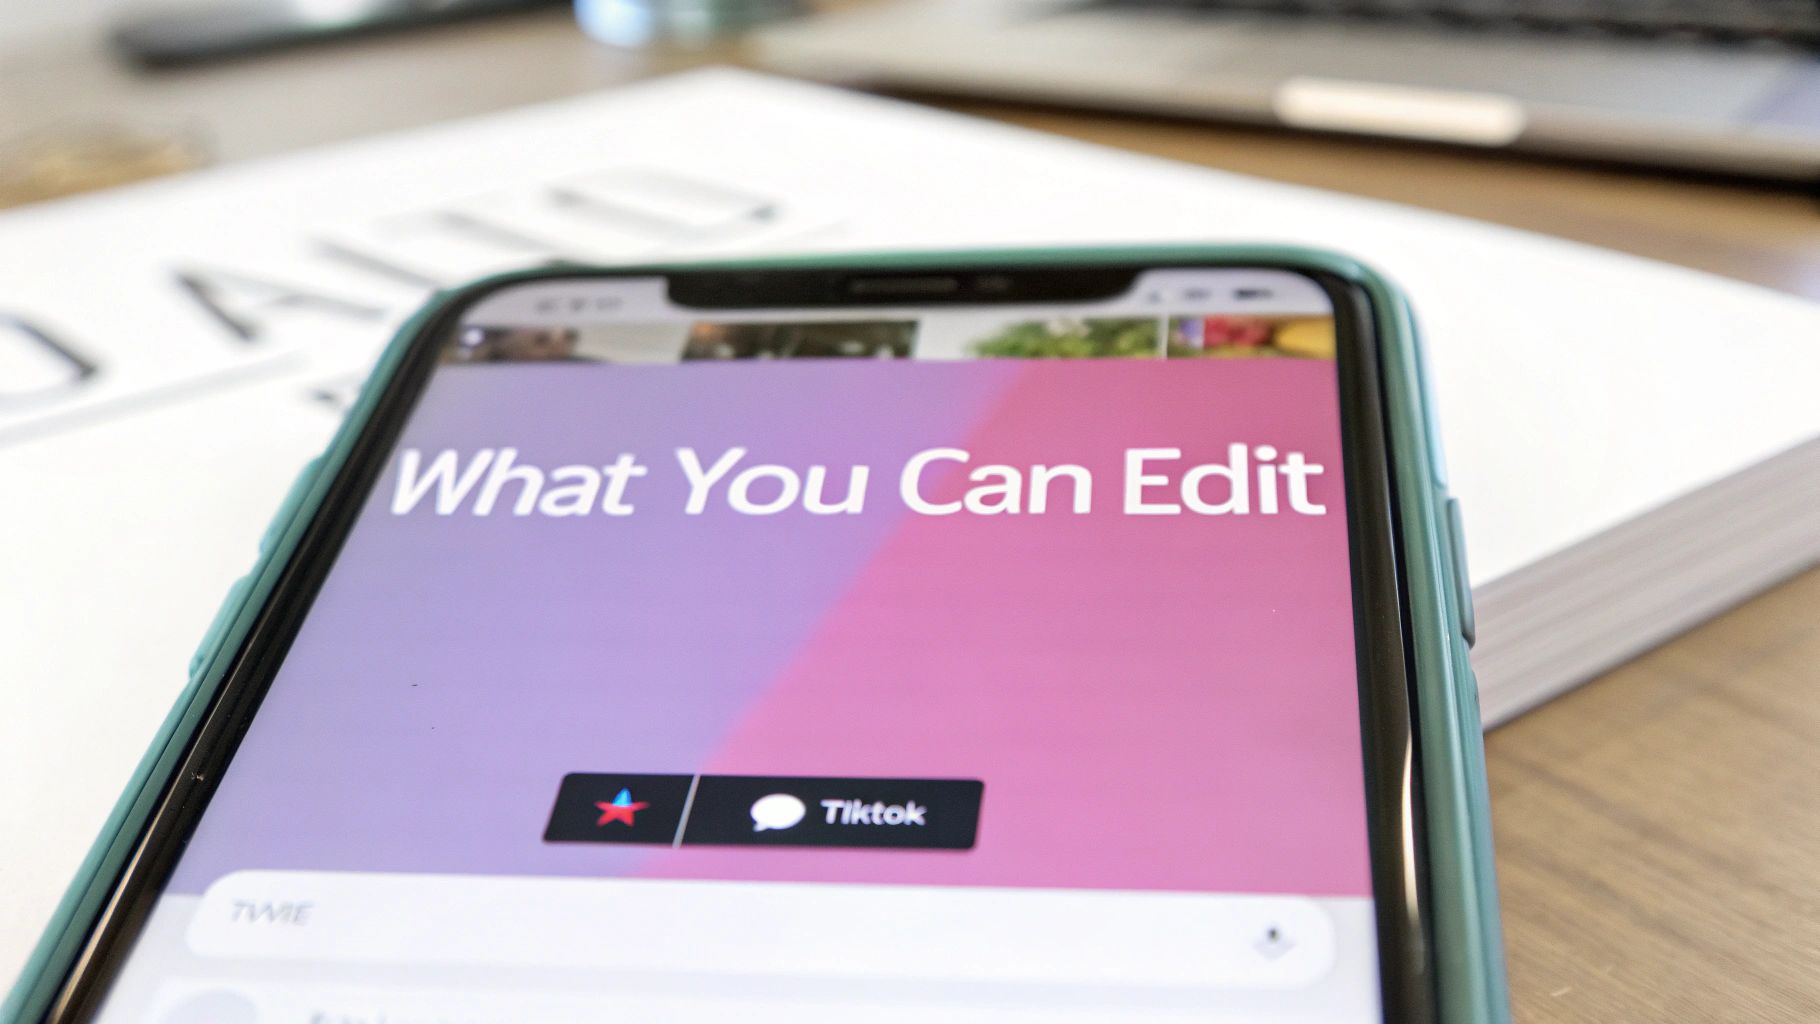
We've all been there. You post a TikTok, the views start rolling in, and then your heart sinks—you spot a glaring typo in the caption. The big question is, can you actually fix it?
The short answer is yes, but it’s not as simple as you might hope. While you can tweak things like the caption and hashtags, the actual video and audio are set in stone the moment you hit "Post."
The Reality of Editing a TikTok After You Post It
That mini-panic when you find a mistake on a live post is a rite of passage for creators. Luckily, TikTok's ‘Edit Post’ feature, which became a common sight in 2023, acts as a helpful safety net. It’s become so essential that by 2024, over 45% of creators in major markets were using it every single week.
But it’s critical to know what this feature doesn't do. It’s not a full-blown video editor. Think of it more as a tool for quick text-based fixes that don't touch the video content itself.
This is a deliberate choice by TikTok. The platform's algorithm depends on the integrity of the original video—the sound, the visuals, the effects—to figure out what it's about and who to show it to. If creators could change those core elements, it would throw a wrench in the whole discovery process.
What Can You Actually Change?
Here’s the thing: you need to act fast. Let's say you posted a video and misspelled a crucial hashtag. Fixing it quickly can salvage the post's momentum. In fact, research shows that edited videos can hold onto 92% of their original engagement if the fix is made within the first 24 hours. That's a massive improvement over the old method of deleting and reposting, which could cost you up to 60% of your initial traction. You can dive deeper into how edits affect visibility in this great piece on the TikTok algorithm on agorapulse.com.
So, what can you actually do once a video is live? Here’s a quick reference guide I put together to help you figure out your options on the fly.
What You Can and Cannot Edit on a Live TikTok Post
This table gives you a clear at-a-glance look at what’s possible with TikTok’s native editing feature.
| Feature | Can You Edit After Posting? | Important Notes |
|---|---|---|
| Video Description & Caption | Yes | Perfect for fixing typos, adding info, or rephrasing for clarity. |
| Hashtags | Yes | You can add trending hashtags or correct misspelled ones to boost discovery. |
| Tagged Accounts | Yes | Easily add or remove @mentions if you forgot someone or tagged the wrong account. |
| Cover Image & Text | Yes | This is huge—you can change the video thumbnail and title on your profile grid. |
| Video Clips | No | You cannot trim, reorder, or swap out any part of the video itself. |
| Audio & Music | No | The sound you picked is permanent. No changing the track once it's live. |
| Text Overlays & Stickers | No | Any text, stickers, or polls burned into the video are locked in. |
| Filters & Effects | No | The visual filters you applied in the editor are part of the video and can't be changed. |
The takeaway is pretty clear: the ‘Edit Post’ function is for the metadata, not the media. If you just made a typo in the caption or forgot to tag a collaborator, you're in the clear.
But if the mistake is in the video—like a weird pause, a visual glitch, or the wrong song—you’ll have to resort to a more involved workaround, which we'll get into next.
Making Edits to a Live TikTok
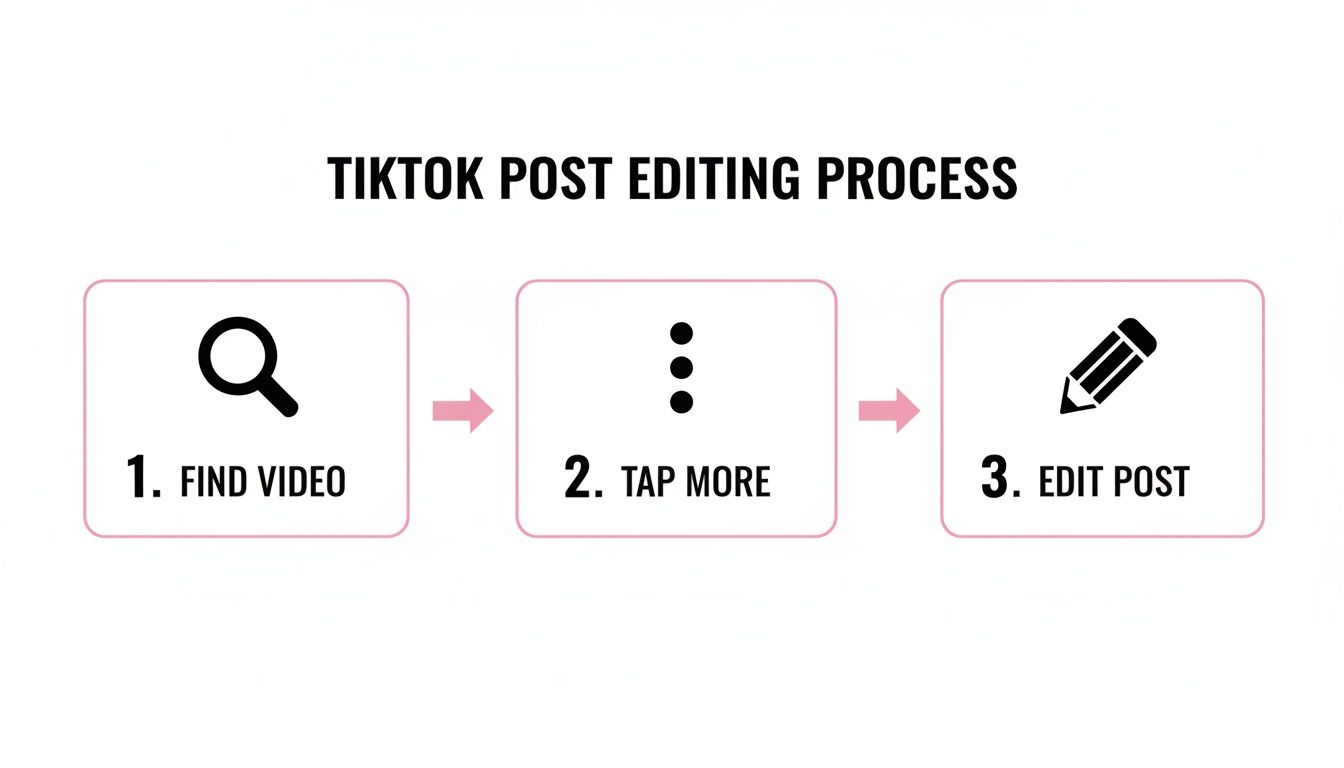
So you know what you can change, but finding the actual 'Edit Post' button can feel like a hidden feature. Let's pinpoint exactly where to go to make those allowed tweaks to a TikTok that's already live. Think of this as your first line of defense before you have to consider the nuclear option: re-uploading.
First things first, head to your profile and tap on the video you need to adjust. From the video screen, tap the three dots (…) on the right side. A menu will pop up from the bottom.
Scan the top row of icons in that menu for a pencil icon labeled "Edit Post." If you see it, great! You're good to go. If it's not there, your video is likely past the 7-day editing window. That one-week grace period is a hard limit set by TikTok for changing captions, tags, and covers. Once it's passed, the post is essentially set in stone.
Tweaking Your Caption and Hashtags
Once you’re in the edit screen, the most common fix is usually the caption. Maybe you posted a recipe and completely forgot to list a key ingredient in the description. Just tap on the text field and type in your correction. Simple as that.
This is also the perfect time to add a trending hashtag you might have missed. Say you posted a "get ready with me" video, and a few hours later, a new challenge like #GRWMChallenge starts blowing up. Popping that into your existing post can give it a serious second wind. In fact, videos using trending hashtags can see 2.5 times more views in their first few days.
Correcting Mentions and Your Cover
Did you forget to tag a collaborator? Or, worse, tag the wrong account? It happens. In the edit menu, you can easily add or remove @mentions to make sure the right people get credited and notified.
Another powerful but often ignored edit is the cover photo. Your profile grid is your portfolio, and a confusing or sloppy thumbnail can be a real turn-off for potential followers.
Practical Example: You've just posted a three-part series, but the cover images look messy and disconnected on your profile grid. As long as it's within that 7-day window, you can go back into each video, select a new cover frame, and adjust the title style to create a much cleaner, more professional look.
These quick metadata edits are fantastic for fixing small mistakes without losing the precious engagement you've already built up.
But what if the issue isn't the text or tags? What if you've spotted a typo in the on-screen text or an audio glitch? Unfortunately, these surface-level edits won't cut it. For that, you’ll need a completely different approach.
The Strategic Repost Workflow for Video and Audio Edits
So, what happens when the problem is bigger than a simple caption typo? A jumpy cut, the wrong background music, or a glaring on-screen text error can't be fixed with the "Edit Post" button. In these cases, you’ve got to take the video down and start over. But just deleting and re-uploading on the fly is a great way to kill your video's momentum.
This workflow is your game plan for strategically reposting a corrected video while saving as much of your hard-earned engagement as possible. It's about being deliberate, not just reactive.
First things first, always check if a simple edit will do the trick. For basic stuff, the process is incredibly straightforward.
As you can see, changing your caption or cover is easy. But when the error is baked into the video or audio itself, that option is off the table, which brings us to the full reposting strategy.
Preserve Your Original Post and Social Proof
Before you even think about hitting delete, your first move is to save the original video. Obviously, you'll need the footage to make your corrections, but you should also grab proof of its initial performance.
If the video got some fantastic comments or high praise, take screenshots. This social proof is gold and you can definitely repurpose it later in your stories or other content.
Once you have everything you need, don't delete the video. Instead, just switch its privacy setting to "Only Me." This pulls it from public view but keeps all the original data on your account for your own reference. It also stops your followers from seeing the flawed version pop up again while you're working on the new one.
Re-Edit and Re-Upload with Small Tweaks
Alright, now it’s time to fix the mistake. Take the saved video file into your preferred editing app and make your corrections—trim that awkward pause, swap out the audio track, or fix the typo in the text overlay. If you’re looking to get your sound just right, our guide on how to add music to TikTok has some excellent pointers.
Here’s a crucial pro-tip: to avoid the TikTok algorithm flagging your corrected video as duplicate content, you need to make one other small, non-essential change.
This can be as minor as:
- Trimming a single second off the beginning or end.
- Applying a slightly different color filter.
- Choosing a new cover frame.
These subtle adjustments are enough to signal to the algorithm that this is a fresh piece of content.
Practical Example: A food blogger posts a recipe video that pulls in 10,000 views in an hour. Then she notices she listed the wrong oven temperature in a text overlay. Panic! She quickly saves the video, screenshots the top comments praising the recipe, and sets the original post to private. In her editor, she corrects the temperature, shortens the intro by half a second, and picks a new cover image. She then reposts it.
Historically, creators have seen a 40-50% engagement drop on reposts because the algorithm naturally deprioritizes what it sees as duplicate content. This became especially clear in 2023 analytics, when repost rates hit a peak of 28% among US influencers. Getting this workflow right is absolutely essential to protect your reach.
Automating Your Workflow to Prevent Future Errors
Fixing a typo here and there isn't a huge deal. But if you find yourself constantly using the delete-and-repost method, it’s a symptom of a much larger problem in your workflow.
For anyone managing multiple accounts, creating content for clients, or chopping up long videos into clips, this manual grind becomes a massive bottleneck. It’s not just inefficient; it slows your entire production schedule to a crawl.
Instead of constantly putting out fires after your content goes live, a smarter strategy is to build a system that prevents those mistakes from ever happening. The goal is to shift your focus from fixing clips to creating a scalable process that ensures every TikTok is perfect from the very start.
Building a Proactive Editing System
The secret is to move all your quality control to the beginning of the process.
Let's say you just wrapped up a 30-minute podcast recording. The old way would be to manually slice it into clips, then painstakingly go back to edit out all the awkward pauses and filler words. A proactive system flips that entirely.
Modern editing tools can automatically detect and remove all the "ums" and "ahs" from your original footage before you even think about making clips. This means your audio is clean and professional from square one, so you'll never have to re-edit a TikTok because of a distracting sound.
Another huge source of errors? Caption typos. Manually transcribing and typing out captions for every single video is a recipe for mistakes. An automated workflow, on the other hand, can generate perfectly timed, animated captions that match your brand's style, completely eliminating the risk of embarrassing spelling errors.
Using Automation for Speed and Scale
This proactive approach is where you'll find game-changing efficiency. While being able to edit after posting is a nice safety net, it's part of a much bigger trend. The AI-driven video boom has led to 51% of marketers using AI for their editing tasks.
For podcasters and agencies, this is huge. Features like multi-language auto-translation (across 90+ languages) and crisp 4K rendering make it possible to repurpose one long video into dozens of high-impact TikToks for a global audience—up to 10x faster.
To cut down on post-upload edits and truly refine your content creation, think about integrating a powerful creative workflow management software.
This systematic approach completely changes your role. You stop being a constant troubleshooter, always worried about how to edit a TikTok video after posting, and instead become the architect of an efficient content machine. Your energy is spent on creative strategy, not damage control.
By adopting a workflow that puts quality first, you’ll slash your stress levels, save countless hours, and protect the engagement you've worked so hard to build.
If you’re ready to implement this strategy, you can learn more about how to automate social media posts in our detailed guide. A system like this doesn't just prevent errors—it scales your ability to produce great content, consistently.
A Creator's Checklist: Getting It Right the First Time
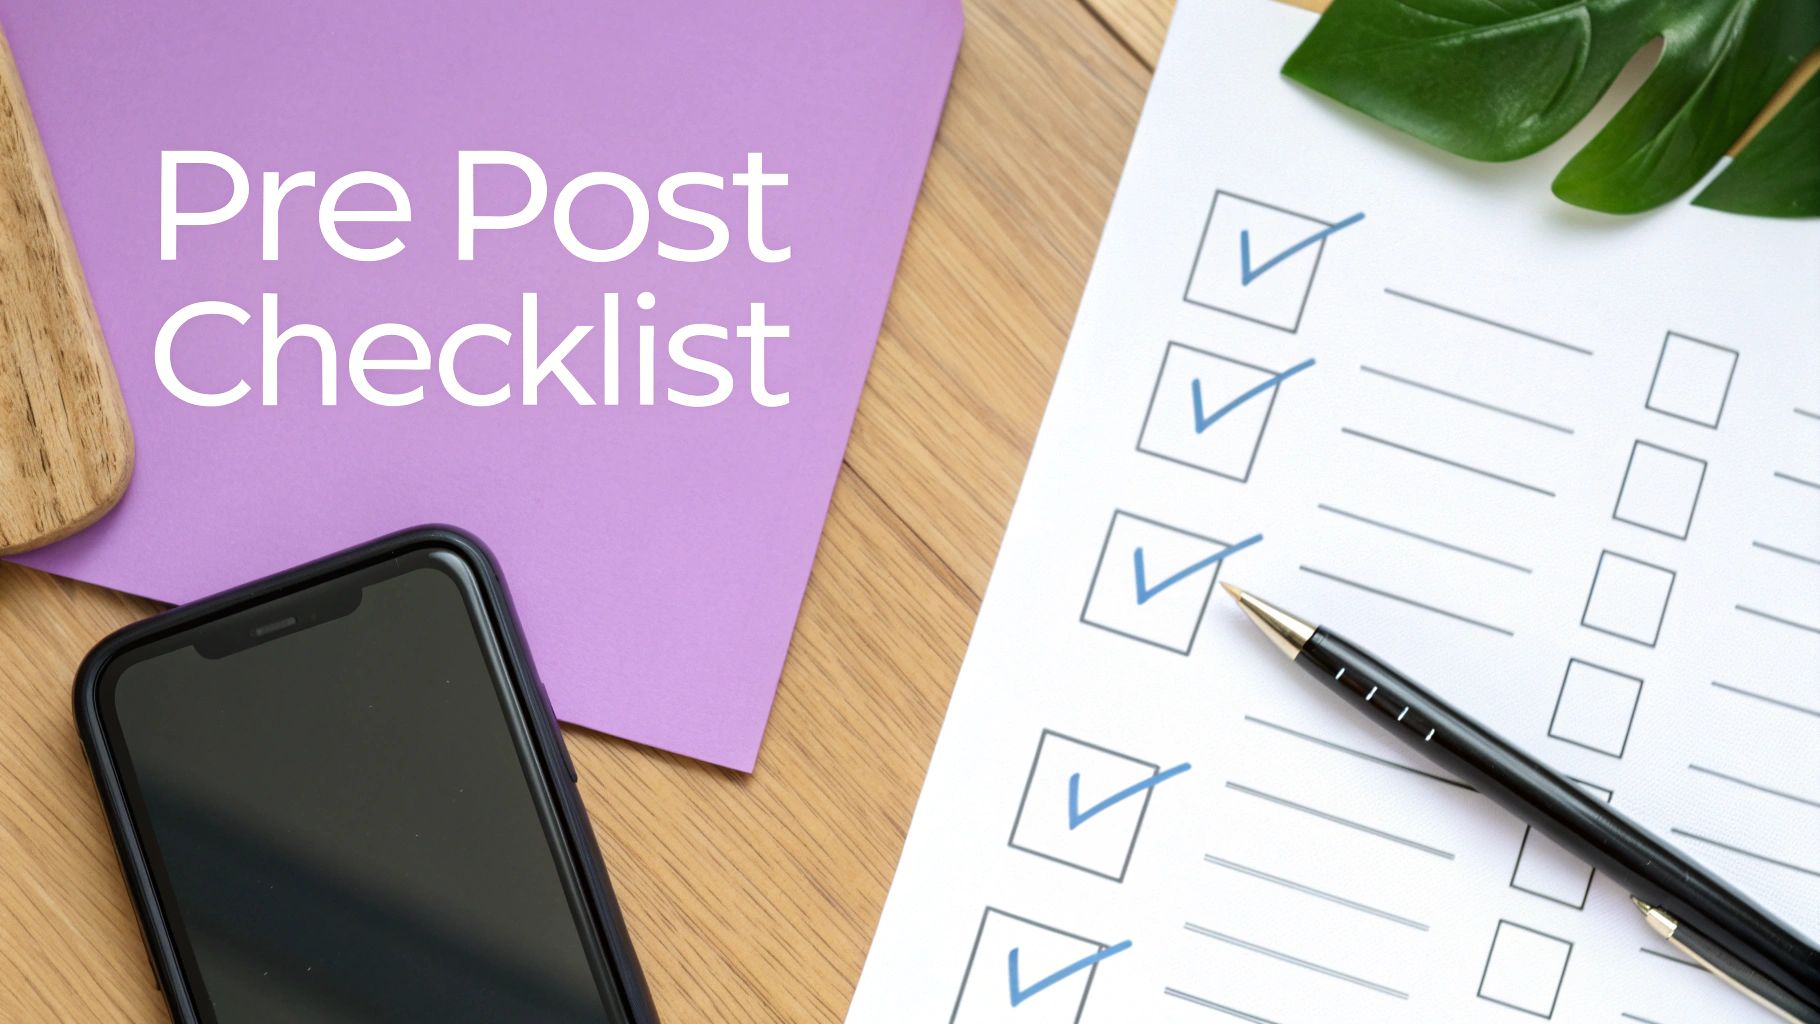
Look, the best way to deal with mistakes after you post is to simply not make them. While it’s good to know the workarounds, building a solid "pre-flight" checklist will save you a ton of stress and, more importantly, protect your video's precious engagement.
This isn't just about catching a stray typo. It’s about protecting your video’s launch momentum. The TikTok algorithm pays close attention in those first few hours, judging audience reaction to decide how far to push your content. Having to delete and re-upload because of a silly mistake completely resets that progress, which can be absolutely brutal for your reach.
The Content and Caption Audit
Before you even think about hitting that 'Post' button, take a minute for a quick audit. Honestly, this simple habit catches most of the common slip-ups that send creators scrambling.
First, triple-check your caption and any text you’ve baked into the video. Obvious, I know, but you'd be surprised how often a typo slips through. A tool like Grammarly can be a real lifesaver here. Double-check that you’ve tagged any brands, collaborators, or other creators correctly. One wrong letter in a username means they never get the notification, and you miss out on that connection.
For agencies or teams, this is non-negotiable. A simple approval process—just having a second set of eyes on the post before it goes live—can slash errors by over 70%. It’s a tiny step that adds a professional layer of quality control.
The Technical and Visual Check
Next up, get picky about the technical stuff. These are the things you absolutely can’t change later without a full re-upload, so they have to be perfect.
Always, always preview the final video on an actual phone, not just on your big desktop editing screen. This is the only way to catch formatting weirdness and safe zone issues. Make sure TikTok’s interface—like the caption text or the icons on the side—isn't covering up your brilliant on-screen text.
- Audio Check: Pop in some headphones and listen closely. You'll catch weird background hums, volume jumps, or audio glitches you'd otherwise miss.
- Visual Flow: Watch it one last time from beginning to end. Does it flow well? Are the cuts jarring or smooth? Is the pacing snappy enough to keep someone from swiping?
- Cover Selection: Don't let TikTok choose your cover image for you. Manually pick a frame that’s engaging and write a clear, compelling title. This is your video’s billboard on your profile grid.
Making these checks a core part of your workflow changes the game. You’ll stop reacting to problems and start preventing them, freeing you up to spend less time fixing and more time engaging with the community you're building.
Your Top Questions About Editing TikToks Answered
Even after you've been on the platform for years, figuring out what you can and can't tweak after a video goes live can be a real headache. Here are some straight answers to the questions I get asked all the time about how to edit a TikTok video after posting.
Can I Swap Out the Music on a TikTok After I've Posted It?
Unfortunately, no. Once a TikTok is published, the audio is locked in for good. Think of the sound as being baked into the video file itself; TikTok just doesn't give us the tools to change it later.
If you accidentally used the wrong track or a sound gets removed, your only move is to save the video, take it into an editor to add the new audio, and then re-upload it.
Is Reposting a Video Bad for My Views?
It definitely can be, which is why you can't just delete and re-upload blindly. The algorithm is smart enough to spot duplicate content, and it will often penalize you for it. I've seen a creator's daily vlog pull in 13,800 views on the first try, only to have a direct repost get stuck with a tiny fraction of that reach.
The trick is to make a small, almost unnoticeable change before you re-upload. Just trimming a single second off the end or tweaking the color filter slightly is usually enough to make the algorithm see it as a fresh piece of content.
What's the Time Limit for Editing a TikTok Caption?
You get a 7-day window to make changes. During that first week, you can edit the caption, adjust hashtags, tag accounts, and even change the cover image.
But once that week is up, the "Edit Post" option vanishes, and everything is locked permanently. If you spot a typo or a missed tag, you need to act fast.
If I Repost, Do I Lose All My Likes and Comments?
Yes, you do. This is the biggest drawback and the toughest pill to swallow. All that engagement—every like, comment, share, and view—is tied directly to that original post.
When you delete that video or even just set it to private to re-upload a fixed version, you're wiping the slate clean and starting from zero. It's always a good idea to screenshot any really great comments before you take down the original; that way, you at least have the social proof for other things.
Of course, the best strategy is to avoid these issues altogether. A solid workflow is your best defense. By automating your video editing workflow, you can turn long-form videos into polished, ready-to-post clips up to 10x faster, ensuring everything is perfect before you publish.