Welcome to the ultimate guide on how to take clips from YouTube videos. This has become an essential skill for just about anyone creating or sharing content today.
The easiest ways to get started are right inside YouTube itself. You can use the simple "Clip" feature for quick shares or, if you're a creator, the "Edit into a Short" function in YouTube Studio. But if you need more flexibility and power, we'll also dive into third-party web tools, downloadable software, and even automated API workflows.
Why Clipping YouTube Videos Is a Modern Content Superpower
Let's be real: attention spans are shrinking. Your long-form videos are sitting on a goldmine of shareable moments, and learning how to pull them out is a game-changer for any content strategy. This isn't just about trimming a video; it's about finding the most valuable, impactful moments and setting them free.
The massive shift to short-form content is impossible to ignore. Just look at the meteoric rise of YouTube Shorts, which has completely reshaped how people watch videos.
YouTube Shorts are now pulling in a staggering 70 to 90 billion views per day worldwide. That’s a huge jump from 30 billion daily views just a couple of years back. With over 2 billion monthly viewers and 70% of active channels now posting Shorts, the numbers speak for themselves. You can dig into the latest YouTube usage data to see the full story.
This explosive growth proves one thing: audiences are hungry for short, engaging, and easy-to-digest content.
The Power of Repurposing Content
Repurposing your content is about more than just saving time—it's about strategic amplification. Think about it: a single podcast episode or webinar recording holds dozens of potential clips, each one perfect for a different platform or audience.
Here’s how it works in the real world:
- For Content Creators: You can grab that one hilarious moment from your latest vlog and turn it into a viral TikTok. Or, you could take a powerful quote and make it a shareable Instagram Reel.
- For Marketers: Pull out customer testimonials, quick product demos, or a jaw-dropping statistic from a company webinar. These are perfect for social media ads, email newsletters, or website snippets.
- For Educators and Thought Leaders: Share complex ideas or profound insights in a way that's easy for anyone to understand and share. For a great example of this in action, see how you can make clips from video sermons to connect with a broader community.
By the time you're done with this guide, you’ll have a complete roadmap for turning any YouTube video into a powerful piece of short-form content. We'll walk through everything from YouTube's own tools to more advanced workflows, giving you the skills you need to grab and hold your audience's attention.
Using YouTube's Native Clipping Tools
Sometimes, the simplest solution is the best one. The most direct way to snip a moment from a YouTube video is to use the tools built right into the platform. You don't always need fancy software.
These native options are perfect for grabbing a quick share or for creators who want to repurpose their own videos without leaving the YouTube ecosystem. Think of it as your policy-compliant, no-fuss starting point.
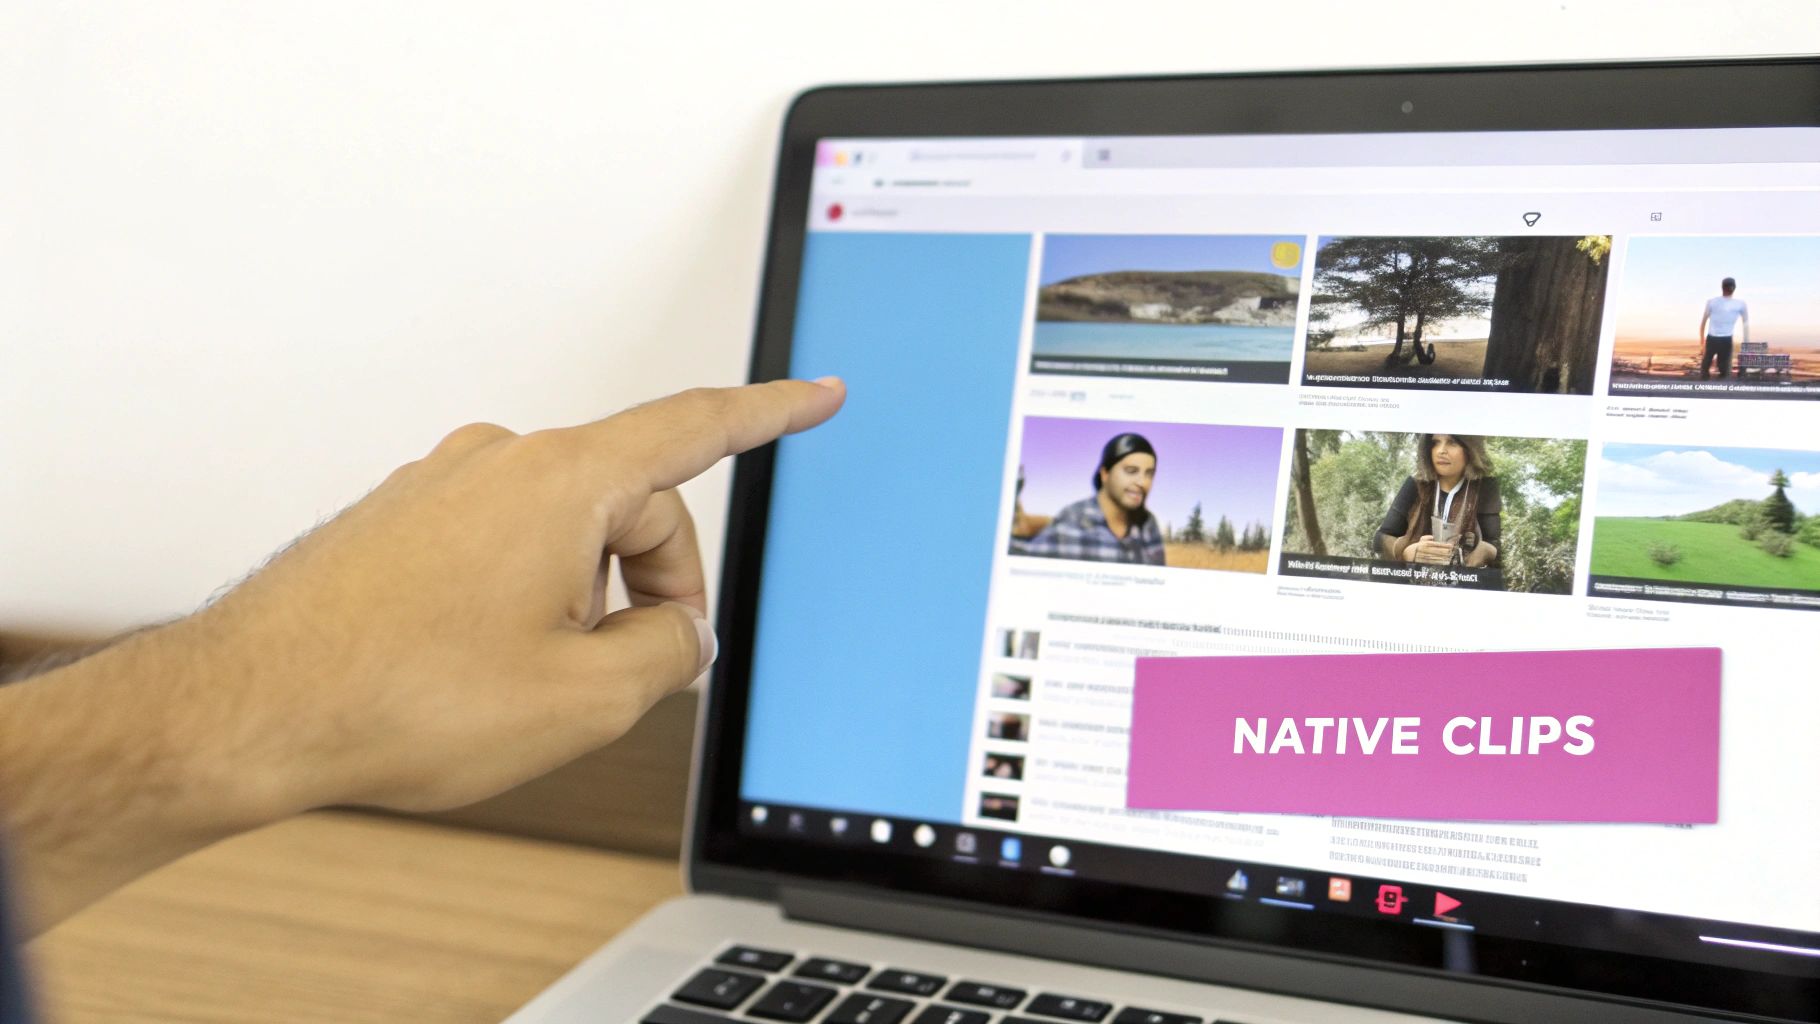
There are really two ways to go about this: the public 'Clip' feature that anyone can use and the much more powerful YouTube Studio editor for channel owners. Each serves a different purpose, but both are incredibly useful for isolating those golden moments.
The Public 'Clip' Feature For Quick Sharing
Ever find yourself deep in a long interview and just want to share one brilliant quote with your team on Slack? That's precisely what the public 'Clip' feature was made for. It lets any viewer create a short, shareable segment of a video—as long as the creator has it turned on.
The process couldn't be easier. Just look below the video player, right next to the like and share buttons, and you'll spot a scissors icon labeled 'Clip'. Clicking this opens a dead-simple interface where you can drag to select the exact part of the video you want.
Now, there are a few things to keep in mind here. It's not a free-for-all.
- Length Restriction: Clips have to be between 5 and 60 seconds long. Perfect for a single soundbite or a funny reaction, but you won't be grabbing long excerpts with this.
- Creator Dependent: This feature is entirely optional for the channel owner. If they've disabled clipping on their video, that little scissors icon just won't be there.
- Not a Download: This is the big one. Creating a clip doesn't save an MP4 file to your computer. What you get is a unique URL that links back to the original video, playing only the segment you chose.
This is actually a brilliant design choice by YouTube. It's a fantastic tool for driving traffic back to the source creator, since anyone who likes your clip can immediately click through to watch the full video.
Here’s a practical example: Imagine a marketer watching a 45-minute webinar on SEO trends. They can use the 'Clip' feature to grab a 30-second soundbite where the speaker drops a surprising statistic. They can then share that specific clip URL directly to the company LinkedIn page, adding a comment like, "A key insight from today's industry talk." It provides instant value without making followers sit through the whole presentation.
YouTube Studio For Content Creators
If you're the one who owns the content, YouTube Studio is where the real magic happens. This is your personal editing suite, giving you far more control for repurposing your own work without needing any outside tools.
Head over to the 'Content' tab in your YouTube Studio, and you can access the editor for any of your videos. This is your hub for creating shorter content from your existing library.
Trimming Your Videos
The basic trim and cut tools let you shorten your existing videos or snip out sections. While this is a "destructive" edit on the original video, it’s handy for quickly chopping off a rambling intro or tightening up content after it's already gone live. But for creating separate clips, there's a much better option.
Using The 'Edit into a Short' Tool
This tool is YouTube's direct answer to the explosion of short-form content. It lets creators grab up to 60 seconds from one of their long-form videos and instantly turn it into a YouTube Short.
The workflow is incredibly efficient. Instead of the old-school method—downloading a massive video file, editing it in separate software, and then re-uploading—you can do it all in one place.
With this tool, you can:
- Pinpoint the perfect segment from your video's timeline.
- Add text, filters, and other creative bells and whistles native to Shorts.
- Publish it directly to your channel, which automatically includes a link back to the original full-length video.
This creates a powerful discovery loop. Someone stumbles upon your Short, loves it, and then clicks right through to watch the entire video it came from. Considering over 70% of active channels are now posting Shorts, this feature is one of the easiest ways to get more eyeballs on your primary content.
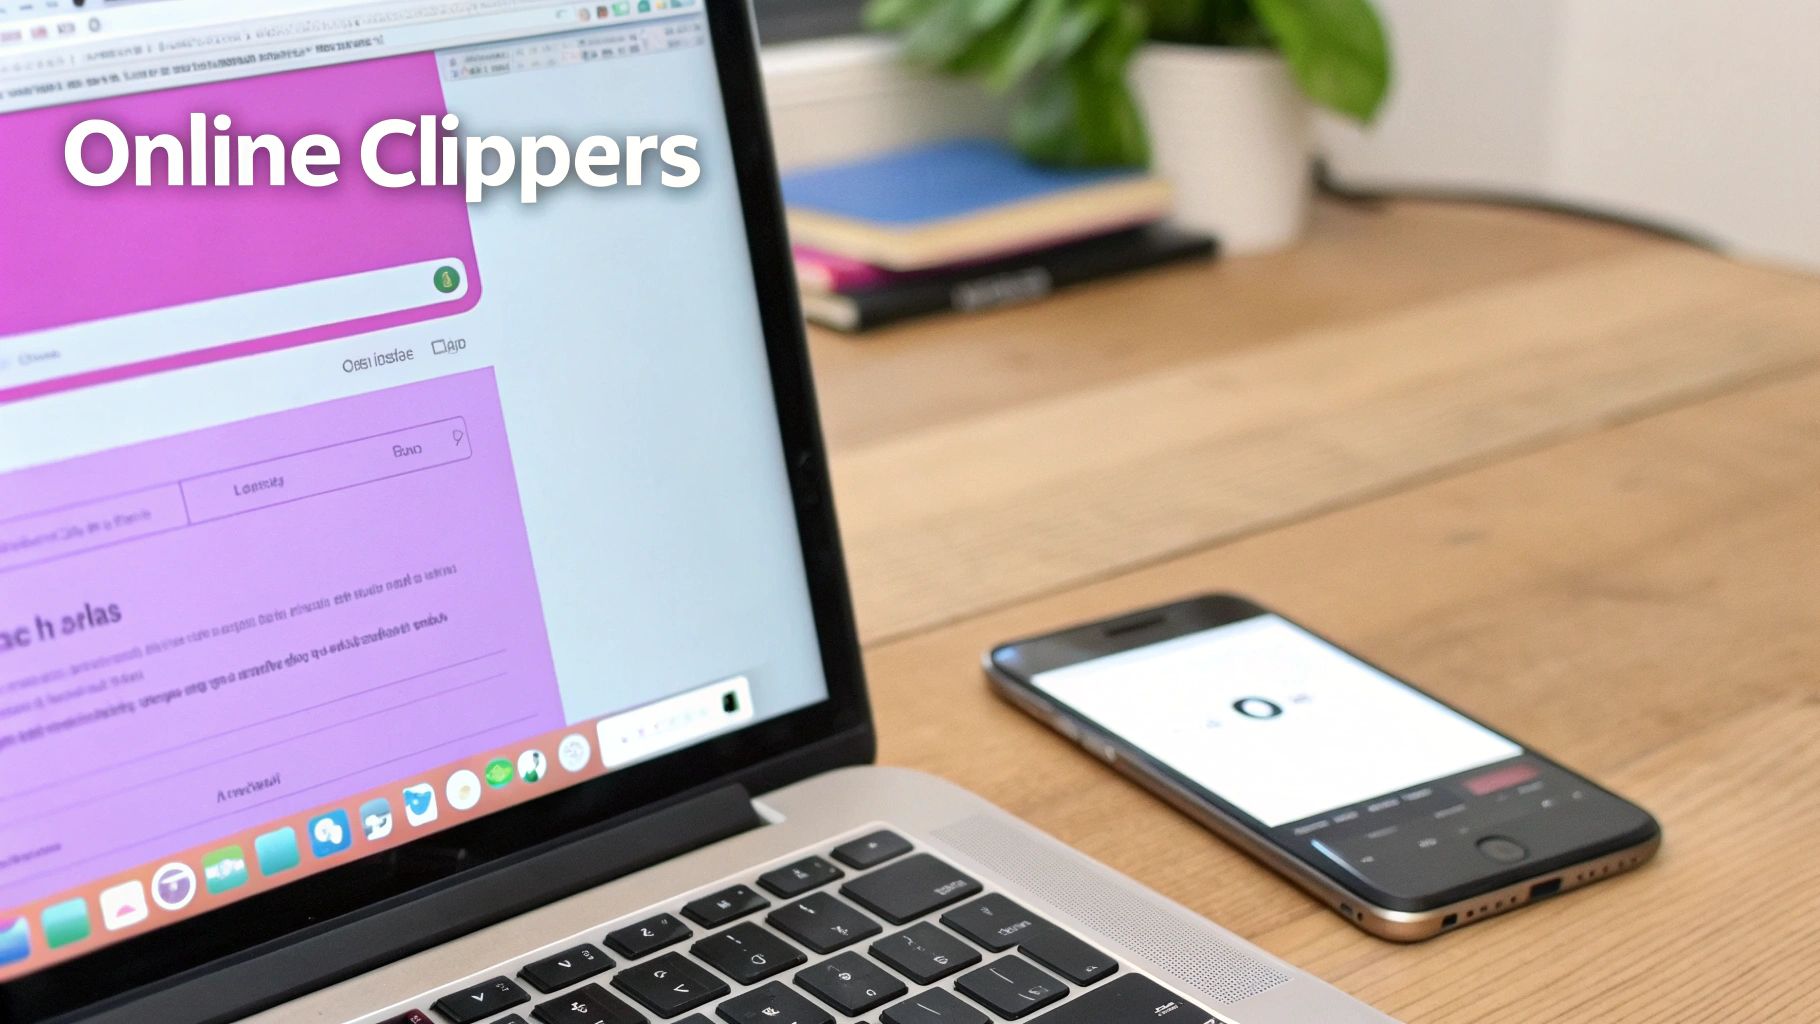
Web-Based Tools for More Clipping Flexibility
So, you've hit the limits of YouTube's built-in clip feature. A 60-second leash can feel pretty tight when you need something more substantial. This is where a whole world of web-based tools comes into play.
These online clippers give you far more power and control, and the best part? No software installation is needed. The process is usually dead simple: paste a YouTube URL, pick your start and end times, and export your clip.
While YouTube's "Clip" button is great for quickly sharing a link, it doesn't actually give you a video file. That's the key difference. Online tools bridge this gap, letting you download a real MP4 or GIF file. This is a game-changer for social media managers, marketers, and creators who need versatile assets they can upload anywhere.
Choosing Your Online Clipper
The market for these tools is crowded, and honestly, they aren't all created equal. Your choice usually comes down to a trade-off between features, quality, and cost. Some are completely free but will slap a watermark on your final clip. Others use a freemium model, offering basic clipping for free but keeping premium features like 4K downloads or batch processing behind a paywall.
Think about it from a practical standpoint. If you're a social media manager trying to pull ten unique clips from a client's hour-long webinar, a free tool with a watermark just isn't going to cut it. In that scenario, paying for a tool that delivers high-resolution, unbranded clips is a no-brainer for maintaining a professional look.
A good online tool does more than just trim. Imagine grabbing a two-minute segment from a product review, instantly reformatting it into a square video for Instagram, and adding a quick text overlay—all without ever leaving your browser. That's a massive shortcut compared to downloading the whole video and firing up a separate editor.
Comparing Popular Web-Based YouTube Clipping Tools
To help you navigate the options, here's a quick comparison of some of the go-to tools people are using. Each has its own strengths, so the "best" one really depends on what you're trying to accomplish.
| Tool Name | Best For | Key Features | Pricing Model | Watermark on Free Plan? |
|---|---|---|---|---|
| Clipchamp | All-in-one editing and clipping | Browser-based editor, stock library, templates | Freemium | No |
| Kapwing | Social media content & memes | Resizing, subtitles, text overlays, templates | Freemium | Yes (removable with upgrade) |
| YT Cutter | Quick, no-frills trimming | Frame-by-frame precision, fast processing | Free (with ads) | No |
| VEED.IO | Advanced features & team collaboration | Auto-subtitles, screen recording, branding kits | Freemium | Yes (removable with upgrade) |
Ultimately, the right tool is the one that fits your workflow. For simple, one-off clips, a free option like YT Cutter is perfect. But for ongoing social media work, something more robust like Kapwing or VEED.IO might be a better investment.
A Practical Example Walkthrough
Let's walk through a common scenario. You need to grab a compelling 90-second testimonial from a customer interview on YouTube for a marketing campaign. With a typical web tool, you can get this done in minutes.
- First, grab the video URL. Just head to the YouTube video and copy the link from your browser's address bar.
- Next, paste it into the tool. Open your chosen online clipper and drop the link into the input box. The tool will pull in the video.
- Then, set your start and end points. You'll see a visual timeline editor. Just drag the handles to select the exact moment you want the clip to begin and end. Most tools are pretty precise, letting you trim down to the frame.
- Now, choose your output format. For a high-quality social media post, MP4 is almost always the right call. If you're making a silent, looping animation for a website, GIF is a solid option.
- Finally, download your clip. After a few moments of processing, the tool will give you a download link. Done.
This whole process can take less than five minutes, which is a huge time-saver.
Of course, browser-based tools are fantastic for these one-off tasks, but they can become a bottleneck if you need to create clips at scale. If you're looking to really streamline things, an AI video clipping tool can automatically find the most engaging moments for you, pushing your efficiency way up.
In the end, web-based clippers occupy a valuable middle ground—more powerful than YouTube's basic features but less complex than full-blown desktop software. They offer a ton of flexibility for a wide range of content needs.
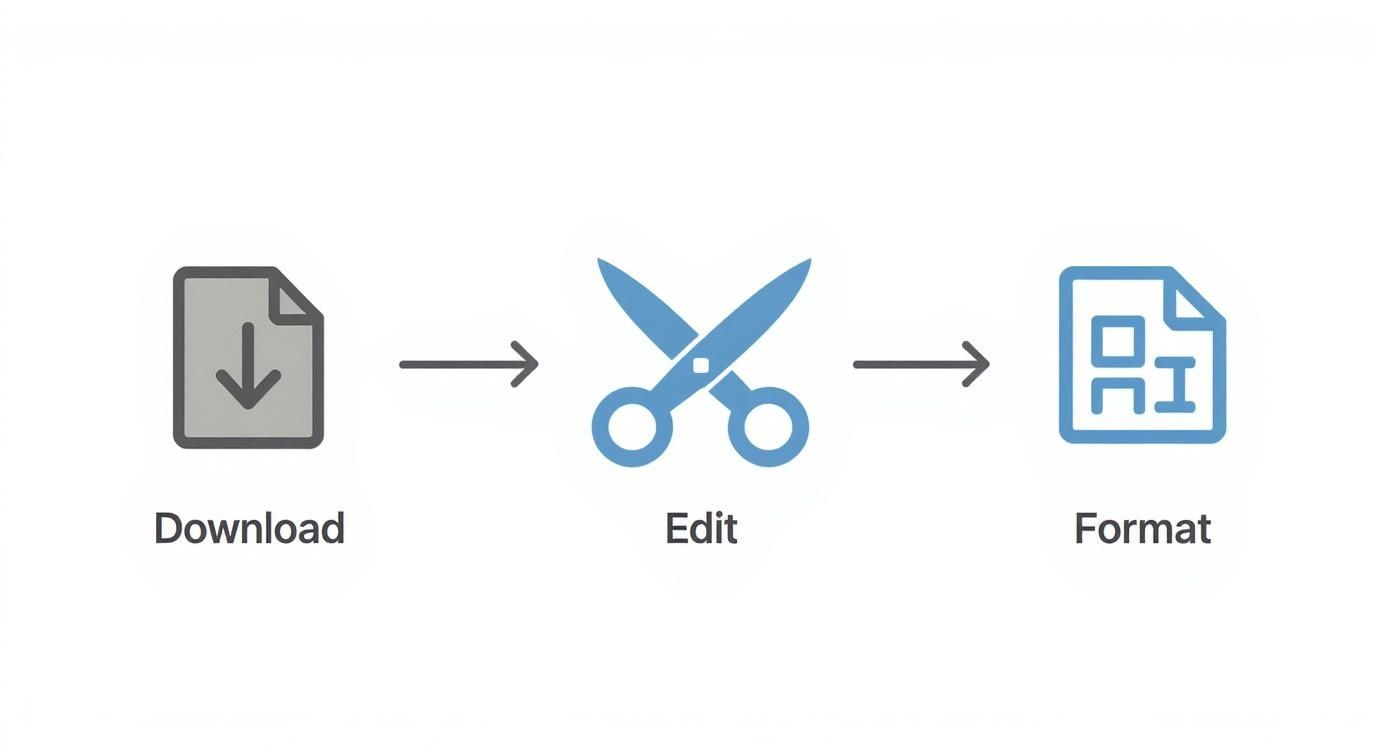
Professional Workflow: Downloading and Editing Locally
Sometimes, the online tools just don't cut it. When you need absolute creative control and want to produce something truly polished, nothing beats bringing the video file onto your own computer and working with it locally.
This is the go-to method for serious creators. It's about taking a raw YouTube video and transforming it into a high-impact piece of content that's perfectly tailored for its new purpose. The process really boils down to two main stages: grabbing the highest quality version of the source video and then molding it in professional editing software.
Getting a clean, high-resolution download is the first, and most critical, step. A pixelated source file will only lead to a pixelated final clip, no matter how skilled you are with editing. For a detailed breakdown of the best ways to get this done safely and effectively, our guide on how to download and edit videos from YouTube covers everything you need to know.
Entering the Editing Suite
With the video file on your hard drive, it's time for the fun part. Fire up your editing software—whether that's an industry heavyweight like Adobe Premiere Pro and Final Cut Pro, or a powerful free option like DaVinci Resolve. The specific tool doesn't matter as much as the control it gives you.
Your first move is to scrub through the timeline to find those golden nuggets of content. Use your blade tool to slice out the best moments, trimming the fat and keeping only what’s essential. This is non-linear editing at its best; you can shuffle segments, tighten the pacing, and experiment freely until the story feels just right.
Key Takeaway: A local editing workflow isn't just about trimming. It's about deconstructing the original video into its core components and then rebuilding it into something new, purpose-built for a different platform and a different audience.
Techniques to Make Your Clips Pop
Just pulling out a raw quote or a simple action shot is rarely enough to stop the scroll on a busy feed. The real magic of local editing comes from the layers of polish you can add.
- Dynamic Captions: Go beyond basic subtitles. Create captions that animate, change color, and highlight key words to keep viewers locked in. This isn't just for show; animated text can genuinely increase watch time.
- Color Grading: Tweak the colors to match your brand's palette or to evoke a specific mood. A quick color grade can instantly make a clip feel more professional and cinematic.
- Branding Elements: This is your chance to easily overlay your logo, a call-to-action, or other branded graphics. Consistency here is key to building a recognizable identity.
These are the details that separate a generic snippet from a strategic piece of marketing content.
Formatting for Different Platforms
One of the biggest wins for this workflow is the power to perfectly format your clip for any social media platform. A standard widescreen 16:9 YouTube video just looks awkward and performs poorly on a vertical-first platform like TikTok.
This is where you need to think about aspect ratios. You’ll want to reframe that 16:9 clip into a vertical 9:16 for Reels and TikTok, or maybe a 1:1 square for an Instagram feed post. When you're pulling clips, having a solid grasp of a creator's guide to vertical video dimensions is non-negotiable for getting the best performance. In your editor, you can simply create a new sequence with the right dimensions, then slide and scale your footage to keep the important stuff front and center.
Practical Example: A Travel Vlogger's TikTok
Let's say a travel vlogger has a 5-minute monologue about hiking a volcano on their YouTube channel. It’s a great piece, but way too long for short-form video.
Here’s how they could use a local editor to turn it into a 30-second viral-worthy TikTok.
- Download and Isolate: First, they download their own 4K YouTube video and drop it into Premiere Pro. They quickly find the three best soundbites: one about the initial challenge, a second about the view from the summit, and a final quick reflection.
- Reformat and Reframe: They create a new 9:16 vertical sequence. They grab their best B-roll shots of the landscape and stack them to create a dynamic visual background. They then lay the audio clips over this montage.
- Add Polish: A vibrant color grade makes the scenery pop. They add animated captions that emphasize powerful words like "breathtaking" and "unforgettable."
- Incorporate Trends: To finish it off, they add a trending ambient audio track from TikTok's sound library (at a low volume) underneath their voiceover and add a text hook in the first three seconds to grab attention.
What they've created is a completely new asset, perfectly engineered for a different audience, all from that original long-form video. This is the ultimate power of the professional workflow—the ability to completely reshape your message for any platform.
Automating Your Clipping Process with an API
Manual clipping is fine when you're just starting out. But what happens when you need to pull highlights from dozens, or even hundreds, of videos? For businesses, media companies, and agencies, trying to do this by hand is a recipe for burnout. It just doesn't scale.
This is where a video API (Application Programming Interface) comes in. It can completely transform your content workflow from a tedious, time-consuming chore into a powerful, automated system.
https://www.youtube.com/embed/ICCV6ZKYQ4s
Think of an API as a messenger that lets different software applications talk to each other. In the world of video, this means you can write a script that tells a service to find a video, pinpoint key moments, snip them out, and get them ready for other platforms—all without a human ever opening an editor. It's the engine that drives high-volume content repurposing.
How a Video API Changes the Game
Imagine a setup where your system automatically keeps an eye on a YouTube channel. The second a new video goes live, the API kicks into gear. It can transcribe the entire video on the fly and then scan that transcript for specific keywords or phrases you've told it to look for.
For instance, a financial news channel could set up a rule to automatically clip every segment where the host says "market forecast." The API would find those timestamps, extract them as short, shareable clips, and maybe even add branded overlays and subtitles before pushing them to a social media scheduler.
This kind of automation can claw back hundreds of hours. Some research suggests employees can spend over 500 hours per year on repetitive tasks that are ripe for automation. Video editing is a prime candidate. By offloading this work to an API, you free up your creative team to focus on bigger things like strategy and storytelling, not just tedious cutting and pasting.
The core steps in any professional clipping workflow—downloading, editing, and formatting—are all handled programmatically.
An automated process like this gives you consistency and speed, letting a small team manage a massive amount of content without breaking a sweat.
Choosing a Specialized API Over a Generic One
But not all APIs are built the same. Generic video processing APIs can handle the basics like trimming a video or changing its format, but they often lack the smarts needed for intelligent content repurposing. This is where a dedicated solution really shines.
A specialized video clipping API is engineered from the ground up to understand what makes a short-form clip engaging. Our advantage comes from features designed specifically for this job.
- AI-Powered Scene Detection: Instead of just blindly cutting based on timestamps, our system can identify distinct scenes, find different speakers, or even detect moments of high energy. This results in clips that make a lot more sense on their own.
- Automated Multi-Language Captioning: Basic subtitles are one thing. We offer automated captioning and translation into over 90 languages, which can dramatically expand your content's global reach with minimal effort.
- Intuitive Developer Tools: We put a lot of work into making integration as painless as possible. With clear documentation and SDKs, you can get your content pipeline built and running much faster.
Here's a practical example: A podcasting network uses our API to break down its two-hour episodes. Their system automatically identifies each time a guest speaks, clips out those segments, adds dynamic animated captions in the guest's native language, and formats everything perfectly for TikTok and Reels. A process that would take a human editor a full day is now done in under 30 minutes.
If you're looking to build a video workflow that can grow with you, exploring the benefits of using an API for video repurposing is a crucial next step. It’s the difference between manually chipping away at a mountain of content and having a machine that intelligently mines it for gold.
Navigating Copyright and Fair Use Responsibly
Taking clips from YouTube videos unlocks a ton of creative potential, but it also means you’re wading into the waters of copyright law. It's simple, really: every video uploaded is instantly protected by copyright, giving the creator exclusive rights to their work. This means you can't just grab any clip you want without knowing the rules of the road.
The concept you absolutely need to understand is fair use. Fair use is a legal doctrine that allows for the limited use of copyrighted material without getting permission first. But—and this is a big but—it's not a free pass. It’s a nuanced, case-by-case balancing act that courts use to figure out if a particular use is "fair."

Understanding Transformative Work
When it comes to a fair use argument, the single most important factor is whether your work is transformative. Did you add something new? Does your video have a different purpose or character than the original? If you’ve just re-uploaded a section of someone else's video, you haven't transformed it. You've just copied it.
Let's look at a practical example to make this crystal clear:
- Not Fair Use: You clip a 30-second scene from the latest blockbuster movie trailer and upload it with the title, "Best Movie Scene Ever." This doesn't add any new value and directly competes with the original creator's content.
- Potentially Fair Use: You use that same 30-second clip within a larger video essay where you're analyzing the cinematography, breaking down the editing techniques, or even parodying the genre. Now, you’ve transformed that original clip into a new piece of commentary or criticism.
The safest path is always the clearest: stick to clipping your own content or get explicit permission. The moment you use someone else's work, you're accepting a certain level of risk.
The Consequences and How to Stay Safe
YouTube’s enforcement is swift and largely automated. With over 3.9 billion videos on the platform and millions more being uploaded daily, they rely on sophisticated systems like Content ID to manage copyright at an impossible scale. Just to give you an idea, YouTube’s systems recently removed around 8.4 million videos for various violations in a single quarter. You can dig into more YouTube platform statistics to see the full scope, but the takeaway is that the risks are very real.
If you ignore the rules, you could be facing some serious headaches:
- Copyright Strikes: Get three of these, and your channel could be terminated for good.
- Content ID Claims: The copyright owner can choose to monetize your video (run ads on it), track its analytics, or block it entirely.
- Demonetization: Your entire channel could lose its ability to earn revenue.
To keep your channel in good standing, always give prominent credit to the original creator in both your video and your description. While this doesn't legally absolve you of infringement, it’s a crucial ethical step and a sign of respect within the creator community. Knowing these guidelines will help you repurpose content confidently and respectfully, protecting your channel and the creators you admire.
Got Questions About Clipping YouTube Videos? We've Got Answers.
As you start pulling clips from YouTube, a few common questions always pop up. Let's tackle some of the most frequent ones I hear, covering everything from technical limits to the all-important legal stuff.
How Long Can a YouTube Clip Be?
If you're using YouTube's built-in "Clip" feature, you're working within a tight window: clips can be a minimum of five seconds and a maximum of 60 seconds long.
This is perfect for grabbing a quick, shareable highlight. But if you need a longer segment, you'll have to look beyond YouTube's native tool and use one of the other methods we've covered, like a web-based clipper or a download-and-edit workflow.
What’s the Difference Between a Clip and a Short?
This one trips a lot of people up. A YouTube "Clip" isn't a new video; it's just a special link that directs viewers to a specific 5-60 second part of your original, longer video. Think of it as a bookmark.
A YouTube Short, on the other hand, is a completely separate, standalone vertical video that you upload to your channel, much like a TikTok or an Instagram Reel.
Here's the bottom line: Shorts are brand-new pieces of content you create. Clips are just pointers to a small piece of content you've already published. This is why you can monetize Shorts and long-form videos, but not Clips.
Can I Make a Clip Longer Than 60 Seconds?
Not with YouTube's own clipping tool, no. That 60-second limit is a hard ceiling.
To get around this, you need to use a different approach. Your best bets are the web-based tools we discussed or downloading the full video to trim it down yourself with editing software. Those methods give you total freedom over the final length.
For content teams that need to create dozens of clips efficiently, manual tools quickly become a bottleneck. An AI-powered platform like Swiftia can automate the entire process—finding the best moments, adding dynamic captions, and formatting clips for social media up to 10x faster. See how it works at https://swiftia.io.