If you want to post videos from YouTube to Instagram, you can't just download and re-upload. It requires a thoughtful repurposing strategy. You need to transform your long-form horizontal content into snappy, vertical clips that feel native to Instagram's fast-paced formats like Reels and Stories.
Done right, this approach is one of the smartest ways to squeeze more value out of the hard work you've already done.
Why Bother Repurposing YouTube Videos for Instagram?
Turning your YouTube videos into Instagram content isn't just a time-saver; it’s a powerful growth strategy. Instead of constantly brainstorming new ideas from scratch, you’re giving your best content a second life on a platform where a different segment of your audience hangs out.
There’s a massive audience overlap between these two giants. A 2023 study by DataReportal found that a staggering 76.9% of Instagram users also use YouTube. This tells us that a huge chunk of your potential Instagram audience is already comfortable with long-form video and probably open to your style. You just have to meet them where they are.
Squeeze More ROI From Your Content
At its core, this is all about maximizing your content's return on investment (ROI). You've already put in the time and money to produce a polished YouTube video. That single video is packed with "micro-moments"—powerful quotes, quick tips, or exciting highlights—that are perfect for short-form content.
A practical example is a tech podcast that posts hour-long interviews on YouTube. They started clipping the most insightful 60-second answers into Reels with dynamic captions.
The result was incredible. By simply adapting their existing library, the channel tripled its Instagram engagement in just a few months. Even better, it drove new followers on Instagram and sent a wave of new viewers back to their full-length YouTube episodes.
This strategy works because you’re serving people content formatted for their specific viewing habits. If you're looking for more ways to make your content work harder, exploring different content repurposing strategies is a great next step.
The Magic is in the Adaptation
The keyword here is adapt, not just repost. It’s about more than just trimming a video down. You have to reframe the story for a completely different context. The payoff is huge:
- Boost Your Discoverability: The Instagram algorithm, especially for Reels, is a discovery engine. It’s designed to push compelling content to fresh eyes, helping you break out of your existing subscriber bubble.
- Drive Higher Engagement: Short, punchy videos are tailor-made for mobile scrolling. In fact, video posts on Instagram receive 38% more engagement on average than image posts.
- Build a Stronger Brand: Sharing valuable clips consistently hammers home your expertise and keeps your brand top-of-mind for your audience, no matter which platform they're on.
Learning how to properly post videos from YouTube to Instagram turns your content archive from a collection of one-off assets into a powerful, sustainable engine for growth. To really dig in, you can learn more about building on this foundation with these content repurposing strategies.
Getting the Technical Details Right for Instagram
Before you even think about clipping moments from your YouTube video, you need to get familiar with Instagram's technical playbook. Every video type on the platform—Reels, Stories, Feed posts—plays by its own set of rules. If you ignore them, your content will look sloppy and get buried by the algorithm.
Here’s a hard truth: you can't just take a horizontal YouTube video (16:9) and crop it. Doing that is a surefire way to cut your main subject right out of the frame, leaving viewers confused. You have to completely reframe your content for the vertical world of a phone screen. A huge part of this is knowing the fundamentals of uploading videos to Instagram and how these specs dictate your every move.
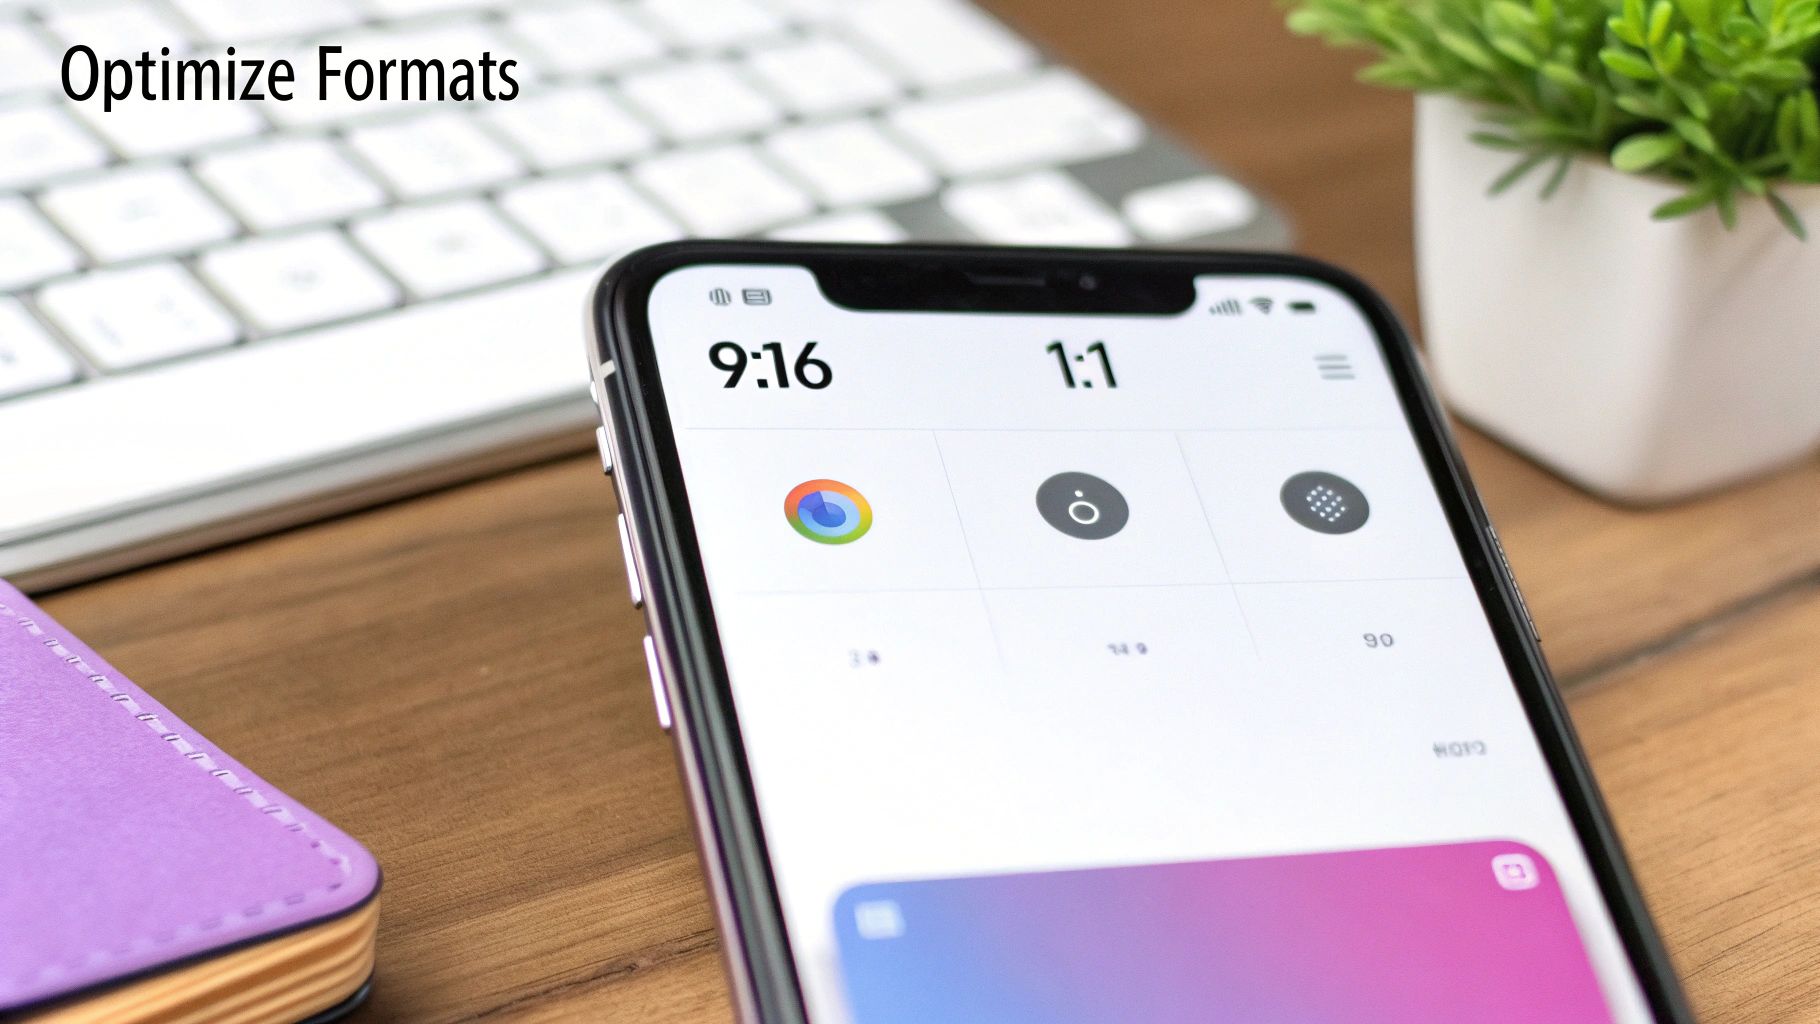
Matching Format to Function
Each spot you can post a video on Instagram is designed for a different kind of interaction, and the technical specs reflect that. Nail these, and you're on your way to successfully posting YouTube clips on Instagram.
- Instagram Reels: This is where you get discovered. They absolutely must be a 9:16 vertical aspect ratio, and you've got up to 90 seconds to work with.
- Instagram Stories: Also 9:16, these are for more casual, in-the-moment clips. Each story slide is 15 seconds long.
- Instagram Feed Videos: You’ve got a bit more flexibility here. Aim for 1:1 (square) or 4:5 (portrait). The max length is 60 seconds.
Shifting from a wide 16:9 format to a tall 9:16 isn't just a technical crop—it's a creative one. You're completely rethinking the visual narrative for a vertical canvas. A practical example would be a two-person interview; in a 16:9 shot, both speakers are visible. For a 9:16 Reel, you'll need to cut between close-ups of each speaker to keep them centered in the frame.
Optimizing Your Export Settings
Once you've reframed your clips, the last technical hurdle is exporting them correctly. This is your best defense against Instagram’s aggressive compression, which can absolutely murder your video quality.
I've found these export settings give the best, most consistent results:
- File Format: Stick with MP4. It's the gold standard and what Instagram expects.
- Codec: The H.264 codec is your friend. It gives you an excellent balance between high quality and manageable file size.
- Resolution: Always export in 1080p (that's 1080×1920 for vertical video). This gives Instagram a sharp, high-quality file to work with, minimizing compression artifacts.
And if you're wondering if all this effort is worth it, the data is crystal clear. A staggering 99.8% of Instagram users are also on at least one other social platform, and for 76.9% of them, that platform is YouTube. This massive audience overlap is a golden opportunity.
By turning your long-form content into bite-sized Reels, you're tapping into a user base that's already primed to enjoy what you create. Considering Reels can get up to 125% more reach than a standard image post, getting these technical details right isn't just a suggestion—it's essential for getting seen.
How to Manually Repurpose Your YouTube Videos
Taking the manual route to repurposing gives you absolute creative control over every frame, letting you turn your YouTube library into a powerful asset for Instagram. The whole process hinges on getting one crucial first step right, both from a legal and a technical standpoint.
Before you do anything else, you need a high-quality copy of your own video. The easiest and safest way is to grab it directly from your YouTube Studio. Just head to the "Content" tab, find the video you want to work with, click the three-dot menu, and hit "Download." This guarantees you're starting with the best possible source file and—more importantly—that you're legally in the clear because you own the content.
Finding the Golden Moments in Your Content
With the video file on your computer, it's time to become a content detective. You're hunting for what I call "micro-moments"—those short, potent segments that pack a punch all on their own. It could be a powerful quote, a surprising piece of data, or a quick "aha!" moment from a tutorial.
Think of your long-form YouTube video as a block of marble. Your job is to meticulously chip away the excess to reveal the perfectly sculpted Reel or Story hidden inside.
Don't just look for exciting visuals; listen for audio gold. A compelling 30-second explanation or a surprising statistic can be just as engaging as a dramatic scene, especially when paired with dynamic captions.
Let's say you have a 20-minute video reviewing a new gadget. You could easily pull out several great clips:
- The 15-second "unboxing" reaction. This is a raw, visual hook that grabs attention immediately.
- A 45-second clip explaining the single best feature. This delivers instant value and education.
- A 20-second summary of your final verdict. This provides a quick, satisfying conclusion for the viewer.
Editing for a Vertical World
Once you've picked out your clips, it’s time to bring them into an editing tool. Whether you use a free program like DaVinci Resolve or a professional suite like Adobe Premiere Pro, this is where the magic happens. Your goal is to make the content feel like it was born on Instagram, not just dropped there.
First up is reframing your shot. You absolutely have to change the project's aspect ratio to 9:16 for Reels and Stories. This almost always means you'll need to reposition the main subject to keep them centered and in focus within the new, taller frame.
Next, get serious about captions. With research showing that up to 85% of social media videos are watched with the sound off, captions are a must-have. Don't settle for boring, static text at the bottom of the screen. Animate the words to appear on screen as you say them—this keeps eyes locked on your content, even in a silent environment.
Finally, you need to nail the intro and outro. Remember, the first three seconds are your entire pitch. You have to stop the scroll. Start with a hook that's impossible to ignore, like a provocative question or a jarring visual cut. Then, wrap it up with a clear call-to-action (CTA). Something like, "Watch the full review on our channel!" is perfect for driving traffic back to your YouTube hub.
Yes, this manual process takes time, but that granular control is what allows you to fine-tune every second for maximum impact.
Putting Your Content Production on Autopilot
Manually chopping up long videos works, and it gives you complete creative control. The problem? It’s an absolute time sink. If you're trying to consistently turn YouTube videos into a steady stream of Instagram content, the hours you spend finding the right moments, trimming, resizing, and adding captions will quickly become your biggest bottleneck.
This is where automation completely changes the game.
Instead of a painstaking, hands-on editing session for every single clip, you can shift to a workflow that turns hours of work into just a few minutes of review. AI-powered tools are built to handle the most mind-numbing parts of repurposing video, letting you focus on the big-picture strategy. For a practical example, a marketing agency could process an entire client's monthly YouTube library into daily Instagram Reels in a single afternoon. That's the kind of efficiency we're aiming for.
How AI Actually Helps the Repurposing Workflow
Modern tools do so much more than just trim a video. They can actually understand your long-form content and intelligently pull out the short-form gold.
Here’s a look at what they bring to the table:
- Smart Clip Finding: AI scans your video's transcript and visuals to pinpoint compelling quotes, questions, or moments of high energy, suggesting the best clips for you.
- Active Speaker Detection: For podcasts or interviews, the software automatically keeps the frame centered on whoever is talking. This saves an incredible amount of time you'd otherwise spend manually keyframing the position.
- Filler Word Removal: Many tools can automatically zap filler words like "um," "ah," and "you know," cleaning up the audio to make your speakers sound more polished and confident.
This level of automation is what makes a consistent posting schedule realistic. Instagram rewards frequency, and accounts that post three to five times a week can see more than double the follower growth compared to those who post less often. Being able to turn one 60-minute YouTube video into a full week of high-quality Reels isn't just a fantasy with automation—it's standard operating procedure. If you want to dig deeper into why posting frequency matters, you can explore more insights on social media frequency.
From Raw Video to Polished Reel in Minutes
One of the biggest time-sucks in the manual process is creating stylish, on-brand captions. You know, the kind with animated words that grab attention. Automated platforms crush this task. You can set up your brand’s fonts, colors, and animation style once, and the AI will generate perfectly styled, engaging captions for every single clip it creates.
Let's break down the difference between the old way and the new way.
Manual vs Automated Video Repurposing
| Feature | Manual Process (e.g., Premiere Pro) | Automated with AI Tools |
|---|---|---|
| Clip Finding | Manually scrubbing through timelines, setting in/out points. | AI suggests top moments based on content analysis. |
| Reframing | Manually keyframing position to follow the speaker. | Automatic speaker detection keeps the subject centered. |
| Captioning | Transcribing, timing captions, and styling them by hand. | Auto-transcription with pre-set brand styles. |
| Time per Clip | 30-60+ minutes. | 5-10 minutes (mostly for review). |
| Scalability | Linear; 10 clips takes 10x the time of 1 clip. | Near-instant; 10 clips takes roughly the same time as 1. |
As you can see, the difference in efficiency is night and day. Automated platforms offer a significant advantage over manual editors by drastically reducing production time and enabling content creation at a scale that is simply not feasible by hand.
The real win here is scalability. An automated system doesn't just make one clip faster; it makes producing dozens of clips just as easy. It’s the difference between handcrafting one piece of furniture and running a full assembly line.
On top of all this, many tools now offer a "virality score" for each suggested clip. They use AI to analyze the content and predict which segments have the best chance of performing well on platforms like Instagram. This helps you stop guessing and start making data-driven decisions about your content calendar.
A platform like Swiftia, for instance, is built around this entire workflow, offering features that not only generate clips but also optimize them for maximum engagement. To see how this comes together in a real-world system, check out our guide on how to automate social media posts. By embracing these tools, you build a sustainable content engine that keeps your Instagram feed full of fresh, engaging videos without burning yourself or your team out.
Getting Your Instagram Post Ready for Prime Time
So you’ve got a perfectly edited vertical video. That's a huge step, but the work isn't quite done. If you want to successfully post videos from YouTube to Instagram, you need to think like a marketer about the post itself. Every single element—from the caption and hashtags to the time you hit "publish"—is a chance to grab attention and get people talking.
A fantastic video with a flat caption is a massive missed opportunity. Your caption needs to do more than just describe what's happening. Think of it as a conversation starter. Pose a question, share a surprising behind-the-scenes fact, or drop a bold opinion that practically begs viewers to jump into the comments with their own take.
Nailing Your Hashtag Game
Hashtags are how new audiences find your video. They're the discovery engine connecting you with people who are already looking for content just like yours. The trick is to avoid just slapping on the biggest, most popular tags. A strategic mix works much better.
- Broad Tags (1-2): These are the heavy hitters like
#videomarketingor#youtuber. They cast a wide net but are incredibly competitive, so your video might get buried fast. - Niche Tags (3-5): This is where you get specific. Think
#techreviewsor#podcastclips. You'll reach a smaller but much more engaged audience that's genuinely interested in your topic. - Community Tags (2-3): Tap into tags that your specific audience uses, like
#contentcreatorsor#digitalnomadlife. It shows you're part of their world and helps build a loyal following.
This balanced approach gets you seen in the massive discovery feeds while also putting you directly in front of the people most likely to follow you and engage with your content.
This workflow from manual editing to AI-powered automation is exactly what the most efficient creators are doing now. It’s all about working smarter, not harder.

The real takeaway here is the massive leap in efficiency. When you automate the tedious parts, you can pump out more high-quality, optimized content in a fraction of the time. That consistency is exactly what the algorithm loves to see.
Tapping Into Instagram's Built-In Tools
Beyond captions and hashtags, Instagram gives you powerful tools to boost your video's visibility. Don't ignore them! If you're posting a Reel, add a trending audio track—even if you turn the volume down to 1%. The algorithm sees you're using a trending sound and is more likely to show your video to more people. For Stories, interactive stickers like polls, sliders, and quizzes are gold for driving up engagement signals.
Here's a pro tip: Don't sleep on the "Collab" feature. Inviting another creator or brand to co-author your post is one of the fastest ways to grow. Your video instantly appears on their feed, exposing it to their entire audience and essentially doubling its initial reach overnight.
The business case for optimizing this process is undeniable. By cross-posting from YouTube to Instagram, brands can reach two completely different ad audiences that add up to billions of potential views. When you consider that influencer marketing brings back an average of $5.78 for every $1 spent and short-form video consistently gets higher engagement, it's clear how repurposing one great video can drive real sales without the cost of a whole new production. You can dive into the full research on YouTube statistics to see just how big this opportunity is.
A Few Common Questions About Repurposing Videos
Whenever I talk to creators about turning their YouTube videos into Instagram content, the same handful of questions always pop up. It makes sense—you want to make sure you're not just spinning your wheels, but also staying on the right side of copyright and quality standards. Let's clear up some of the most common uncertainties.
Is It Actually Legal to Post a YouTube Video on Instagram?
Yes, but with one massive caveat: it has to be your own video. If you created the content from scratch, you own the rights, and you can post it wherever you want. Simple as that.
The trouble starts when you try to repost someone else's work. Grabbing another creator's YouTube video and uploading it to your Instagram account without explicit, written permission is a surefire way to get a copyright strike. It violates both YouTube's and Instagram's terms of service. This whole guide is built around the idea of smartly repurposing the content you've already worked hard to create.
A major tripwire here is music. The license you have for a track on YouTube almost never carries over to Instagram. They are completely separate ecosystems.
My advice? Strip the original audio from your clip and replace it with a track directly from Instagram's own music library. Not only does this keep you 100% compliant, but using trending audio can also give your Reels a serious visibility boost.
How Do I Stop Instagram from Ruining My Video Quality?
We've all been there. You export a beautiful, crisp video, upload it, and Instagram's compression algorithm chews it up and spits out a pixelated mess. The secret is to give the platform a file that’s so good, it has less work to do.
Start with the highest resolution source file you have, ideally 1080p (1920×1080) or even 4K. When you export your edited clip for Instagram, dial in these settings:
- Codec: H.264 is the gold standard.
- Bitrate: Aim for 10-15 Mbps for 1080p footage.
- File Format: Always MP4.
Don't forget how you transfer the file to your phone. Messaging apps like WhatsApp and Messenger will destroy your quality. Use a lossless method like AirDrop, Google Drive, Dropbox, or a good old-fashioned USB-C cable.
What's the Best Length for a Repurposed Clip?
This completely depends on where it's going on Instagram, but the universal rule is that shorter is almost always better. People's attention spans are fleeting, especially when they're scrolling.
For Instagram Reels, I've found the magic window is between 15 and 30 seconds. You can go up to 90 seconds, but you'll see a massive drop-off in viewership after that 30-second mark. Your job is to deliver the core value—the laugh, the tip, the highlight—as quickly as possible. For standard in-feed videos, keeping it under 60 seconds is a solid strategy.
Can I Use the Same Clip for Both Reels and Shorts?
Not only can you, but you absolutely should! This is the beauty of vertical video. Both Instagram Reels and YouTube Shorts are built on the same 9:16 vertical aspect ratio. This makes it incredibly efficient to create one master clip and distribute it on both platforms.
For the best results, though, I always recommend uploading the video natively to each app. This lets you tap into their platform-specific features, like unique trending audio, text styles, or interactive stickers that can make a huge difference in engagement. A good workflow is to create a "clean" version of your clip (with just your styled captions) and then customize it with native music and effects on each platform.
Ready to stop wasting hours on manual editing and start scaling your content production? Swiftia uses AI to transform your long-form videos into dozens of engaging, brand-aligned clips in minutes. Try it for free and see how easy it is to build a powerful content engine.