Stepping into the world of video editing can feel overwhelming, with its complex software and seemingly endless techniques. Yet, transforming raw clips into a compelling narrative is one of the most rewarding creative processes you can learn. With video content driving significant engagement—in fact, social media videos generate 1200% more shares than text and image content combined—mastering this skill is more critical than ever.
This guide is designed to cut through the noise, providing 10 direct, actionable video editing tips for beginners. We will move beyond the basics to give you a clear roadmap for creating professional-quality content. You will learn foundational techniques like how to organize your project files, use storytelling cuts like J-cuts and L-cuts for smoother transitions, and apply color correction for a consistent, polished look.
Furthermore, we'll explore the efficiency hacks that seasoned editors use daily, such as mastering keyboard shortcuts and strategically using B-roll to hide mistakes and add visual interest. We will also touch on how modern AI-powered tools can revolutionize your workflow by automating tedious tasks like captioning and removing filler words. By the end of this list, you'll have the practical knowledge to edit with confidence and produce videos that truly captivate your audience.
1. Start with a Clear Shot List and Storyboard
Effective video editing begins long before you open your software. One of the most crucial yet often skipped video editing tips for beginners is to plan your project with a shot list and storyboard. This foundational step acts as a blueprint, guiding your creative decisions and saving you hours of guesswork during the editing process. A storyboard visually maps out each scene, while a shot list details every specific camera shot needed to bring that scene to life.
Why Planning Matters
Without a plan, editing becomes a chaotic search for the "right" clip. According to a survey by TechSmith, 41% of video creators say the most time-consuming part of the process is editing and post-production. A clear plan directly combats this by ensuring you film exactly what you need, minimizing unusable footage and streamlining your workflow. This preparation turns a mountain of clips into an organized, manageable project.
Key Insight: Think of your storyboard as the comic book version of your video. It visualizes the flow, pacing, and emotional arc before you make a single cut, ensuring your final product is cohesive and compelling.
How to Implement This Strategy
- Simple Storyboarding: You don't need to be an artist. Use simple stick figures or basic shapes. For a product tutorial, a practical example would be a three-box storyboard: Box 1 shows a wide shot of the product, Box 2 shows a close-up of a key feature, and Box 3 shows a person using it.
- Detailed Shot Lists: Create a spreadsheet that numbers each shot and includes columns for camera angle (e.g., wide, close-up), action, and any dialogue.
- Log Your Footage: As you film, check off shots on your list. This helps you track progress and identify any gaps before you start editing.
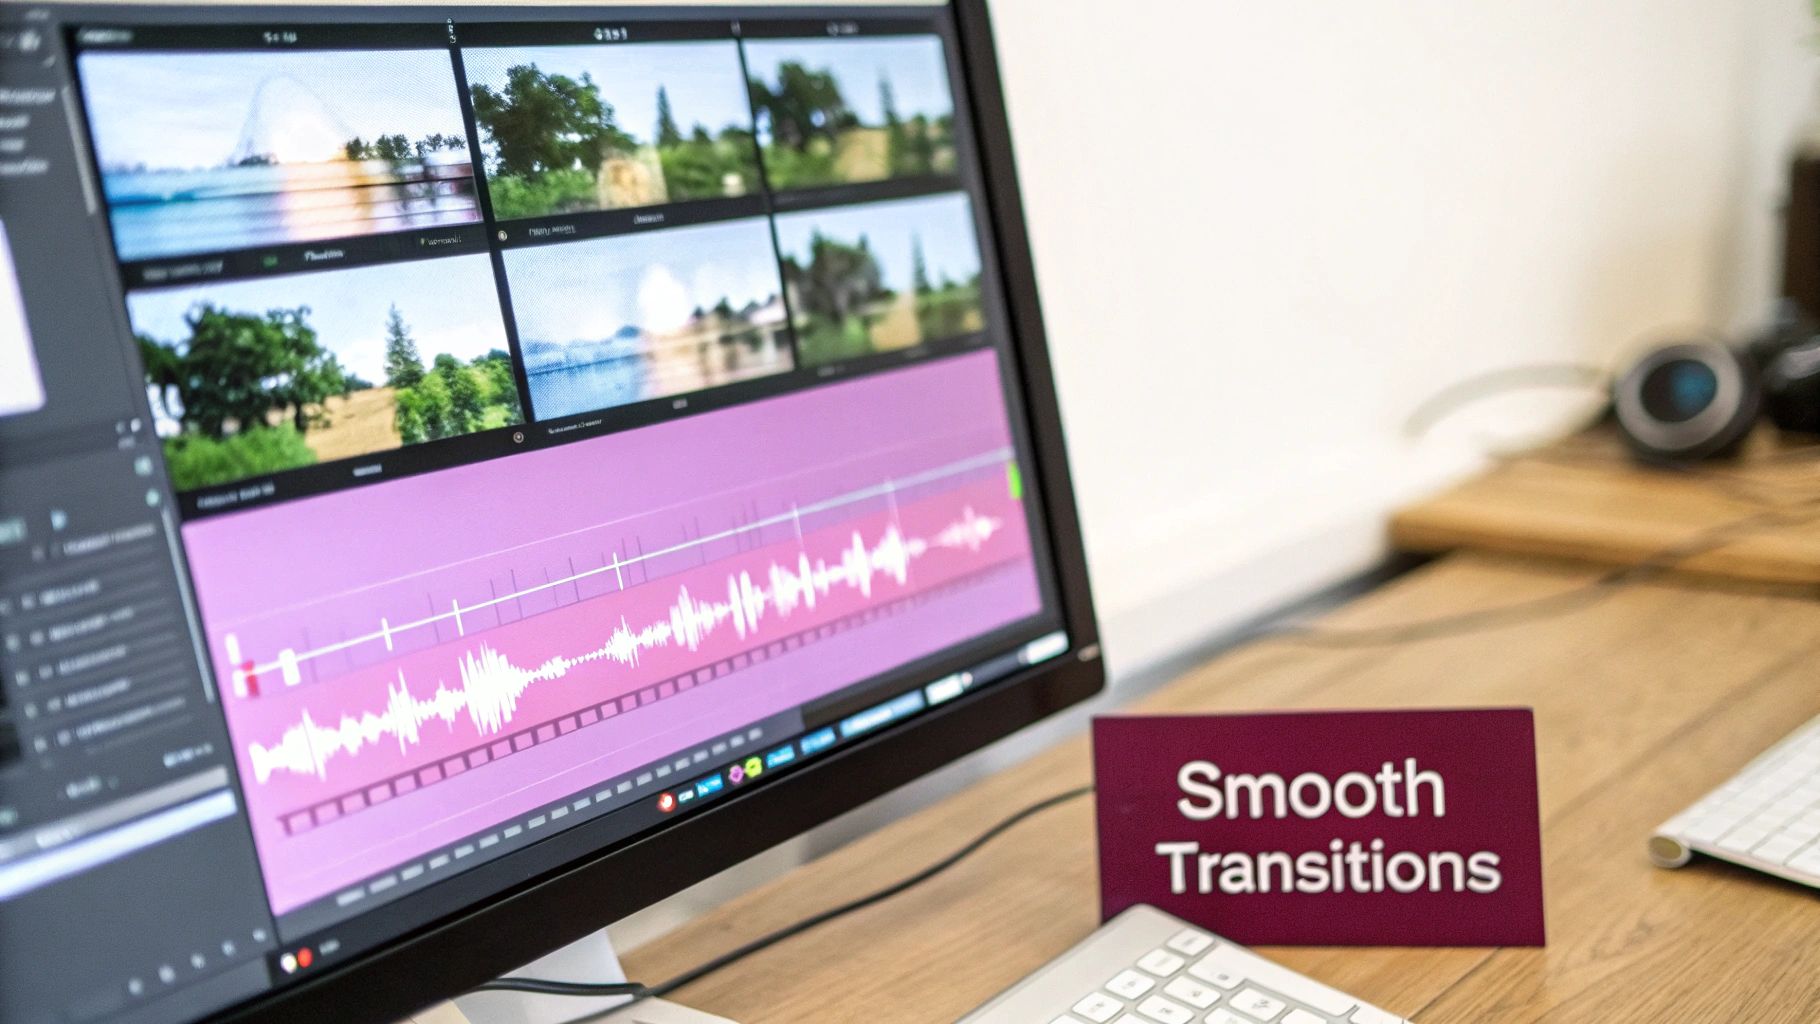
2. Use L-Cuts and J-Cuts for Smooth Transitions
Moving beyond simple hard cuts is a hallmark of more polished video editing. One of the best video editing tips for beginners to master this is using L-cuts and J-cuts. These are professional techniques where the audio and video from two connecting clips are intentionally desynchronized. An L-cut allows the audio from the first clip to continue over the video of the second, while a J-cut introduces the audio from the second clip before its video appears.
Why Planning Matters
Abrupt audio cuts can be jarring and make your video feel amateurish. L-cuts and J-cuts create a seamless, more cinematic flow that guides the viewer's attention smoothly from one scene to the next. This technique is especially effective for conversations, as it mimics how we naturally process sound and visuals, making the edit feel invisible. A study on viewer engagement found that videos with professional editing techniques, like smooth audio transitions, retained audience attention up to 30% longer than those with basic cuts.
Key Insight: Think of these cuts as a conversational handshake. A J-cut introduces the next topic (audio) before you see the speaker, building anticipation. An L-cut lets a thought (audio) linger after the speaker is off-screen, adding emotional weight.
How to Implement This Strategy
- Separate Audio and Video: In your editing software, make sure your audio and video clips are "unlinked" or on separate tracks. This allows you to extend one without affecting the other.
- Start with Small Overlaps: A practical example is in an interview: as Person A finishes their sentence, introduce the audio of Person B starting to speak about half a second before you cut to the shot of Person B's face. This is a J-cut.
- Time with Dialogue: Use natural pauses in speech to time your cuts. For a J-cut, start the audio of the next person speaking just before you cut to their face.
- Visualize the Cut: The names "L-cut" and "J-cut" come from the shape the clips make on the editing timeline. Use this visual cue to confirm you’ve set them up correctly.
3. Master the Rule of Thirds for Better Framing
A fundamental principle borrowed from photography, the rule of thirds is one of the most effective video editing tips for beginners looking to create professional-looking compositions. This guideline involves mentally dividing your frame into nine equal parts using two horizontal and two vertical lines. Placing your subject or key visual elements along these lines or at their intersections creates a more balanced, dynamic, and engaging shot than simply centering everything.

Why Composition Matters
Centering a subject can feel static and unnatural. By placing a subject off-center, you give the viewer's eye room to move around the frame, making the composition feel more alive. According to a study published in the journal Psychology of Aesthetics, Creativity, and the Arts, viewers' eyes are naturally drawn to these intersection points in an image, confirming that this technique effectively guides attention. Applying this rule during editing by cropping or reframing can instantly elevate a basic shot.
Key Insight: The rule of thirds creates visual tension and interest. When a subject is placed on an intersection point, the empty space around them becomes part of the narrative, suggesting environment, direction, or mood.
How to Implement This Strategy
- Enable Grid Overlays: Most video editing software, including Adobe Premiere Pro and DaVinci Resolve, has a "Rule of Thirds" grid overlay you can enable in the program monitor to guide your cropping and scaling.
- Position Key Elements: A practical example for an interview is positioning the person on the left or right vertical line, with their eyes aligned with the top horizontal line. This creates a natural and pleasing composition.
- Crop and Reframe: Don't worry if your original footage isn't perfectly framed. Use the editing process to crop in and reposition your shots to align with the rule of thirds grid for a stronger final composition.
4. Color Correction and Grading for Consistency
Once your clips are assembled, the next step is to unify their visual appearance. This is where color correction and grading come in, two distinct but related processes that transform raw footage into a polished, professional video. Color correction fixes technical issues, ensuring colors are accurate and consistent across different shots. Color grading, on the other hand, is about applying an artistic style to evoke a specific mood or feeling.
Why Planning Matters
Inconsistent colors can be jarring to the viewer, pulling them out of the story you’re trying to tell. A study from the Institute for Color Research found that color can increase brand recognition by up to 80%, a principle that applies directly to video content. Proper color treatment ensures every scene feels like part of the same cohesive world, whether you’re creating a sunny travel vlog or a moody short film. This is one of the key video editing tips for beginners that instantly elevates production value.
Key Insight: Think of color correction as the foundation and color grading as the paint. You must fix any cracks in the foundation (white balance, exposure) before you can apply a beautiful coat of paint (the creative look).
How to Implement This Strategy
- Correct First, Grade Second: Always start by balancing your footage. A practical example is to use your software's white balance tool (often an eyedropper) and click on a pure white object in your shot to instantly fix color casts.
- Use Adjustment Layers: Apply your color grade to an adjustment layer that sits above all your clips. This non-destructive method allows you to apply a consistent look to the entire timeline and make global changes easily.
- Start with Presets (LUTs): Look-Up Tables (LUTs) are presets that apply a specific color grade. Use them as a starting point, then tweak the intensity and settings to fit your footage perfectly rather than using them as a one-click fix.
5. Edit to the Beat and Use Pacing Effectively
One of the most powerful video editing tips for beginners is learning to synchronize your visuals with your audio. Editing to the beat involves timing your cuts, transitions, and on-screen actions to the rhythm of your soundtrack, creating a professional and immersive experience. This technique, combined with effective pacing, dictates the emotional tempo of your video and is key to holding your audience's attention from start to finish.
Why Planning Matters
Pacing is the heartbeat of your story. Rapid cuts create excitement, while longer, lingering shots build tension or allow for reflection. A study published in the Journal of Marketing Research found that video ad pacing significantly impacts consumer engagement and brand recall. By consciously controlling the rhythm, you guide the viewer's emotional journey, making your content more impactful and memorable. Failing to do so can result in a video that feels disjointed or emotionally flat.
Key Insight: Treat your audio track as a co-director. The music's rhythm and mood provide a natural roadmap for your visual edits, telling you when to cut, when to transition, and when to let a moment breathe.
How to Implement This Strategy
- Import Audio First: Before adding any video clips, place your music or primary audio track on the timeline. This allows you to see the audio waveform and use it as your editing guide.
- Use Timeline Markers: Listen to your audio and place markers on the timeline at key beats or rhythmic changes. Use these markers as precise points to make your cuts.
- Vary Your Shot Length: Match your shot duration to the audio's energy. A practical example for a travel video is to use quick, 1-second cuts between different scenes during the energetic chorus of a song, and longer 3-4 second shots during the slower verse.
- Analyze Genre Conventions: Watch how creators like Devin Graham (DevinSuperTramp) or your favorite music video directors use pacing. Notice their cutting speed in action sequences versus narrative moments and apply those principles to your own work. You can also explore how AI can help you adjust pacing when repurposing content on swiftia.io.
6. Organize Your Project with Clear File Structure and Naming Conventions
One of the most powerful video editing tips for beginners isn't a fancy cut or effect; it’s organization. Before importing a single clip, creating a systematic folder structure and a consistent naming convention for your files is crucial. This foundational practice prevents the chaos of searching for lost assets, saves immense time, and makes your projects scalable and easy to revisit or share. A well-organized project is the bedrock of an efficient workflow.
Why Planning Matters
A messy project folder is a direct path to frustration and wasted time. The Digital Asset Management (DAM) platform Canto reports that professionals can spend up to one-third of their time searching for digital assets. For video editors, that means lost minutes or even hours hunting for a specific audio file or graphic. A clear structure eliminates this guesswork, ensuring every piece of your project has a logical home, turning editing from a scavenger hunt into a streamlined creative process.
Key Insight: Treat your project folder like a digital library. Every file, from raw footage to final export, should have a designated shelf, making it instantly findable. This discipline pays dividends, especially as your projects grow in complexity.
How to Implement This Strategy
- Create Master Folders: A practical example is a main folder named "2025_Summer_Vlog" containing subfolders like
01_Footage,02_Audio,03_Graphics,04_ProjectFiles, and05_Exports. Numbering them keeps the folders in a logical order. - Use a Naming Convention: Name your files consistently. A great format is
YYYY-MM-DD_ProjectName_V01. This keeps everything chronological and clearly identifiable. - Version Your Timelines: When you make significant changes, save a new version of your project file (e.g.,
Project_V1,Project_V2_ColorCorrected). This prevents you from losing work and makes it easy to revert to an earlier stage if needed.
7. Use Jump Cuts Intentionally and Add B-Roll Strategically
Mastering the art of the cut is fundamental to good editing, and two key techniques every beginner should understand are jump cuts and B-roll. A jump cut is an abrupt transition between two similar shots, which can look like a jarring mistake. However, when used deliberately, it can inject energy or comedic timing. B-roll, or supplementary footage, is the perfect tool to smooth over these cuts, add visual context, and keep your audience engaged.
Why Planning Matters
Relying solely on a primary "A-roll" shot (like a talking head) makes your video visually monotonous. A study by Wyzowl found that viewers are twice as likely to share a video with compelling visuals. B-roll provides this visual variety, illustrating what the speaker is discussing and making the content more dynamic. This strategic layering is one of the most effective video editing tips for beginners to elevate a simple recording into a professional-looking narrative.
Key Insight: Think of B-roll as visual proof. If you're talking about a product, show the product. If you're telling a story, show the setting. This makes your message more credible and memorable.
How to Implement This Strategy
- Hide Jump Cuts: When you edit out a mistake or a pause in a single take, you create a jump cut. A practical example is to cover this visual "jump" with a relevant B-roll clip. If you're talking about coffee, cut to a close-up shot of steam rising from a mug to create a seamless transition. For a deeper dive into different types of cuts, explore the nuances of clipping, cutting, and splitting.
- Shoot Extra B-Roll: A common rule is to capture three times more B-roll than you think you will need. This gives you plenty of options in the editing room to match footage to your script.
- Use Stock Footage: If you don't have custom B-roll, high-quality stock footage from sites like Pexels or Unsplash can work wonders. Just ensure it matches the style and quality of your primary footage.
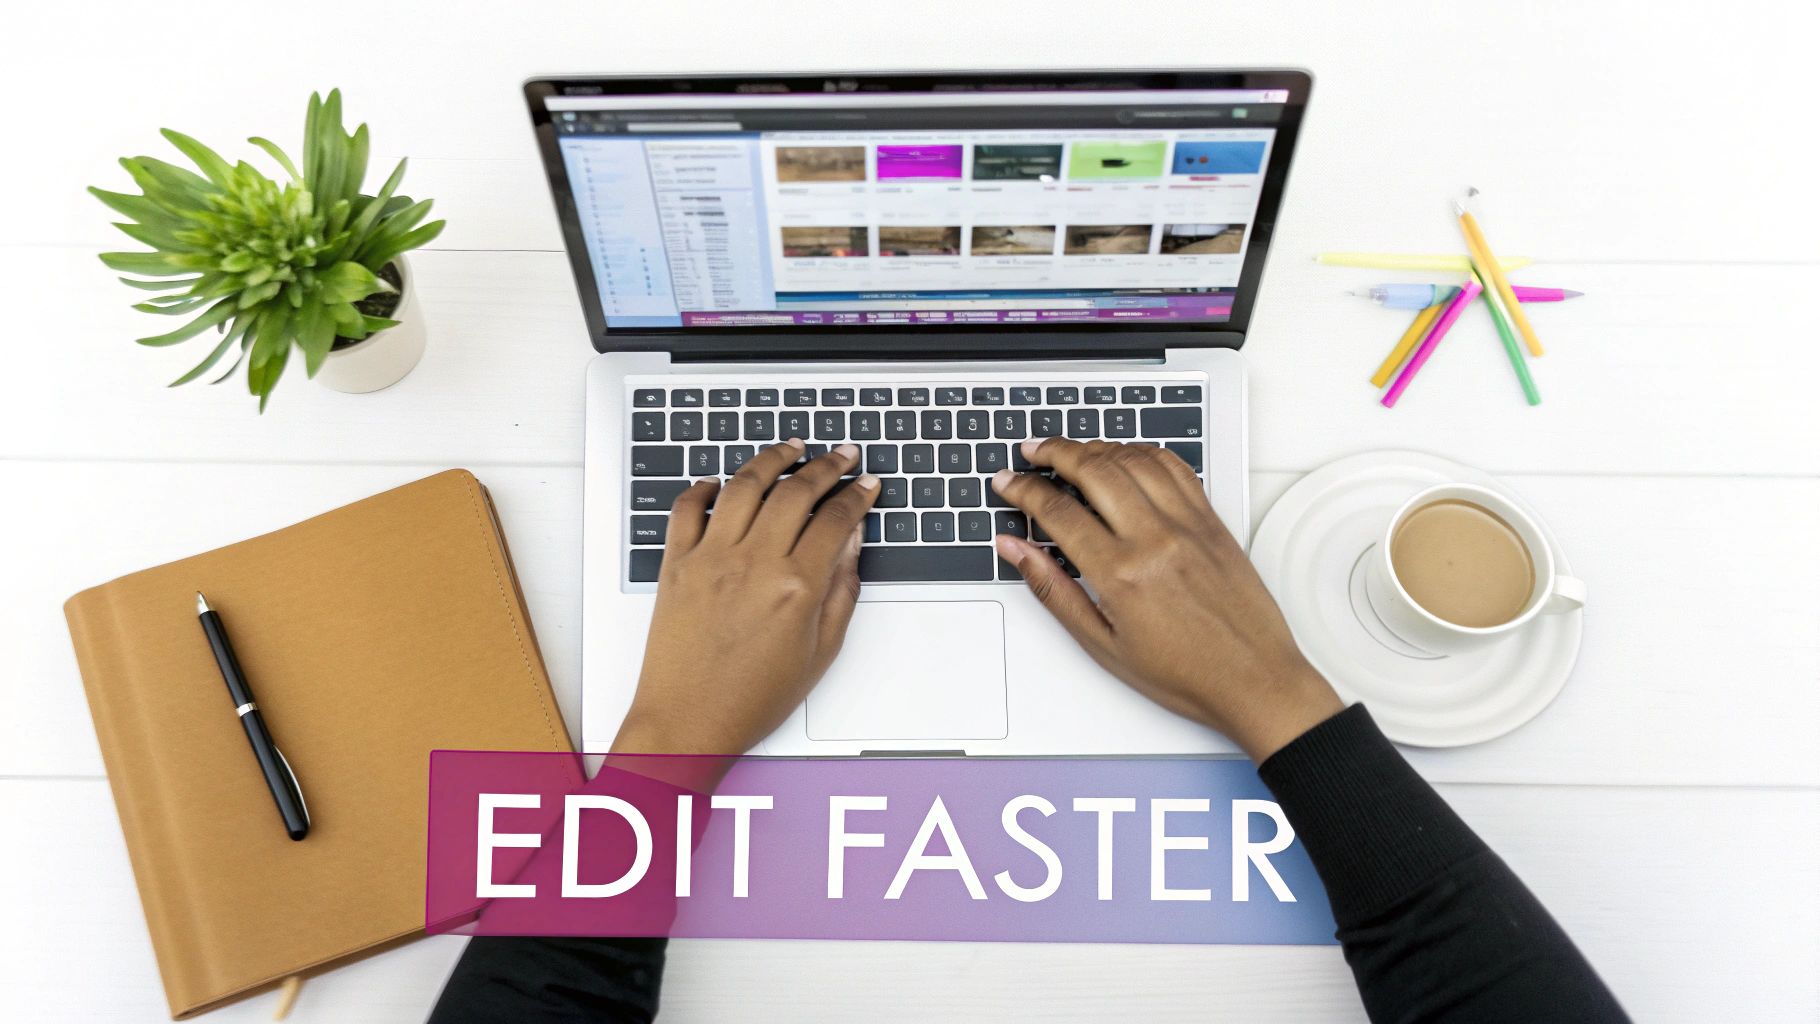
8. Use Keyboard Shortcuts to Increase Editing Speed
One of the most impactful video editing tips for beginners is to swap mouse clicks for keyboard shortcuts. While navigating menus with a mouse feels intuitive at first, it's a major bottleneck in your workflow. Learning and mastering keyboard shortcuts for common actions like cutting, trimming, and navigating the timeline dramatically reduces physical movement and mental load, allowing you to edit at the speed of thought.
Why Planning Matters
Relying on a mouse for every action is inefficient. The time spent moving your hand from keyboard to mouse and back again adds up significantly. A study by productivity software company Brainscape found that users could save up to 8 full workdays per year by mastering keyboard shortcuts. For video editors, this translates to faster project turnarounds and more time dedicated to creative refinement rather than repetitive clicking. This efficiency is a key differentiator between amateur and professional workflows.
Key Insight: Think of keyboard shortcuts as a new language for your editing software. Once you become fluent, you can communicate commands instantly, turning a slow, deliberate process into a fluid and creative one.
How to Implement This Strategy
- Start Small: Don't try to learn every shortcut at once. A practical example for Premiere Pro users is to master just three shortcuts: 'C' for the razor tool (to cut), 'V' for the selection tool (to move clips), and the spacebar to play/pause.
- Print a Cheat Sheet: Print a list of your software’s most common shortcuts and tape it next to your monitor for quick reference.
- Customize Your Workspace: Most professional editing software allows you to remap keys. Customize shortcuts to fit your personal workflow and make them more intuitive for you.
- Practice with Purpose: Dedicate 15 minutes before each editing session to practicing your target shortcuts on a dummy project to build muscle memory. As you integrate these habits, you might explore how different AI video editing software further automates repetitive tasks.
9. Improve Audio Quality with Proper Mixing and Sound Design
While beginners often fixate on visual effects, one of the most impactful video editing tips is to prioritize audio. Viewers are surprisingly forgiving of mediocre video quality but will quickly abandon content with poor, distracting sound. Proper audio mixing involves balancing volume levels, removing background noise, and adding sound effects to create a polished, professional soundscape that enhances the viewer's experience.
Why Planning Matters
Poor audio can instantly discredit your content, making it seem amateurish. Research from USC and the Australian National University confirmed that people perceive speakers with higher-quality audio as more intelligent, competent, and likable. By dedicating time to sound design, you directly influence how your audience perceives your message and brand, ensuring your content is not just seen but also respected and enjoyed. This focus turns a simple recording into an immersive experience.
Key Insight: Treat your audio as 50% of the video experience. If your dialogue is hard to hear or the background music is overpowering, your visual storytelling will lose its impact, no matter how stunning the footage is.
How to Implement This Strategy
- Normalize All Audio: Start by normalizing all your audio clips to a consistent level (typically between -6dB and -12dB for dialogue). This prevents jarring volume jumps.
- Use an Equalizer (EQ): Apply an EQ to your dialogue tracks to cut out low-end rumble (below 80-100Hz) and add a slight boost to higher frequencies to enhance vocal clarity.
- Duck Music Under Dialogue: A practical example is setting your background music track to automatically lower its volume by 15dB whenever the dialogue track is active. Most editing software has an "auto-ducking" feature that makes this simple.
- Add Subtle Sound Effects: Enhance visual actions with subtle sound effects, like whooshes for transitions or keyboard clicks for on-screen typing. This adds a layer of professionalism and engagement.
10. Learn Basic Color Theory and Maintain Visual Consistency
Color is a powerful storytelling tool that directly influences your audience's emotional response. Understanding basic color theory allows you to move beyond default settings and make intentional creative choices. By establishing and maintaining a consistent color palette, you create a polished, professional video that reinforces your brand identity or the specific mood of your content, making it a critical skill for any aspiring editor.
Why Planning Matters
Inconsistent or poorly chosen colors can make a video feel amateurish and disjointed, distracting viewers from the core message. According to a study by the University of Loyola, Maryland, color increases brand recognition by up to 80%. Applying a consistent color grade across all your clips ensures visual harmony, guides the viewer's eye, and establishes a memorable aesthetic, whether it's for a single video or an entire YouTube channel. This consistency builds a subconscious sense of reliability and quality.
Key Insight: Treat color as a character in your story. A warm, vibrant palette can evoke excitement and energy, while a cool, muted palette can create a sense of calm or melancholy. Your color grade should always serve the narrative.
How to Implement This Strategy
- Establish a Simple Palette: A practical example is using a teal and orange color grade, a popular cinematic look. This involves pushing cooler, teal tones into the shadows and warmer, orange tones into the highlights and skin tones, creating a pleasing contrast.
- Apply a Consistent Grade: Use your editing software’s color correction tools to apply the same look to all clips from the same scene. You can save your color settings as a preset or LUT (Look-Up Table) for future use.
- Reference and Test: Look at how successful videos in your niche use color. Before publishing, test your video on different devices (laptops, phones) to ensure the colors look consistent across various screens.
10 Beginner Video Editing Tips: Side-by-Side Comparison
| Technique | Implementation Complexity | Resource Requirements | Expected Outcomes | Ideal Use Cases | Key Advantages |
|---|---|---|---|---|---|
| Start with a Clear Shot List and Storyboard | Low–Medium (pre-production time) | Time, simple tools (sketches, slides), collaboration | Reduced editing time; cohesive narrative | Narrative projects, tutorials, planned shoots | Clarifies shots, reduces decision fatigue, identifies gaps |
| Use L‑Cuts and J‑Cuts for Smooth Transitions | Medium (timing practice needed) | Editing software with audio layering, practice footage | Seamless audio‑visual transitions; improved flow | Documentaries, interviews, narrative edits | Natural continuity; professional polish |
| Master the Rule of Thirds for Better Framing | Low (easy to apply) | Grid overlays or framing awareness | More balanced, engaging compositions | Portraits, interviews, vlogs, photography-driven scenes | Draws viewer focus; simple to implement |
| Color Correction and Grading for Consistency | High (technical + creative) | Color tools (DaVinci/Premiere), calibrated monitor, time | Consistent visual tone; cinematic or stylistic look | Films, branded content, music videos | Polished visuals; controls mood and emotion |
| Edit to the Beat and Use Pacing Effectively | Medium–High (rhythmic sense required) | Good audio tracks, beat detection tools, time | Increased engagement; dynamic pacing | Music videos, action, vlogs, highlight reels | Heightens emotional impact; maintains viewer interest |
| Organize Project with Clear File Structure and Naming Conventions | Low–Medium (upfront planning) | Time to set up, cloud/external storage, discipline | Faster workflow; easier collaboration and revisions | Large projects, teams, freelance work | Prevents lost files; scalable and repeatable workflow |
| Use Jump Cuts Intentionally and Add B‑Roll Strategically | Medium (planning + extra footage) | Additional B‑roll footage, planning during shoot | Hides awkward cuts; adds visual variety | Vlogs, tutorials, reviews, documentaries | Maintains pacing; covers mistakes and illustrates points |
| Use Keyboard Shortcuts to Increase Editing Speed | Low–Medium (learning curve) | Time to learn, cheat sheets, optional macro keys | Faster editing; reduced fatigue | Frequent editors, professionals, students | Significant time savings; improved ergonomics |
| Improve Audio Quality with Proper Mixing and Sound Design | High (technical expertise) | Audio tools, good headphones, time, monitoring | Clear dialogue; professional perceived quality | Podcasts, films, interviews, high‑quality vlogs | Dramatically boosts viewer experience and retention |
| Learn Basic Color Theory and Maintain Visual Consistency | Medium (study + practice) | Learning resources, mood boards, grading tools | Cohesive visuals; stronger brand/mood reinforcement | Branded content, series, social feeds, films | Builds visual identity; enhances emotional messaging |
Supercharge Your Workflow and Start Creating
You've just absorbed a comprehensive toolkit of foundational video editing tips for beginners. From the strategic planning of a storyboard to the technical finesse of L-cuts and J-cuts, each technique is a vital building block. Mastering these skills is not just about making videos that look good; it's about becoming a powerful storyteller capable of holding an audience's attention and communicating a message with impact.
The journey from novice to proficient editor is built on consistent practice. As you apply these principles, you will develop an intuitive sense for pacing, a sharp eye for visual composition, and a keen ear for audio mixing. Remember, the goal is to make the edit invisible, allowing your story to shine through seamlessly.
Key Takeaways for Your Editing Journey
Let's distill the most critical lessons from this guide into actionable takeaways:
- Preparation is Paramount: A well-organized project with a clear file structure and a shot list is your greatest asset. It saves time, reduces frustration, and sets the stage for a creative, efficient workflow.
- Audio is Half the Experience: Never treat audio as an afterthought. Clean, well-mixed audio can make a good video great, while poor audio can render even the most stunning visuals unwatchable.
- Pacing Dictates Emotion: Your control over cuts, transitions, and B-roll directly influences the viewer's emotional journey. Use quick cuts to build excitement and longer takes to create moments of reflection.
- Consistency is Professionalism: Maintaining consistent color grading, framing, and audio levels across your project signals a high level of quality and care. This is what separates amateur content from polished, professional work.
Your Actionable Next Steps
Armed with these video editing tips for beginners, your path forward is clear. Don't try to master everything at once. Instead, focus on incorporating one or two new techniques into your next project. Perhaps you'll concentrate on implementing flawless L-cuts and J-cuts or dedicate extra time to a thorough color correction pass.
Once you have a solid grasp of these manual techniques, the next logical step is to supercharge your efficiency. In today's content-driven world, speed is a significant competitive advantage. This is where modern, AI-powered tools become indispensable. Instead of manually performing every repetitive task, you can leverage automation to reclaim your most valuable resource: time.
Consider the time spent removing every "um" and "ah," animating captions line by line, or painstakingly identifying the best clips for social media. Automating these processes allows you to dedicate your energy to the high-level creative decisions that truly define your content's quality. By embracing both foundational skills and intelligent tools, you build a powerful, future-proof editing workflow. This dual approach ensures you can produce high-quality videos not just occasionally, but consistently and at scale.
Ready to put these principles into practice while dramatically accelerating your workflow? Automating the most time-consuming editing tasks empowers creators. Repurpose your long-form content into engaging short clips, remove filler words instantly, and generate animated captions 10x faster. Start creating with Swiftia today and focus on what you do best: telling great stories.