Slicing up a YouTube video to grab that perfect moment can feel like a chore, but it doesn't have to be. Really, it boils down to a few solid methods: you can use YouTube's own Clip feature for a quick share, screen record for a bit more control, or download the whole video if you need to do some serious editing. Each one has its place, whether you're just making a quick meme for a friend or crafting a polished social media campaign.
Your Guide to Modern YouTube Clipping
If you're looking to repurpose content, knowing how to clip YouTube videos is a non-negotiable skill. This is true for marketers, researchers, and creators alike—anyone trying to make an impact online. With the sheer volume of content hitting the platform every single day, the ability to pinpoint and share the best moments is more valuable than ever.
Just think about the scale we're dealing with. An incredible 500 hours of video are uploaded to YouTube every minute. This constant flood of content is a massive opportunity, but only if you have the right tools to find and extract the gold.
Choosing the Right Clipping Method
So, where do you start? The right method really depends on what you’re trying to accomplish. Are you aiming for speed, top-notch quality, or do you need to create clips in bulk?
This little decision tree can help you figure out the best approach for your immediate needs.
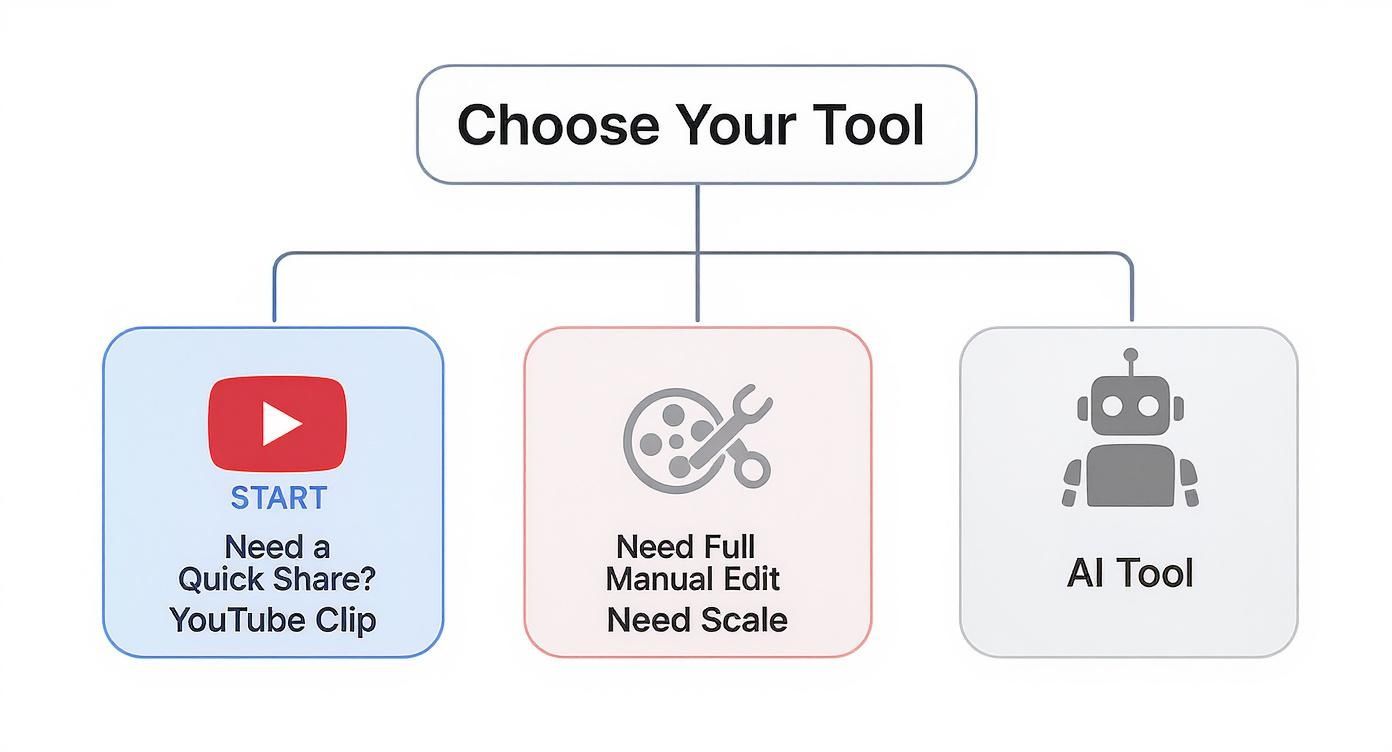
As you can see, for a simple, fast share, YouTube's built-in tool is a no-brainer. But if you're aiming for something more refined—like a high-quality reel with custom branding—you’ll need to look at more powerful solutions.
If you're just getting started, it's worth understanding the basics of how to create a clip from a YouTube video before diving into the more advanced stuff.
YouTube Clipping Methods at a Glance
To give you a clear roadmap, let's quickly compare the most common ways to grab a clip. This table breaks down each method, its difficulty, and what it’s really good for.
| Clipping Method | Ease of Use | Best For | Key Limitation |
|---|---|---|---|
| YouTube Native Clip | Very Easy | Instantly sharing short moments (under 60s) on social media or in messages. | Limited to 60 seconds and offers no editing capabilities. |
| Manual Screen Recording | Moderate | Capturing segments of any length from videos where downloading isn't possible. | Quality can be inconsistent; requires cleanup editing afterward. |
| Download & Edit | Moderate to Hard | Creating high-quality, polished clips with precise edits, custom branding, and effects. | Can be time-consuming and requires video editing software. |
| AI Automation | Easy | Agencies and creators needing to produce a large volume of clips efficiently. | May require a subscription to a service for full features. |
This overview should help you decide which path to take as you navigate the more detailed guides in the sections that follow.
Here's a practical example: A podcaster could use the "Download & Edit" method to pull a powerful 90-second quote from a two-hour interview. They could then reformat it into a vertical 9:16 video, add animated captions, and post it as an Instagram Reel to promote the full episode. This single action turns long-form content into a potent marketing asset.
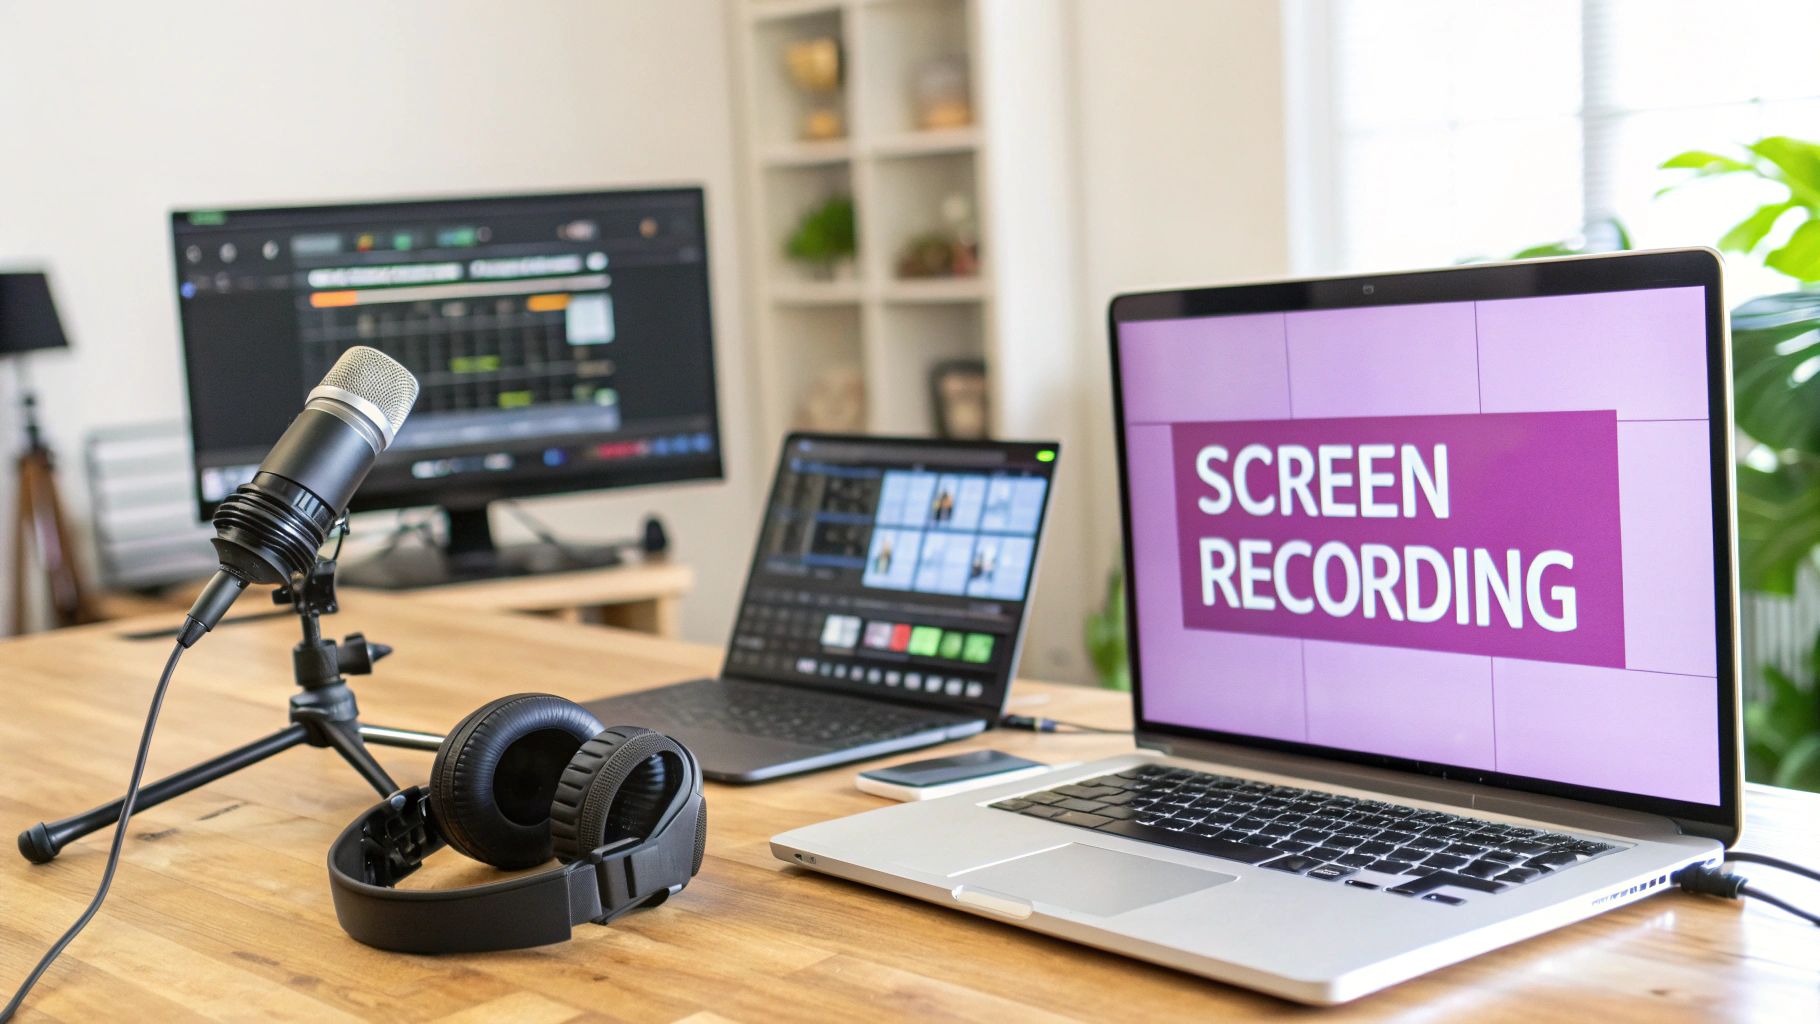
Getting Your Hands Dirty: Manual Clipping and Screen Recording
When you just need to grab a quick clip from a YouTube video, the simplest way is often to use the tools right there on the platform. YouTube has its own 'Clip' feature that's great for fast sharing, but it’s not without its limits. For anything more serious, you'll want to roll up your sleeves and go with screen recording, which gives you total control over the end result.
Let's walk through both of these hands-on approaches. I'll cover how they work, when to use each one, and how to sidestep the common mistakes that can wreck the quality of your clips.
Using YouTube's Built-In Clip Feature
Think of YouTube's native clipping tool as a pair of digital scissors. It's designed for one thing: snipping out a short, memorable moment and getting a shareable link instantly. This is perfect for grabbing a killer quote from an interview or a hilarious moment from a live stream without ever leaving the page.
You'll find the "Clip" button—it looks like a pair of scissors—right under the video player, mixed in with "Share" and "Download."
Here’s a look at where you can typically find it on the YouTube interface.
The process itself is dead simple:
- Hit the Clip icon.
- A sidebar pops up with a timeline. Just drag the handles to select the segment you want.
- Give your clip a quick, descriptive title.
- Click Share clip to get a unique URL you can drop on social media, embed in a post, or send directly to a friend.
Here's the catch, though. The YouTube Clip feature caps you at 60 seconds. That makes it a no-go for longer segments, detailed tutorials, or anything that requires more context. It’s built for speed, not for depth.
Practical Example: Imagine a gaming streamer pulls off a one-in-a-million shot during a live broadcast. A viewer can immediately use the Clip feature to capture that incredible 15-second moment, title it "THE SHOT OF THE YEAR," and have the link spreading on Twitter before the streamer even finishes the match.
For More Control, Turn to Screen Recording
When that 60-second limit won't cut it, or when you need higher quality and the freedom to edit, screen recording is your best friend. This method is exactly what it sounds like: you use software to capture a portion of your screen while the YouTube video plays. This gives you the power to record any segment, no matter how long, and save it directly to your computer as a fresh video file.
My go-to tool for this is OBS Studio. It’s free, open-source, and gives you an incredible amount of control over both video and audio quality—which is essential if you want your clips to look professional. There are other options out there, but OBS is the industry standard for a reason.
Best Practices for a Clean Screen Recording
Just hitting "record" and hoping for the best is a recipe for a sloppy-looking clip. A few small tweaks to your setup can make a world of difference between a polished, professional video and something that looks like it was recorded on a potato.
To get pristine results every time, stick to these rules:
- Match the Resolution: Before you do anything else, make sure your recording software is set to capture at the source video's resolution (e.g., 1080p or 4K). Recording a 4K video in a tiny window will just give you a blurry mess.
- Isolate the Audio: This is a big one. You only want to capture the audio from the YouTube video. Make sure your microphone is muted in the software to avoid recording keyboard clicks, your dog barking, or random desktop notifications.
- Go Full-Screen: Always play the YouTube video in full-screen mode before you start recording. This gets rid of all the visual clutter—the browser tabs, the address bar, the taskbar—and gives you a clean, immersive final product.
- Do a Test Run: I can't stress this enough. Always record a quick 10-second test before capturing the real thing. It’s the only way to catch audio issues, video stuttering, or wrong settings before you waste time on a long, unusable recording.
Mastering screen recording is how you graduate from YouTube's simple tool and start creating higher-quality, custom clips that are ready for some real editing and repurposing. It’s the foundation for everything that comes next.
Method 3: Download for Maximum Control
Sometimes, the built-in tools and screen recorders just don't cut it. When you need absolute precision and the highest possible quality, downloading the video is your best bet. This workflow is my go-to when I'm creating polished, professional-grade clips for social media, marketing campaigns, or even internal training videos.
Taking the video offline gives you complete freedom. You’re no longer fighting with a laggy internet connection or a 60-second time limit. Instead, you have the full, high-quality source file on your computer, ready to be dropped into a proper video editor where you can make frame-perfect cuts.
How to Safely Download YouTube Videos
First things first, you need to get the video file. You'll find a ton of online tools and desktop apps for this, and this review of the best YouTube to MP4 converter tools is a great place to start your search.
A quick word of caution, though: always be mindful of copyright and YouTube's terms of service. You should only be downloading content you have permission to use, like your own videos or anything published under a Creative Commons license.
Here are a few tips I've learned for doing this safely:
- Stick to Reputable Software: Use well-known downloaders with plenty of positive reviews. This is the easiest way to avoid accidentally installing malware.
- Always Grab the Highest Quality: If 1080p or 4K is available, download it. You can always scale down, but you can't add quality that isn't there. This ensures your final clip looks sharp.
- Stay Ethical: Remember, downloading copyrighted content without the owner's permission is a big no-no.
This isn't just about grabbing a file; it's about setting yourself up for a successful edit. For a more detailed breakdown, we have a complete guide on how to download and edit videos from YouTube.
From a 45-Minute Podcast to a 30-Second Reel
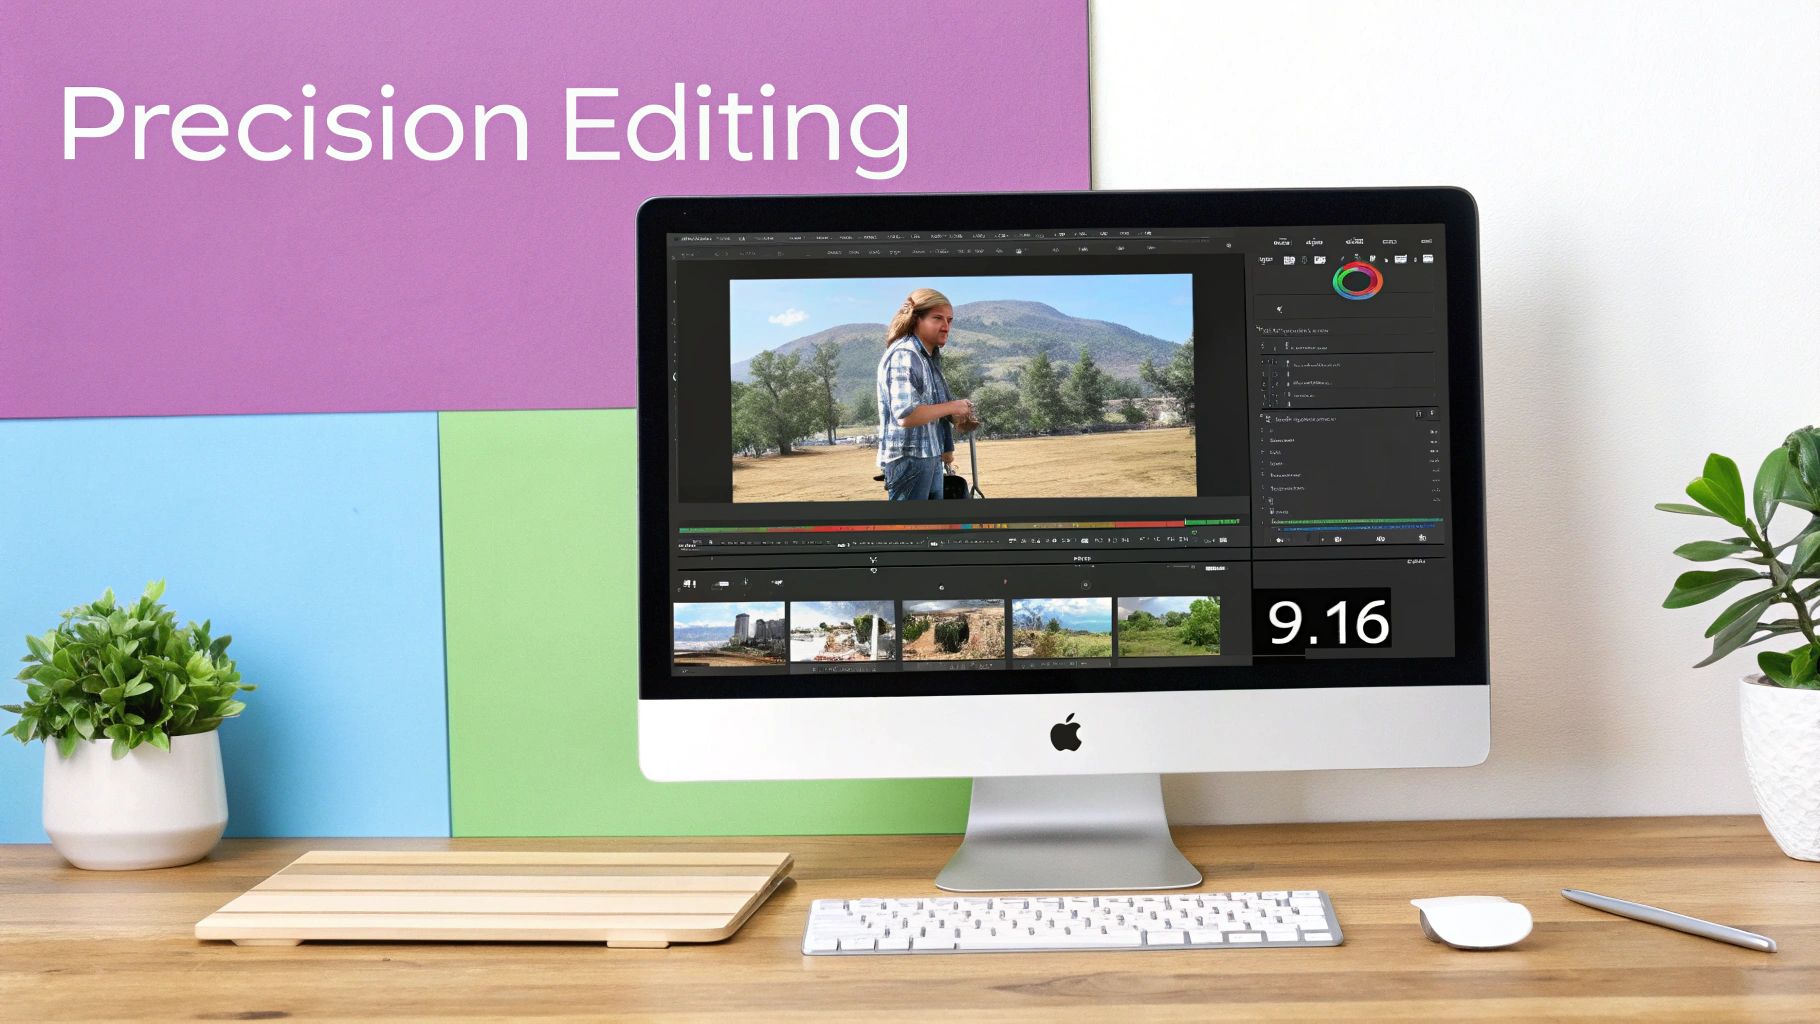
Let's make this practical. Say you've downloaded a 45-minute podcast interview and want to pull out a single, impactful 30-second quote for an Instagram Reel. For a job like this, I'll often turn to DaVinci Resolve—it's free, but it's also what professionals use.
Once you're in the software, you'll see a timeline editor that lets you slice, dice, and reformat your footage with incredible precision.
The process might seem intimidating, but it's pretty straightforward once you get the hang of it:
- Import the Video: Just drag the downloaded MP4 file into your project's media pool.
- Isolate the Clip: Play through the video on the timeline to find the quote. Use the "blade" tool to make a cut right at the beginning and another at the end. Now you have your isolated segment.
- Refine the Edges: Zoom way in on the clip. Trim the ends frame by frame to get rid of any awkward pauses or filler words ("um," "uh") right before or after the speaker's point.
- Reformat for Social: Head to your project settings and change the aspect ratio to a vertical 9:16, perfect for Reels and TikTok. You'll likely need to reposition and scale the clip to keep the speaker centered in the new vertical frame.
- Export: Render your shiny new 30-second clip in a mobile-friendly format.
Don't Forget the Audio
A clip can have amazing visuals, but if the audio is bad, people will scroll right past it. That low hum from an air conditioner or the buzz from a computer can make your clip feel amateurish. Luckily, most good editing software can fix this.
In DaVinci Resolve, for instance, you can switch over to the Fairlight audio page and apply a noise reduction filter. It's smart enough to identify and remove that consistent background noise without making the speaker's voice sound robotic. Considering that 88% of viewers admit they'll click away from a video with poor audio, this is a step you can't afford to skip.
Key Takeaway: Downloading a video and using a desktop editor gives you the ultimate control. You can move beyond basic trims to make frame-perfect cuts, clean up distracting audio, and reformat your content for any platform. It’s how you turn a snippet from a long video into a high-impact, shareable asset.
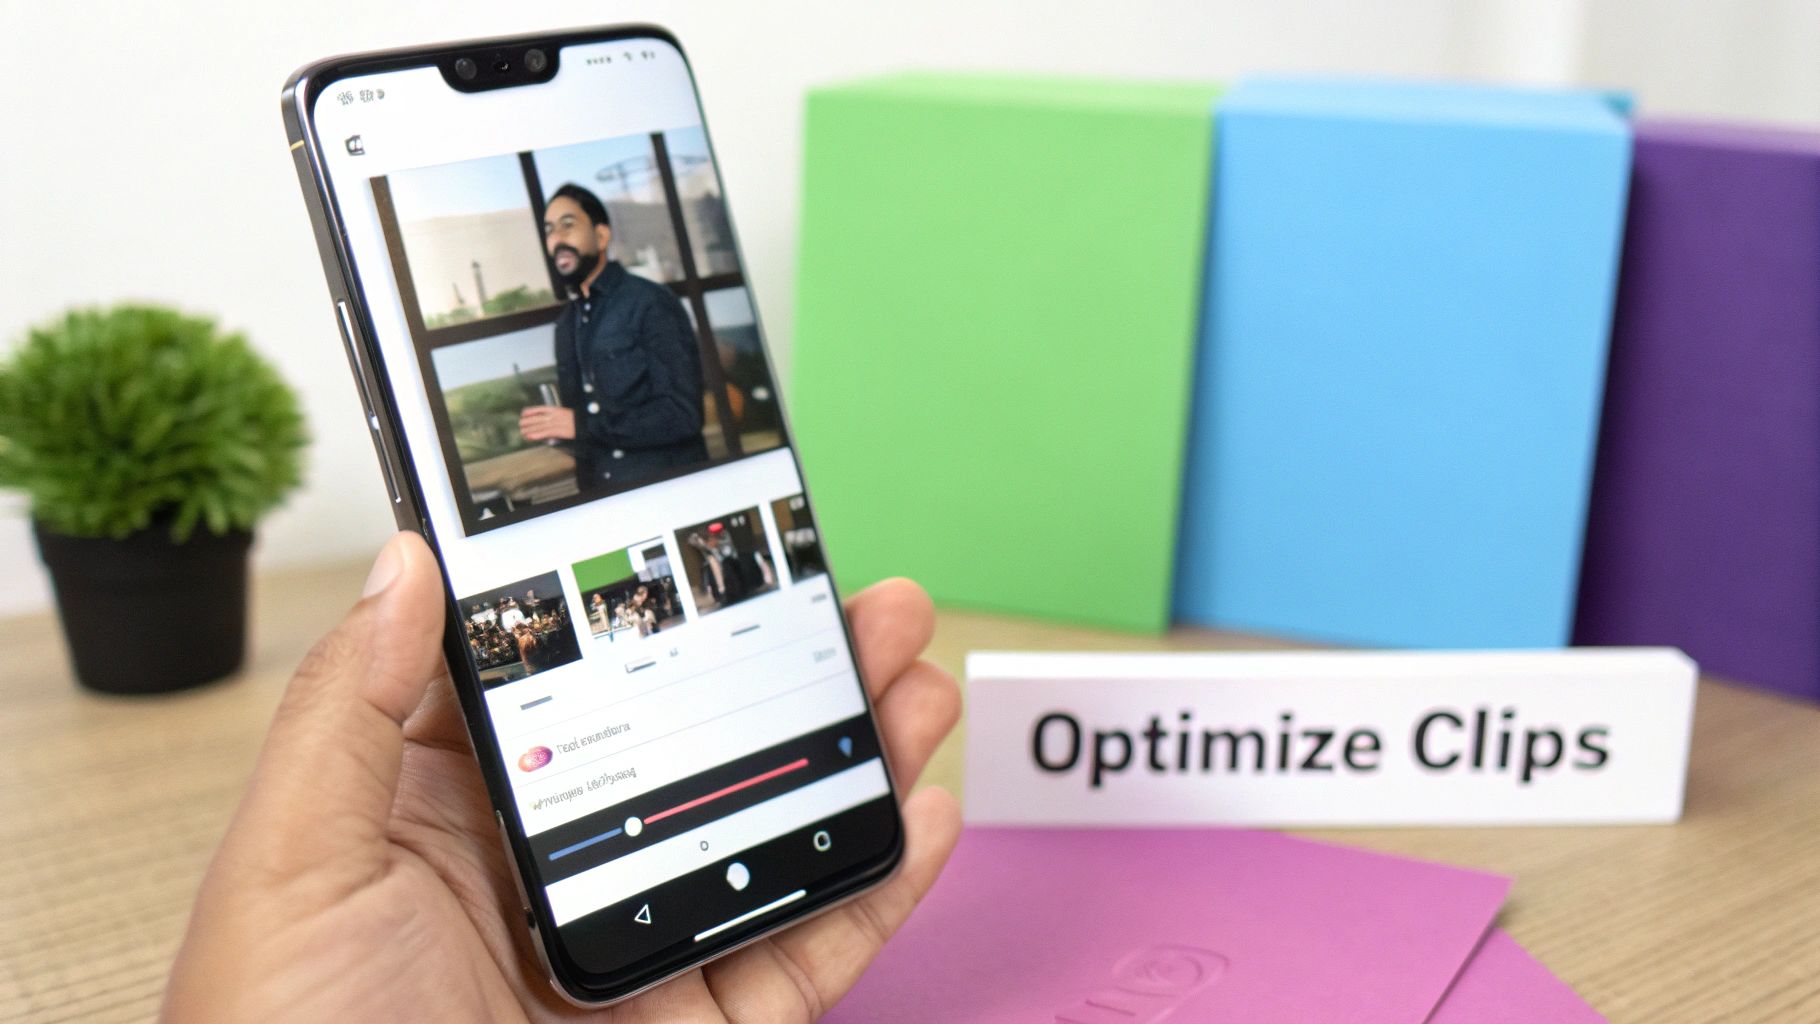
Optimizing Clips for Social Media Impact
Grabbing a clip from a YouTube video is just the starting point. The real work—and the real payoff—comes from transforming that raw footage into a polished, high-impact piece of content that feels native to TikTok, Instagram Reels, or YouTube Shorts. Just tossing a horizontal clip onto a vertical feed is a surefire way to get scrolled past.
You have to completely rethink the content for a totally different environment. People on these platforms are conditioned to expect fast, visually punchy videos that hook them in the first couple of seconds. That means every detail, from the framing to the on-screen text, needs to be optimized to stop the scroll.
Reframing Horizontal Video for a Vertical World
Your first job is to tackle the aspect ratio, converting the standard 16:9 landscape format from YouTube to the 9:16 portrait view that rules mobile feeds. But it's not enough to just accept the black bars on the top and bottom. You have to actively reframe the shot to keep the main subject—whether it's a speaker's face or a crucial action—front and center.
This is where keyframing becomes your best friend. Think of it like setting digital waypoints for your camera. You tell your editing software, "At this timestamp, I want the focus here," and then a few seconds later, "Okay, now the focus has shifted over here." The software then creates a smooth, automatic pan between those points, making sure your subject never awkwardly drifts out of the frame.
Practical Example: You've clipped a podcast segment with two hosts sitting next to each other. In a vertical video, you can't show both clearly at the same time. You set an initial keyframe centered on the first speaker. As the conversation shifts, you move the playhead to where the second person starts talking and set a new keyframe centered on them. The finished clip now feels dynamic, panning naturally between speakers and keeping the viewer's attention focused.
Adding Dynamic Captions for Silent Viewers
An incredible number of people watch social media videos with the sound off—some studies put that figure as high as 85%. This makes on-screen text less of a bonus feature and more of an absolute must-have for communicating your message.
But we're not talking about boring, static subtitles. To really grab someone, you need dynamic captions. This is text that animates, highlights key words with color, and even incorporates emojis to keep the viewer locked in. They make your video pop, even in total silence.
Today's best editing tools can automatically generate a transcript and convert it into eye-catching animated captions. You can usually customize the font, colors, and animation style to match your brand, making your content instantly recognizable in a crowded feed.
Before you start animating, you need an accurate text source. Knowing how to properly transcript a YouTube video is the foundational step that ensures your on-screen text is perfect from the get-go.
Boosting Retention with Visual Hooks
Beyond captions, a few other on-screen elements can make a huge difference in how long people stick around. These "visual hooks" give viewers a reason to keep watching and create a sense of forward momentum.
Here are a few simple but powerful additions:
- Headlines & Text Overlays: A bold, punchy headline at the top of the screen ("This Marketing Secret is a Game-Changer") tells people immediately what the clip is about and why they should care. It hooks them within the first three seconds.
- Progress Bars: That little bar that scrolls across the bottom of the screen is a subtle psychological trick. It shows viewers how much time is left, removing the uncertainty of the video's length and making them more likely to finish it.
- Emojis & Stickers: When used thoughtfully, emojis add personality and visual interest. They can emphasize a point, convey an emotion, or just break up a wall of text to make the content feel more fun and native to the platform.
Automating Your Clipping Workflow with AI
Let's be real: manually finding, downloading, and polishing clips is a grind. It works, sure, but it just doesn't scale. If you're running a content agency, a busy marketing team, or juggling multiple channels as a creator, the time you sink into this process quickly becomes a huge bottleneck. This is exactly where automation, powered by AI, completely changes the game.
Instead of spending hours scrubbing through timelines, you can have an AI do all the heavy lifting for you. Today's tools are smart enough to analyze a long video's transcript, listen for audio cues, and even look at engagement data to automatically pinpoint the most compelling, shareable moments. This isn't some futuristic concept; it's a practical solution you can use right now to produce a ton of high-quality content without burning out.
How AI Pinpoints the Best Moments
So, how does an AI even know what makes a good clip? It's not magic. It’s trained to look for specific signals in the video's data that typically lead to high engagement. This goes way beyond just searching for keywords.
The whole process is layered, with the AI analyzing several things at once:
- Transcript Analysis: The AI scans the entire transcript for impactful language. Think strong statements, interesting questions, or moments where the speaker's tone is clearly emotional. It’s fantastic at pulling out those powerful, quotable soundbites.
- Speaker Detection: In podcasts or interviews with multiple people, the AI can tell who is talking and when. This is incredibly useful for isolating a segment where a specific guest makes a killer point, keeping the clip tight and focused.
- Silence Removal: One of the most tedious parts of manual editing is cutting out dead air. The AI does this automatically, detecting and trimming awkward pauses to create punchier clips that hold attention on social media.
What this means in practice is that from a single one-hour video, an AI can generate dozens of potential clips, often ranked by their viral potential. It’s an insane time-saver. Seeing a powerful AI video clipping tool in action is the best way to understand how it can transform long-form content into a library of ready-to-publish short videos.
Practical Example: The Podcast Repurposing Machine
Picture this: you run a popular weekly podcast, and each episode is a 90-minute deep dive. To manually create social media clips, you'd need an editor to watch the whole thing, find 10-15 good moments, trim them, add captions, and export everything in the right format. That's easily a 4-5 hour job for every single episode.
Now, let's plug in an automated workflow:
- You upload the final podcast video to an AI clipping platform.
- The AI gets to work, analyzing the entire conversation to identify key questions, insightful answers, and funny bits.
- In just a few minutes, it serves up 20 potential clips, all with auto-generated transcripts ready for review.
- You pick your favorite 10, and the platform can automatically apply your branded template, add dynamic captions, and even suggest a headline.
- With one click, you schedule all 10 clips to post across TikTok, Instagram Reels, and YouTube Shorts over the next week.
An entire five-hour task just got knocked down to under 30 minutes.
The efficiency gains are massive. For a podcast producing four episodes a month, this switch from manual to AI-powered clipping can save nearly 20 hours of tedious editing work, freeing up creators to focus on what they do best—creating great content.
Our Edge Over Competitors
While many tools can help you clip videos, the real difference lies in the intelligence and efficiency of the workflow. Some platforms may require you to manually set in-and-out points or rely on simple keyword searches, which still leaves much of the discovery process on your shoulders.
Our approach is different. It uses advanced AI to analyze the full context of the conversation, identifying genuinely impactful moments based on tone, topic, and structure. This means you get higher-quality clip suggestions without the manual effort. Furthermore, our integrated system takes you from raw video to scheduled social post with branded captions and formatting, all within a single, streamlined interface. This end-to-end automation is what truly sets us apart, saving creators not just time, but significant mental energy.
Understanding Legal and Ethical Clipping Practices
https://www.youtube.com/embed/ebH3LaiptuA
When you grab a clip from someone else’s YouTube video, you're handling more than just pixels—you're working with their creative property. Getting this right is crucial for building a channel people respect and, just as importantly, for avoiding some serious headaches down the line. It all comes down to understanding copyright, Fair Use, and how to give credit where it's due.
Don't just brush this off as online etiquette. Ignoring the rules can get you copyright strikes, have your videos taken down, or even get your entire channel demonetized. It's a real risk. To give you an idea of how seriously this is taken, YouTube processed over 6.5 million copyright claims in just the first half of a recent year. That shows you creators and the platform are definitely paying attention.
What Fair Use Really Means
You’ve probably heard of "Fair Use." It's a legal concept that lets you reuse copyrighted material without permission from the owner, but only in specific situations. It's a complex idea, not a magic wand you can wave to use anything you want. Simply downloading and re-uploading someone else’s content as-is? That’s almost never going to fly.
The heart of Fair Use is transformativeness. Your work has to add a new layer, a new meaning, or a new purpose that's distinct from the original.
Here are a few classic examples where Fair Use often applies:
- Commentary and Criticism: Think of a movie review where you show short clips to make a point.
- Parody: Creating something funny or satirical that mocks the original.
- News Reporting: Using a snippet of a video to report on a timely event.
Here’s a practical example: Imagine a creator producing a video essay on narrative design in video games. They might use a 15-second clip from a game’s cutscene. By providing analysis over the clip—breaking down the dialogue, camera angles, and emotional impact—they’ve transformed its purpose from pure entertainment into educational commentary. That’s a solid Fair Use argument.
How to Give Proper Attribution
Even if you’re confident your clip falls under Fair Use, giving credit is just the right thing to do. It’s a sign of respect for the person who made the original content and it points your audience to other cool creators. But proper attribution is more than a quick shout-out.
Make it a habit to include these three things in your video description every time:
- A Clear Statement: Start with something direct, like "Clip from…" or "Footage provided by…".
- The Creator's Name: Mention the name of the YouTube channel you got the clip from.
- A Link to the Original: This is the big one. Always include a direct, clickable link back to the source video.
This simple practice builds goodwill in the creator community and shows you’re serious about creating content ethically. By following these guidelines, you can clip with confidence, knowing you’re respecting other creators and protecting your own channel.
Ready to transform your long-form videos into dozens of high-impact social clips in minutes? Our platform uses AI to automatically find the best moments, add stunning animated captions, and get your content ready for TikTok, Reels, and Shorts. Stop spending hours on manual editing and start scaling your content production today. Get started for free at Swiftia.io.