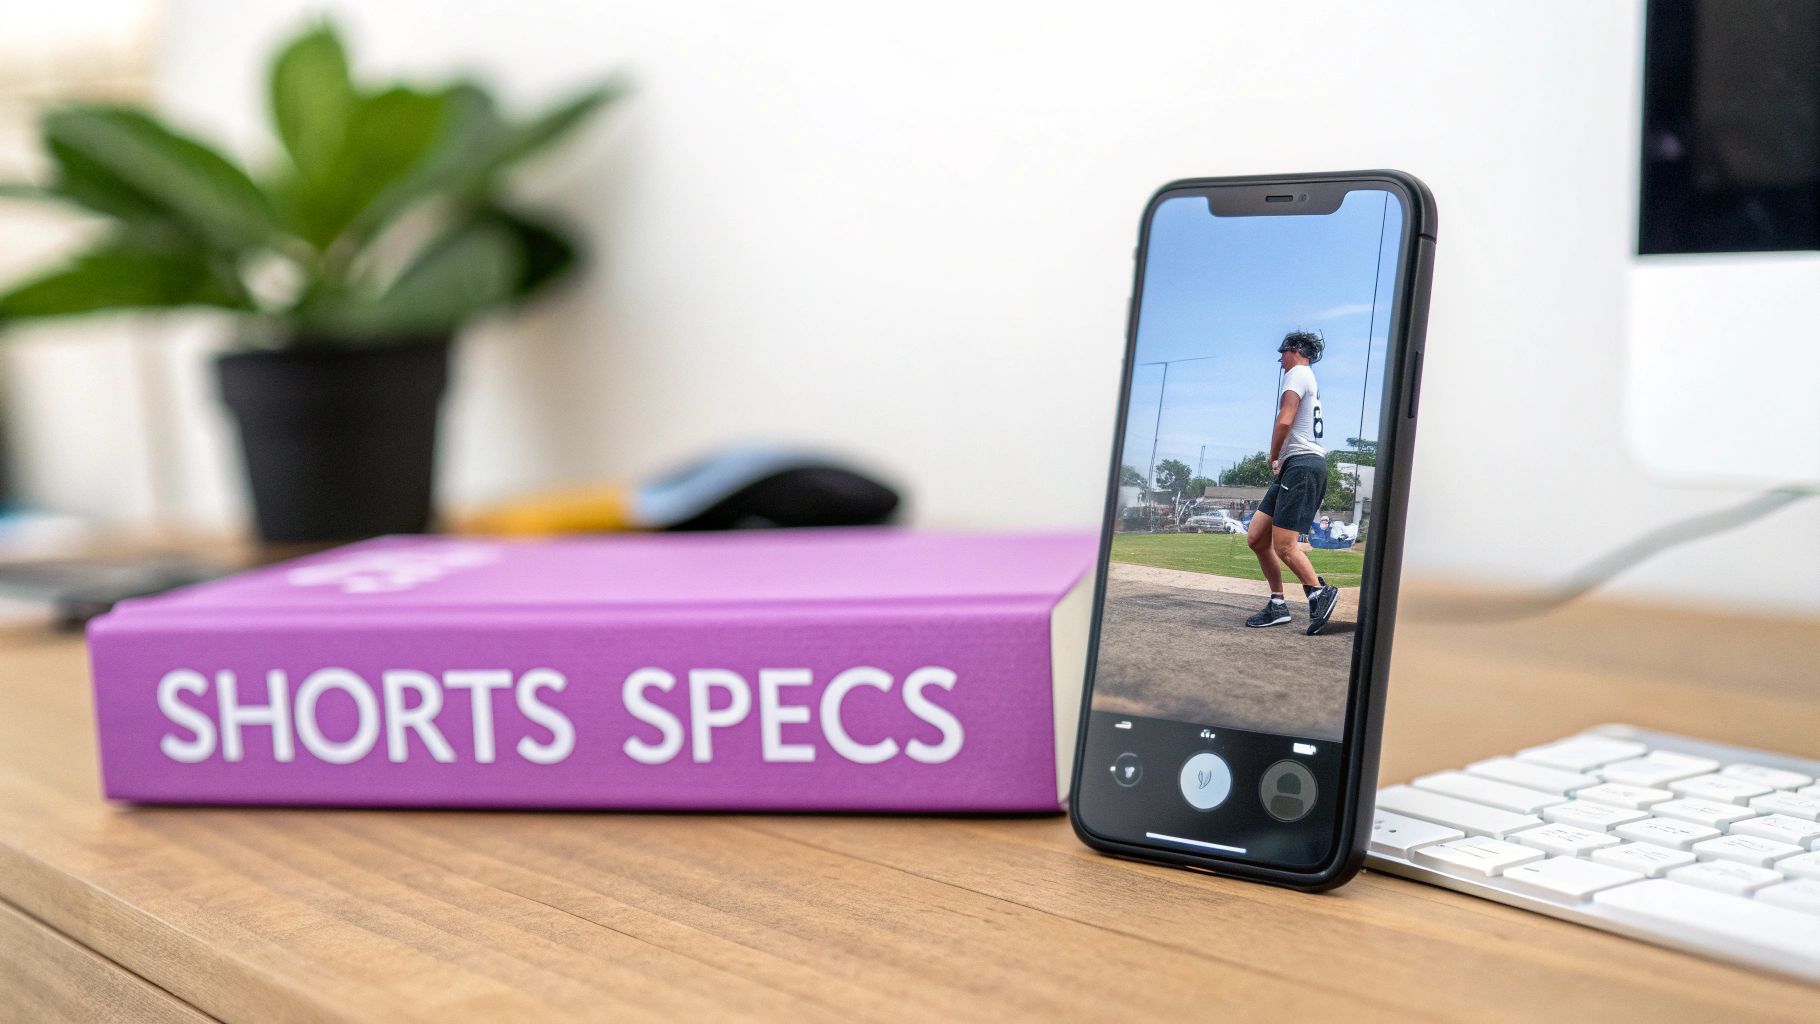
Let's get straight to the point: the single most important rule for your YouTube Shorts video size is to use a vertical 9:16 aspect ratio. This isn't just a suggestion; it's the key to creating that native, full-screen experience viewers expect. The ideal resolution to pair with this is 1080×1920 pixels, which keeps your video looking sharp and professional on mobile screens.
Why Your YouTube Shorts Video Size Matters
Nailing the technical specs for your Shorts is about more than just checking a box. Think of it as speaking the algorithm's language. When you upload a perfectly formatted Short, you're telling YouTube, "This video was made for this feed." It's the first and easiest step to signal that you're creating quality, platform-specific content.
This technical detail has a massive impact on the person watching, too. A video that fills the entire phone screen, with no distracting black bars, feels immersive and professional. In the fast-paced world of short-form content, where viewers swipe away in a fraction of a second, any small hiccup can be the reason you lose their attention.
The Foundation Of A Successful Short
Getting the dimensions right is the bedrock of a good Short. It's what prevents your video from looking stretched, blurry, or awkwardly cropped. Once you have that foundation solid, you can pour your energy into the things that really make a video pop—your story, your editing, and how you connect with your audience. Think of it as a pre-flight checklist before every upload.
With YouTube Shorts now pulling in over 70 billion daily views, the competition is fierce. Optimizing every last detail isn't just a good idea; it's essential for standing out in front of that massive audience.
If you remember only one thing, make it this: A 9:16 aspect ratio and a 1080×1920 resolution are the gold standard. Sticking to these specs is the simplest, most effective thing you can do to boost your video's chances of success.
This is especially critical if you're repurposing longer, landscape-style videos. You can't just upload the original file and hope for the best. Learning how to properly crop and reframe is key. And for those who want to go even deeper, this ultimate guide to YouTube Shorts video size, specs, tips and tools is an incredible resource.
YouTube Shorts Technical Specifications At A Glance
To make things even easier, here’s a quick-reference table with all the essential tech specs you need to know. Keep this handy, and you’ll never have to second-guess your export settings again.
| Specification | Recommendation |
|---|---|
| Aspect Ratio | 9:16 (Vertical) |
| Resolution | 1080 x 1920 pixels |
| Duration | Up to 60 seconds |
| File Size | Maximum 100 MB |
| Video Codec | H.264 (or AVC) |
| Audio Codec | AAC |
| Frame Rate | 24-60 FPS |
| Thumbnail Size | 1080 x 1920 pixels |
Getting these settings right from the start saves you a ton of headaches and ensures your content always looks its best the moment it hits the Shorts feed.
The 4 Technical Specs That Make or Break a YouTube Short
Think of creating a great YouTube Short like building a house. You can have the most amazing design in the world, but if the foundation is cracked, the whole thing falls apart. The technical specs are your foundation.
Nailing these four core elements—aspect ratio, resolution, file size, and duration—is the first, most crucial step. It's not about being restrictive; it's about setting your video up to look professional and play nice with the YouTube algorithm.
Aspect Ratio: The Golden Rule of 9:16
First things first, let's talk about the shape of your video. The aspect ratio is everything for a Short, and the magic number is 9:16.
This vertical format is what makes a Short a Short. It’s designed to perfectly fill a smartphone screen, creating that immersive, full-screen experience viewers expect. If you upload a horizontal (16:9) video, YouTube will slap ugly black bars on the top and bottom. It immediately screams "repost" and is a dead giveaway that the content wasn't made for the Shorts feed, which is often an instant swipe-away for viewers.
Resolution: Don’t Settle for Blurry
Next up is resolution, which is just a fancy way of saying how clear and sharp your video looks. The standard here is 1080×1920 pixels.
This is Full HD, and it’s the sweet spot. It ensures your video looks crisp and professional on modern phone screens without making the file so big it takes forever to upload.
Sure, you could go all out and upload in 4K (2160×3840 pixels), but for a 60-second clip viewed on a small screen, the difference is barely noticeable. Sticking to 1080×1920 gives you that perfect balance between quality and practicality.
Pro Tip: Always export your Shorts in 1080×1920 pixels. This is the industry standard for a reason. It guarantees a high-quality look without creating massive files that slow you down.
File Size and Duration: The Final Hurdles
The last two pieces of the puzzle are the constraints YouTube puts in place. For file size, you’re capped at a 100 MB maximum. This might not seem like a lot, but it’s plenty for a high-quality, 60-second video if you're using the right compression settings. It’s YouTube’s way of ensuring videos load quickly for everyone.
And finally, the most well-known rule: a Short must be 60 seconds or less.
It's easy to assume that shorter is always better in the hyper-fast world of vertical video. But recent analysis tells a different story. Looking at data from over 5,400 Shorts, the videos that performed the best were actually between 50-60 seconds long, pulling in an average of 1.7 million views.
This tells us that while attention spans are short, viewers are still willing to stick around for a story that has a proper beginning, middle, and end. You can find more fascinating data in these YouTube Shorts statistics on voomo.ai.
Get these four technical details right from the start, and you’ll have a solid foundation to build on. Then, you can pour all your energy into what really matters: making incredible content.
Turning Landscape Videos into Vertical Winners
If you’ve built up a library of horizontal videos, you’re sitting on a goldmine for YouTube Shorts. Repurposing that content is one of the fastest ways to get in the game. But hold on—just uploading a 16:9 video and letting YouTube take a hatchet to it is a recipe for a bad time. The result is almost always an awkward, confusing clip that screams "I didn't try."
The secret isn't just cropping; it's intelligent reframing. This is all about playing director after the fact. You have to guide the viewer’s eye to the most important part of each scene, essentially creating a brand-new vertical video from your original footage. Skip this, and you risk chopping off crucial text, context, or even the person speaking.
To get this right, you need to nail the four technical pillars of any good Short: aspect ratio, resolution, duration, and file size. Think of them as the foundation for everything else you build.

Get these four elements locked in, and you’re well on your way to turning any video into a Short that performs.
A Practical Example: Reframing a Podcast Clip
Let's make this real. Imagine you have a 45-minute podcast filmed in landscape (16:9) with two hosts sitting on a couch. There's a brilliant 55-second exchange you know would make a killer Short. If you just do a lazy center-crop, you’ll probably get the space between them, cutting both speakers in half. It’s unwatchable.
Here’s how to do it right:
- Find Your Gold: First, pinpoint that 55-second moment in your original video.
- Go Vertical: In your editor, create a new project with a 1080×1920 (9:16) canvas. This is your vertical stage.
- Direct the Action: Drop the landscape clip onto your vertical canvas. Now, instead of a static, boring crop, you’ll use keyframes to create movement. When Host A talks, slide the video so they’re perfectly framed. When Host B jumps in, smoothly pan the frame over to them. This digital camera work keeps the viewer locked in.
- Add Vertical-Friendly Layers: You've got all that empty space at the top and bottom, so use it! Put a hook-worthy title up top, like "The #1 Mistake All New Investors Make." At the bottom, add big, bold, easy-to-read captions. With studies showing 85% of social media videos are watched on mute, captions aren't optional—they're essential.
By taking these steps, you’re not just reformatting a video. You're transforming a wide, passive conversation into a punchy, focused vertical story that feels like it was born on the Shorts platform. If you want to dive deeper into the editing side of things, it’s worth learning more about how to convert video aspect ratio the right way.
Manual Editing vs. AI-Powered Workflows
Doing all this manual reframing and captioning produces fantastic results, but let's be honest—it’s a huge time sink. Reframing, captioning, and exporting a single one-minute clip can easily eat up 30 to 60 minutes. If you're trying to post consistently, that pace is unsustainable. This is where AI-powered tools completely change the equation.
We looked at our own video production workflows and found that AI tools can slash the time it takes to repurpose a long video into multiple Shorts by up to 90%. That hour-long editing job? It now takes just a few minutes.
These tools are smart enough to find the speakers, track their faces, and generate perfectly timed captions for you, handling the most tedious parts of the job automatically.
To see just how big the difference is, let's compare the two approaches side-by-side.
Manual Repurposing vs AI-Powered Workflow
| Task | Manual Editing (Time/Effort) | AI-Powered Workflow (Time/Effort) |
|---|---|---|
| Finding Clips | 15-30 mins. Manually scrubbing through footage to find good moments. | 2-5 mins. AI automatically suggests the most engaging clips. |
| Reframing | 10-20 mins. Tediously setting keyframes for every camera pan. | Instant. AI automatically tracks speakers and keeps them centered. |
| Captioning | 10-15 mins. Transcribing, timing, and formatting captions by hand. | 1-2 mins. AI generates and animates captions in a click. |
| Total Time per Clip | 35-65 mins. | 3-7 mins. |
The numbers don't lie. For creators, agencies, or anyone managing multiple channels, an AI-first workflow isn't just a nice-to-have. It's a strategic advantage that lets you produce high-quality Shorts at scale without burning yourself out.
Advanced Optimization Beyond the Dimensions
Getting your YouTube Shorts video size right is the foundation, but it's really just the price of entry. To actually get noticed in that endless, fast-moving Shorts feed, you have to nail the details that go beyond the basic specs. This is what separates the polished, professional-looking content from everything else.
Think of it this way: the right dimensions are like having a perfectly sized canvas. Now you have to create a masterpiece on it. This means thinking about everything from the single frame that acts as your cover image to the technical file formats that ensure your video plays smoothly for everyone.
The Power of the Frozen Frame
Here's something a lot of creators miss: you can't upload a custom thumbnail for a YouTube Short after it's live. Instead, YouTube just grabs a single frame from your video to use as the thumbnail. This one "frozen frame" is your only chance to make a good first impression on home feeds, in search results, or on your own channel page.
If that frame is blurry, boring, or just plain confusing, people will scroll right on by. You have to be deliberate about what appears on screen, especially within the first few seconds.
- Put the action up front: Make sure the most exciting or visually interesting part of your video happens right away. This dramatically increases the chance that YouTube will pick an eye-catching frame.
- Use on-screen text as a hook: A well-placed title or a punchy line of text within the video can act as your thumbnail, telling people instantly what your Short is about.
Demystifying Video and Audio Codecs
The word "codec" might sound super technical and intimidating, but the idea behind it is pretty simple. A codec is basically a set of instructions that compresses your massive video file into a smaller, more manageable size without totally wrecking the quality. For YouTube, there are two you really need to know.
For the best possible quality and compatibility, always export your Shorts with the H.264 video codec and the AAC audio codec. These are the gold standards for a reason—they ensure your video looks and sounds fantastic on just about any device, from a brand-new iPhone to an older Android tablet.
Choosing the wrong codec can cause all sorts of headaches, like pixelated video, audio sync issues, or even the dreaded upload failure. Just stick with H.264 and AAC. It’s the easiest way to make sure a simple technical issue doesn't ruin all your hard work. And if you're looking to really dive deep, you can explore our guide on how to get more views on YouTube Shorts through smart optimization.
SEO for Shorts Titles and Hashtags
Finally, don't forget about your title and hashtags. These are how you tell the YouTube algorithm what your video is about and who should see it. A clear, keyword-focused title is essential for getting your Short in front of the right audience.
For instance, a title like "Cool Car Clip" is way too generic. Something like "Insane Drift in a Classic Muscle Car #shorts #drifting" is much better. It’s specific, packed with relevant keywords, and uses hashtags that help the algorithm categorize it.
Speaking of hashtags, a smart strategy here can make a huge difference. You want a good mix of broad and specific tags to cast a wide net while still attracting your ideal viewer.
- Always, always include
#shorts: This is the official tag that tells YouTube what kind of video this is. It's not optional. - Add 1-2 broad topic tags: Think about popular, high-level categories your video fits into (like
#gamingor#DIY). - Use 1-2 specific tags: Get more granular to attract a dedicated audience (like
#minecraftbuildsor#woodworkingprojects).
A Creator's Workflow for Maximum Reach
Let's put all this technical talk into practice. Theory is great, but seeing how a real creator works is where the lightbulbs really go on.
Picture a podcaster named Alex who just wrapped up a killer one-hour interview. That single recording isn't just one piece of content; it's a goldmine. Alex's goal is to slice it up into a full week's worth of amazing Shorts, all without getting bogged down in a marathon editing session. This is exactly how the pros do it.
The first move isn't to open an editor—it's to listen. Alex goes back through the interview, but this time with a viewer's ear, hunting for 5-7 "golden moments." These are the gems: a shocking statistic, a deeply personal story, a hilarious off-the-cuff remark. These are the scroll-stoppers, the clips with the built-in hook. Each one is a potential Short.

From Landscape to a Vertical Story
Now for the tricky part. How do you turn a wide, 16:9 interview into a compelling vertical story? Just slapping a crop in the middle would be a disaster, probably cutting off both Alex and the guest. It would look lazy and amateurish.
Instead, Alex uses a smart editing tool with AI features. These tools can automatically detect who's talking and keep them perfectly centered in the new vertical 9:16 aspect ratio. It's like having a virtual camera operator who knows exactly where to focus.
This intelligent reframing is what separates great Shorts from sloppy ones. It creates a dynamic feel that looks completely natural on a phone, not like a hacked-up widescreen video. The AI does the heavy lifting, freeing Alex up to focus on making the content pop.
Enhancing for Retention and Reach
With the clips framed perfectly, Alex adds the finishing touches that make people stick around. First up: big, bold, animated captions. So many people watch with the sound off, so clear captions are non-negotiable. They ensure the message gets through, no matter what.
Next, Alex dials in the length. While it's tempting to make super-short clips, the sweet spot for engagement is often between 50-60 seconds. This gives just enough time to tell a complete mini-story and leave the viewer satisfied.
The Blueprint for Success: The process is brilliantly simple. Find the best moments, use smart tools to reframe them for a vertical screen, add eye-catching captions, and trim to the perfect length.
Finally, it's time to export. To guarantee everything looks perfect and meets the YouTube Shorts video size requirements, Alex uses the same settings every time:
- Resolution: 1080×1920 pixels
- File Format: MP4
- Video Codec: H.264
In less than an hour, that one long interview has become seven polished, high-impact Shorts, all ready to go. This isn't about working harder; it's a repeatable system for turning one great idea into a powerful engine for growing an audience.
Common Questions About YouTube Shorts Specs
Even with the official guidelines handy, you'll inevitably run into specific questions right when you're about to upload. Let's walk through some of the most common snags people hit with YouTube Shorts video size and other specs to clear things up.
What Happens If I Upload a Square Video to Shorts?
So, you've got a square video (a 1:1 aspect ratio) that's under 60 seconds. If you upload it, will YouTube count it as a Short? Yes, it will.
But there's a catch. It won't fill the entire screen on a phone. Instead, YouTube will sandwich your video between black bars to make it fit the vertical 9:16 player. While it technically works, you lose that immersive, full-screen feel that makes vertical video so effective. Viewers are on Shorts for a native mobile experience, and anything that breaks that immersion can lead to a quick swipe.
Does the YouTube Shorts File Size Limit Affect Quality?
The 100 MB file size limit can absolutely crush your video quality if you're not careful, especially with high-resolution clips pushing that 60-second limit.
Think about it: a crisp, 58-second 4K video can easily be several hundred megabytes. Squeezing that down to 100 MB without making it a pixelated mess requires smart exporting. Your best friends here are an efficient video codec like H.264 and a sensible bitrate. Most modern video editors handle this pretty well, but if you're still over the limit, a good video compressor can be a lifesaver.
Can I Use YouTube Music on a 60 Second Short?
This is a big one: no, you can't. The second you add a track from the YouTube Shorts audio library, your video is automatically capped at 15 seconds.
The full 60-second runtime is reserved for Shorts that use your own original audio. That means if you want to make a longer Short (anything from 16 to 60 seconds), the sound has to be part of the video file you upload. It's a critical distinction, especially for creators making tutorials or telling a story that just can't be rushed.
Key Takeaway: Plan your audio strategy before you start editing. If you pick a song from YouTube's library, you're building a 15-second video, period.
Is 1080×1920 the Only Resolution for Shorts?
While 1080×1920 pixels is the gold standard, it’s not the only resolution that works. YouTube is flexible, as long as you stick to the 9:16 aspect ratio.
You could technically upload a 720×1280 (HD) or even a 2160×3840 (4K) Short. A 4K upload might look a touch sharper on high-end phones, but you’ll be fighting that 100 MB file size limit much harder. Knowing the nuances of each platform is key; for example, you can see how this compares to the Instagram Story specs to understand the broader short-form video landscape. For most creators, 1080p is the sweet spot—it offers a fantastic balance between quality, file size, and compatibility.
Ready to turn your long videos into perfectly sized Shorts in minutes, not hours? Our AI automatically finds the best moments, reframes them for vertical viewing, and adds animated captions. Stop wrestling with editing software and start creating content at scale. Try Swiftia for free and see how fast you can grow your channel.