To create a Reel on Facebook, you just hit 'Create Reel' from your Feed, either record something new or upload video clips you already have, and then use the editor to add music, text, or effects before you publish. The whole process is designed to be quick and intuitive, letting you jump on trends and create engaging short-form video without a fuss.
Why Facebook Reels Are a Must for Your Content Strategy
Before we get into the nitty-gritty of making a Reel, let's talk about why they're so important. Short-form video isn't just a passing fad; it's one of the most powerful tools you have for growing an audience and boosting engagement. Reels are built for discovery, which means Facebook's algorithm is actively showing your content to people who don't even follow you yet. This is your ticket to going viral and reaching far beyond your current followers.
For businesses and creators, this opens up some serious opportunities:
- Boost Your Visibility: Reels show up everywhere—in dedicated feeds, in Stories, and right on the main News Feed. This multiplies the chances of your content getting seen.
- Drive Higher Engagement: The quick, dynamic format of a Reel just naturally gets more likes, comments, and shares than a static post. All that interaction tells the algorithm your content is worth showing to more people.
- Build a Real Connection: Reels are perfect for showing off your brand's personality, sharing behind-the-scenes content, and creating a more authentic bond with your audience.
The Numbers Don't Lie
The data paints a very clear picture: Reels consistently outperform other types of content on Facebook. In the first quarter of 2024, businesses that posted Reels saw an average engagement rate of 0.23%. That might not sound like a lot, but it's way higher than standard videos (0.17%), photos (0.08%), and text-only posts (0.07%).
Simply put, Reels give you a serious edge in grabbing and holding your audience's attention.
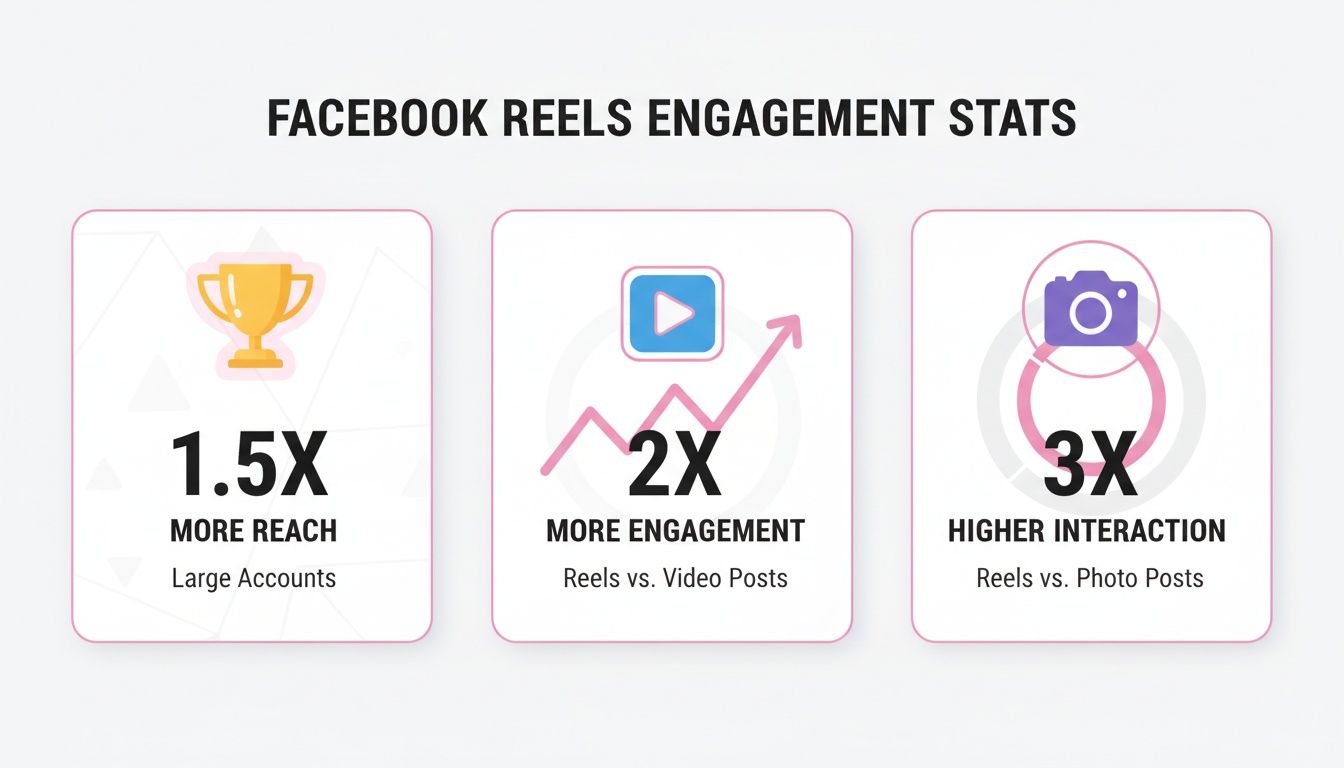
As you can see, Reels don't just get more engagement; they also give you better reach, especially if you have a larger account. Making them a core part of your modern video content marketing strategy is no longer optional—it's essential.
A Quick Real-World Example
Imagine a small local bakery trying to make a name for itself online. They could spend weeks trying to get traction with photos of their cakes.
Or, they could film a simple 15-second Reel of their baker decorating a cake, set it to some trending music, and post it. That one video could easily reach thousands of people in their area in just one day, sparking hundreds of comments and driving a real increase in customers walking through the door. It's proof that even the simplest Reels can deliver tangible business results.
Creating Your First Facebook Reel on Mobile
The best way to figure out how to create a Facebook Reel is to just jump in and do it. The mobile app is really where all the action is, and Facebook has designed it so you can go from a simple idea to a published video in a matter of minutes.
With over 180 billion Reels being played every single day across Meta's apps, you can be sure there's a huge audience ready and waiting for your content.
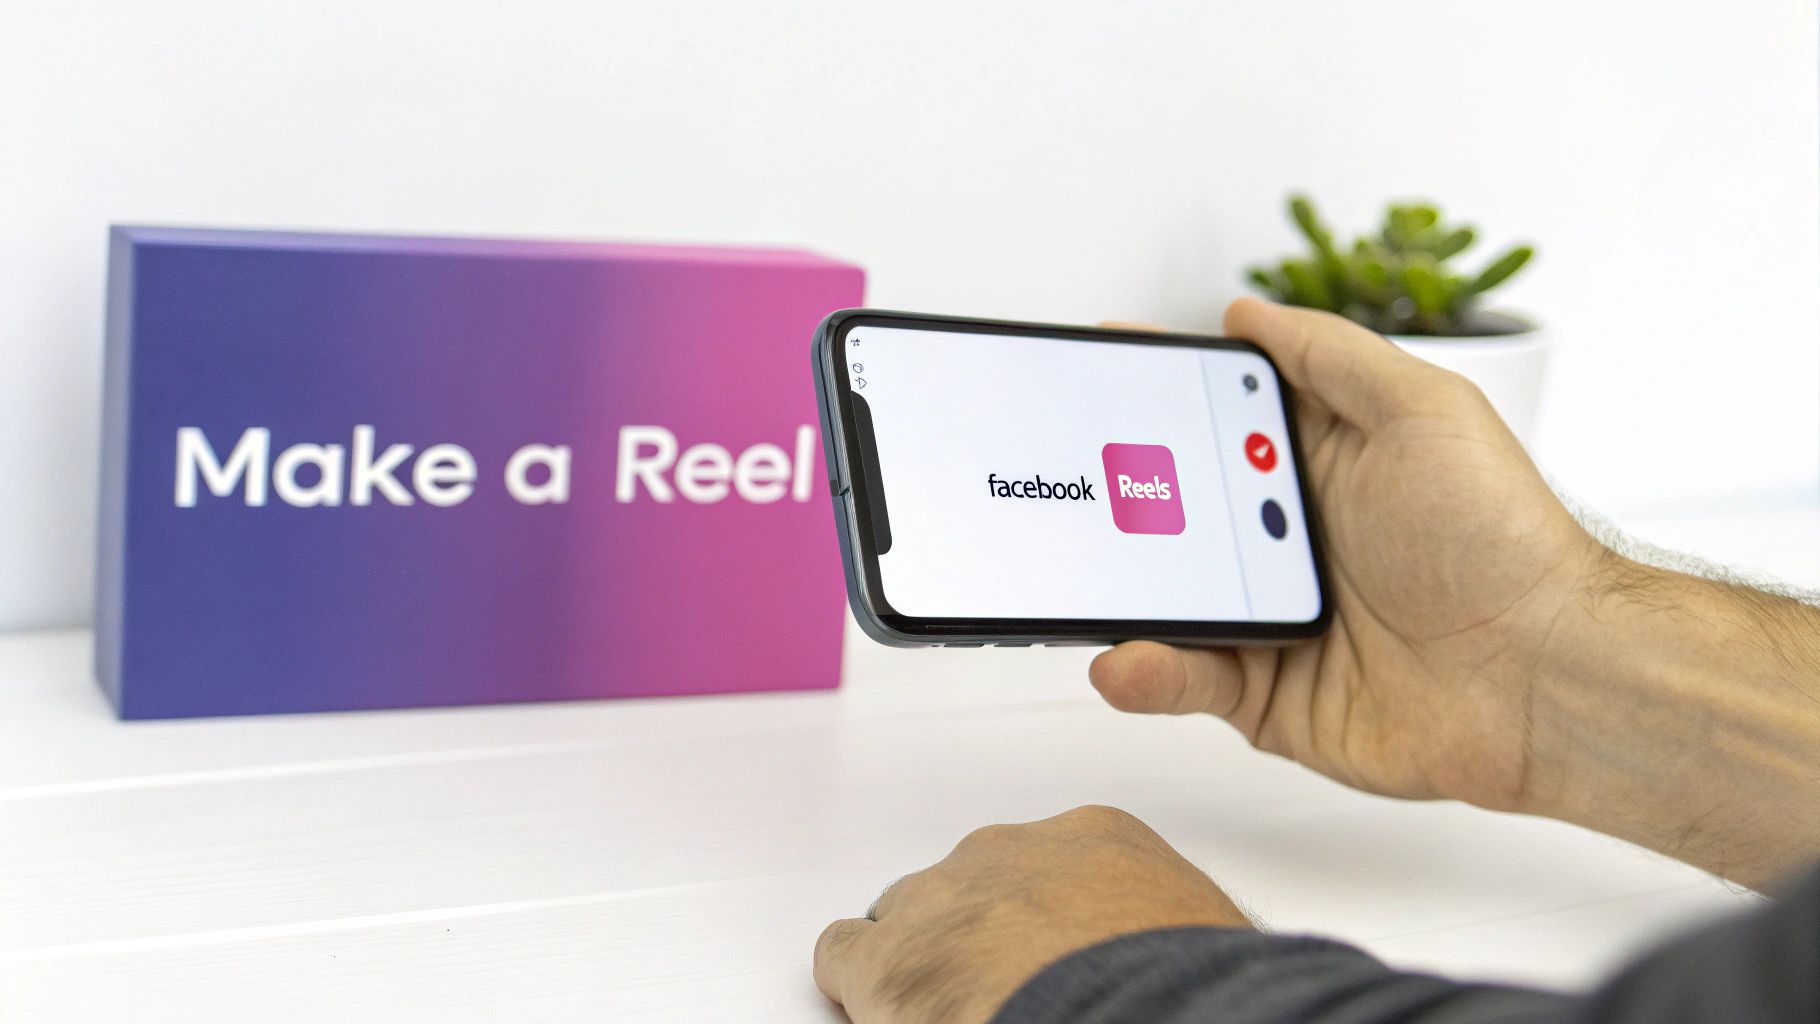
Your starting point is right on your Facebook home feed. Just look for the "Reel" icon in the "Create post" box at the top. You can also tap the big plus sign (+) in the upper right and choose "Reel" from the menu.
Either way, you’ll land in the Reel creator. Your first choice is a simple one: will you record something new or upload video you already have?
Recording vs. Uploading Footage
If you want to capture something happening right now, just tap the red record button. This is perfect for those spontaneous, off-the-cuff moments that feel authentic.
On the other hand, tapping the little gallery icon in the bottom-left corner lets you pull in videos straight from your phone’s camera roll. This is my go-to when I'm putting together more polished content or stitching several pre-recorded clips into a single story.
Pro Tip: While Reels can be up to 90 seconds, I've found the engagement sweet spot is usually between 10-30 seconds. That’s just enough time to deliver a punchline or a valuable tip before your viewer's attention starts to wander.
Let's imagine a local coffee shop wants to make a Reel showing off their new seasonal latte.
They could open the Reels creator and upload two short clips they shot earlier: one 5-second video of the espresso pouring and a 10-second clip of the latte art being finished. Using two separate shots makes the final video far more dynamic than one long, static take.
With the clips selected, it's time to add some magic.
Using the In-App Editing Tools
After you've picked your footage, you'll see a video timeline at the bottom and a toolbar of creative tools on the right. This is your playground for adding personality and making your Reel stand out.
- Audio: This is probably your most important tool. Tap it to browse Facebook’s huge library of trending songs, sound effects, and audio clips. Using a popular sound can give your Reel a massive discovery boost.
- Text: Add headlines, callouts, or captions with the Text tool. You can play with different fonts and colors, and even animate the text to appear and disappear at specific points in the video.
- Effects: This button is a rabbit hole of AR filters and cool visual effects. Don't be afraid to experiment to find a look that fits your brand or the vibe of your video.
- Trim: By tapping "Edit," you can easily trim the start or end of your clips. This is crucial for keeping the pace snappy and cutting out any dead space.
For our coffee shop example, the manager might add an upbeat, trending song, overlay the text "Our New Pumpkin Spice Cold Brew Is Here!", and trim the clips for maximum impact. If you ever feel stuck on the technical side of things, this guide on how to make a Reel is a great resource that breaks down the process.
Once everything looks good, they'll hit "Next," write a quick caption with a few relevant hashtags (like #coffeeshop #fallvibes), and tap "Share now" to send it out into the world.
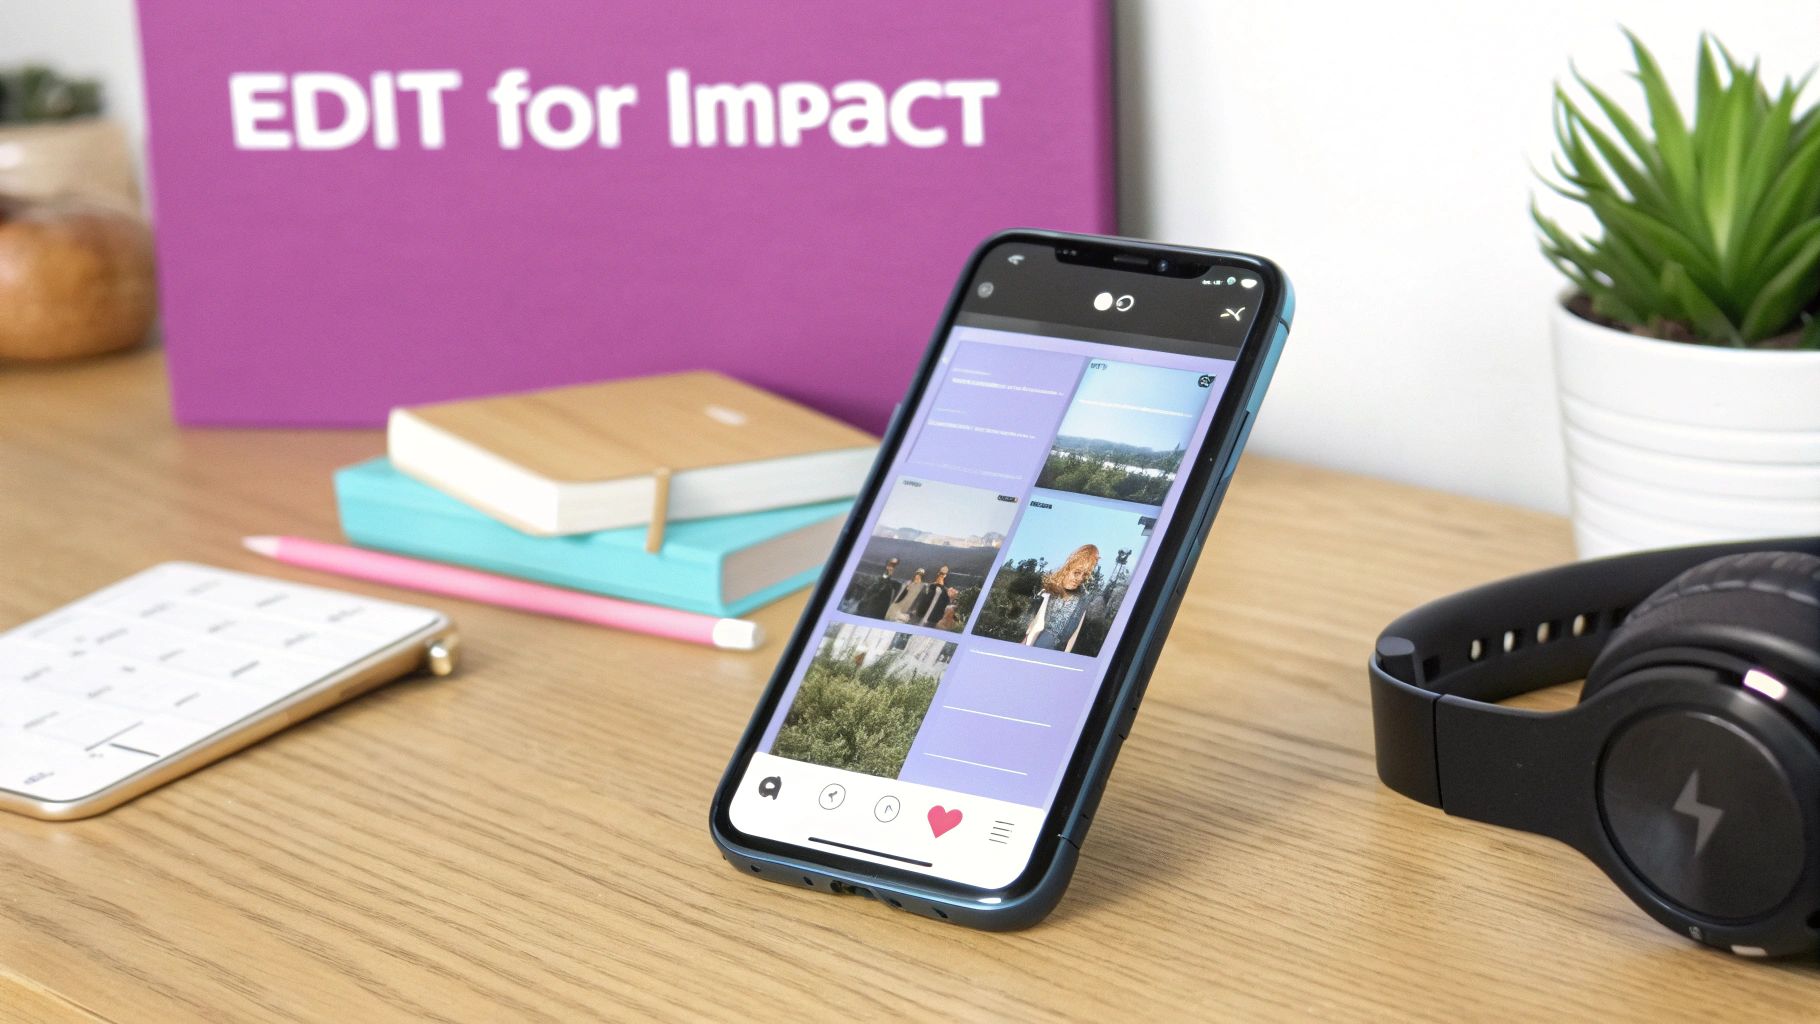
Editing Techniques to Make Your Reels Stand Out
Getting your clips recorded is just step one. The real secret to a killer Facebook Reel lies in the edit—this is where you turn raw footage into a scroll-stopping story. It's your opportunity to add that professional polish that hooks viewers from the very first second.
Forget basic trims for a moment. Facebook's in-app editor has some surprisingly powerful features built right in. You can play with the speed of your clips, slowing down a specific moment for emphasis or speeding up a long process to create a cool time-lapse. There's also a green screen tool that lets you swap your background with any photo or video from your phone, which is perfect for reaction videos, tutorials, or just getting creative.
Ultimately, seamless transitions are what separate a good Reel from a great one. Don't be shy about trimming precisely to snip out every awkward pause. Quick, decisive cuts are your best friend for keeping the energy high and the viewer engaged.
The Make-or-Break Role of Sound
Let's be honest: audio can single-handedly determine whether your Reel flies or flops. The right sound can get your content discovered, while the wrong one can bury it.
Facebook’s audio library is a goldmine of trending songs and viral audio clips that the algorithm is already pushing. Jumping on one of these trends is one of the fastest ways to get your content in front of a new audience.
But it’s not just about slapping a popular song on your video. The real art is balancing a trending track with your original audio. For example, if you're talking in your Reel, you can tuck the music into the background at a low volume. This way, your voice stays clear and you still get the discoverability boost from the trending sound. It's a simple trick, but incredibly effective.
The numbers don't lie. Facebook Reels with sound see 12% higher conversions. And with Reels hitting 180 billion daily plays in 2023—and the fact that 3.5 billion Reels get reshared every single day—nailing your audio and visual edit is non-negotiable. For a closer look at the data, you can explore more statistics on Facebook Reels.
Facebook In-App Editor vs Advanced Editing Tools
While the built-in editor is great for quick, on-the-fly creations, you'll eventually hit its limits if you want to produce truly high-impact, polished Reels consistently. A dedicated editing tool offers far more precision and creative control. Tools like Swiftia provide an edge with AI-powered features that automate tedious tasks and enhance creativity.
| Feature | Facebook In-App Editor | Advanced Editing Tool (like Swiftia) |
|---|---|---|
| Captions | Basic text, manual placement, limited fonts. | Automated, AI-powered captions with animations and brand customization. |
| Templates | A small library of pre-set templates. | Vast libraries of professionally designed, customizable templates. |
| Trimming | Basic clip trimming and splitting. | Multi-layer timeline editing and AI-powered highlight detection for precise cuts. |
| Branding | No dedicated branding features. | Custom fonts, logos, watermarks, and color palettes. |
| Workflow | Mobile-only, best for single clips. | Desktop access, ideal for repurposing long-form content into dozens of clips. |
The takeaway is simple: if you're serious about creating Reels that drive results, investing time in a more robust tool will pay off.
A Practical Example: Syncing Captions for Impact
Imagine a podcaster wants to turn a key insight from their latest episode into a dynamic 30-second Reel. The audio is solid, but to grab attention and make it accessible, they need captions.
Instead of just slapping a block of text on the screen, they decide to create animated, word-by-word captions that appear in perfect sync with their speech. Here's how they could do it:
- They type out the first phrase, then use the timeline editor to set its duration precisely, so it appears and disappears right as it's spoken.
- They do this for every phrase, sometimes switching up the colors or fonts to make certain words pop.
- To finish it off, they add a subtle, trending instrumental track in the background, keeping the volume low—around 15%—so it complements their voice without overpowering it.
This approach makes the Reel accessible for people watching with the sound off, and it’s also way more engaging for everyone else. If you want to get better at these techniques, our guide on mastering social media video editing has even more advanced strategies. The final clip is polished, professional, and perfectly optimized for the Reels feed.
Getting Your Reels Seen: A Guide to Maximum Reach and Engagement
Making a great Reel is only the first step. The real magic happens in the moments before you hit "Share"—this is where you prime your video to get picked up by the Facebook algorithm and seen by thousands, not just a few hundred.
And the audience is definitely there. Reels now make up over 50% of the time people spend on Facebook and Instagram. But with Reels also being the second most common type of post at 17.4%, you need to do a little extra to make yours pop.
Writing Captions That Actually Work
Think of your caption as the opening line in a conversation. Don't just describe what's happening in the video; that's boring. Instead, hook them in. Ask a provocative question or give them a direct instruction that gets them talking in the comments. A strong call-to-action (CTA) is your best friend here—tell people exactly what you want them to do, whether that's "Follow for more tips" or "Tag a friend who needs this."
A killer caption has a direct impact on your metrics. It's the difference between just racking up views and actually building a community, which is a key part of understanding engagement vs. video views. Comments and shares are powerful signals to the algorithm that your content is worth showing to more people.
Pro Tip: Your first two lines are everything. The Reels feed cuts off longer captions, so put your most important hook right at the beginning to stop the scroll and get people to tap "see more."
A Real-World Example: A/B Testing Captions
Let's say a digital marketing agency is using a Reel to promote a new e-book for a client. They could just slap on a caption like, "Check out our new e-book!" and call it a day. But that’s leaving results up to chance.
A smarter approach is to test two different angles:
- The Question: "What's the biggest marketing challenge you're facing this year? Drop it in the comments! 👇 #DigitalMarketing #SmallBusinessTips"
- The Value Prop: "Struggling with content ideas? This e-book has 50+ prompts to cure your writer's block. Link in bio to grab it! 🚀 #ContentMarketing #MarketingStrategy"
By running these two captions on similar Reels, the agency gets hard data on what works. Does the question drive more comments? Does the value proposition get more link clicks? This isn't guesswork; it's strategy.
Your Final Pre-Publish Checklist
Okay, you're almost there. Before you share your masterpiece with the world, do a quick final check on these technical points. Getting these right is non-negotiable if you want your Reel to look professional and perform its best.
- Correct Aspect Ratio? Your video absolutely must be in a 9:16 vertical format. Anything else will get slapped with ugly black bars, killing the immersive experience.
- Optimal Video Length? Is it under 60 seconds? You can go longer, but shorter, punchier videos almost always have higher completion rates.
- Strategic Hashtags? Have you added 3-5 relevant hashtags? Use a mix of broad and niche tags to help people find you without looking like you're spamming.
- Engaging Thumbnail? Did you pick a good cover image? It’s the first thing people see. Make it compelling enough to earn that click.
Turning Long Videos into Engaging Reels
If you’re already creating long-form content like podcasts, webinars, or interviews, you're sitting on a goldmine for Facebook Reels. Seriously. Repurposing this footage is one of the smartest ways to maintain a steady stream of high-quality content without burning yourself out. It's all about working smarter, not harder.
The old-school way of doing this is painfully slow. You'd have to manually scrub through an hour-long video, trying to pinpoint a few interesting moments, painstakingly clip them out one by one, and then add captions. This could easily eat up your entire afternoon just to get a handful of short clips.
A Better Workflow for Repurposing
Thankfully, modern tools have completely changed the game. Instead of manual clipping, automated platforms can analyze your entire video in minutes, using some clever features to identify the best moments for you.
- Active Speaker Detection: This is a lifesaver. The tool automatically finds when someone is actually talking, so your clips are focused on the key speakers, not just dead air or silent B-roll.
- Filler Word Removal: Algorithms can instantly detect and zap distracting "ums" and "ahs," cleaning up your audio and making you sound much more polished and professional.
- AI-Powered Clipping: The system can suggest dozens of potential clips based on what it thinks are the most engaging moments, saving you from the tedious task of hunting for them yourself.
This approach isn't just about saving time; it dramatically improves your consistency and quality. It's a key tactic for any creator wondering how do you make a Reel on Facebook at scale without hiring a whole team. You can get a deeper dive into this process in our guide on how to repurpose long videos into engaging short clips with AI.
A Real-World Example
Let's look at a practical scenario. Imagine a financial advisor who records a one-hour weekly market update webinar. If she tried to create Reels from this manually, it would be a huge time suck, probably netting her only two or three clips for the entire week.
Now, let's see how an automated workflow transforms her process:
- She uploads the one-hour webinar recording to a repurposing tool.
- The AI gets to work, analyzing the video, identifying every time she shares a key insight, and suggesting 25 potential clips.
- She quickly skims the suggestions, picks her top ten for the week, and applies her branded, animated captions with a single click.
- In less than 15 minutes, she has two full weeks of high-quality, shareable Reels ready to schedule.
This shift from a manual to an automated process is a massive competitive advantage. It frees up hours of creative time, ensures a consistent posting schedule, and squeezes so much more value out of a single piece of long-form content.
This is exactly how successful creators and brands avoid content burnout. By turning one long video into many short ones, you build a sustainable content engine that keeps your audience engaged without demanding endless hours in front of a camera.
Common Questions About Making Facebook Reels
Once you get the hang of creating Reels, you'll inevitably run into a few specific questions. It happens to everyone. Getting these sorted out early will save you a ton of headaches and help you post with a lot more confidence.
Let's clear up some of the most common things that trip people up.
Can I Schedule Facebook Reels in Advance?
Yes, and honestly, you should be. Scheduling is a game-changer for staying consistent without having to live on your phone. Consistency is one of the biggest signals you can send to the Facebook algorithm, which tends to reward creators who show up regularly.
You can schedule your Reels right from the Meta Business Suite. It's the perfect way to batch-create your content, write thoughtful captions ahead of time, and have everything go live when your audience is actually online and scrolling.
It's worth noting that brands with a steady posting rhythm often see up to 30% higher engagement over six months compared to those who post randomly. Scheduling takes the pressure off and makes consistency achievable.
What Is the Best Length for a Facebook Reel?
Facebook lets you make Reels up to 90 seconds long, but don't feel like you need to use all that time. Longer is definitely not always better here.
I’ve found the real sweet spot is between 10 and 30 seconds. That’s just enough time to land a quick tip, a funny moment, or a super satisfying visual loop. Think about it: a real estate agent could make a killer 15-second Reel of a stunning kitchen reveal set to a trending track. That’s way more powerful than a rambling 90-second tour that most people will swipe away from in the first few seconds.
Can I Use Any Music I Want?
This is a big one: no, you can't. Slapping any copyrighted song onto your Reel is a fast-track to getting it muted or taken down completely.
Luckily, Facebook gives you a huge library of licensed music right inside the Reels editor. Stick to using audio from that library, and you'll be safe. Just a heads-up, Business accounts sometimes see a more limited selection because of commercial licensing rules, but there are still plenty of great tracks to choose from. It’s just not worth the risk of going rogue.
Ready to turn your long-form videos into a steady stream of engaging Reels without the manual effort? Swiftia uses AI to find the best moments in your content, add dynamic captions, and generate dozens of shareable clips in minutes. Start creating content 10x faster with Swiftia.